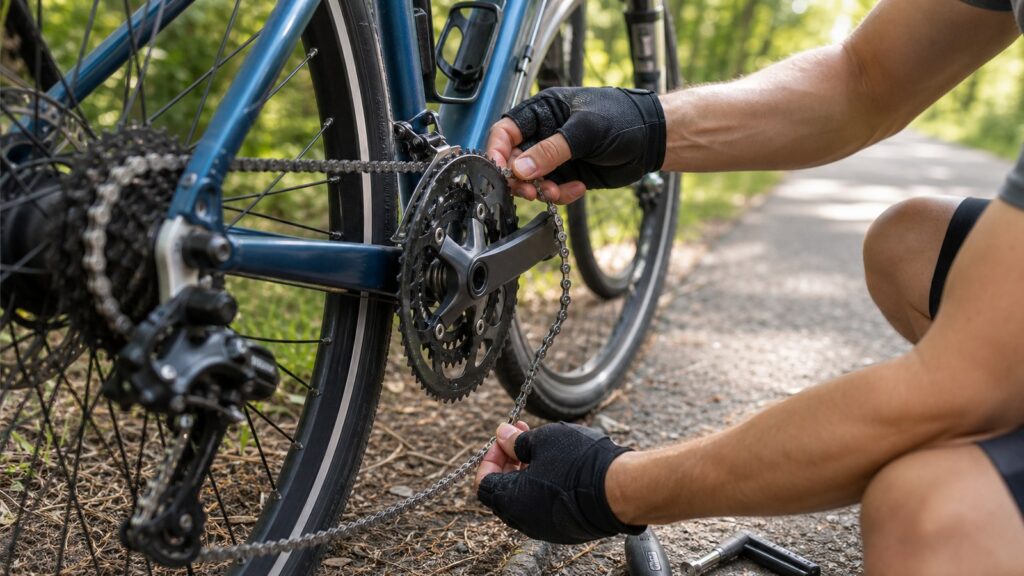
A chain that slips when you pedal hard points to wear first: a stretched chain, worn cassette teeth, or a new chain running on an old cassette. If it jumps right after a shift, or in one or two gears only, the rear derailleur needs adjusting or its hanger is bent. If the chain has fallen off, push the rear derailleur forward to make slack, lay the chain on the smallest front chainring and turn the cranks forward by hand until it pulls itself back on.
Riders use “slipping” for three different problems, and each has its own fix:
- Skipping under load. The chain jumps over the cog teeth with a clunk when you push hard. Look at wear or a stiff link.
- Ghost shifting. The chain wanders between cogs on its own. Look at cable tension, the hanger or the B-screw.
- Chain drop. The chain comes off. Look at the limit screws, chain length or slack.
A fourth fault, a slipping freehub inside the rear hub, feels like skipping while the chain stays on the cog. To refit a chain that has come off, jump to how to put a chain back on a bike.
Match your symptom to the cause
Find your row, run the quick check, then read the fix below.
| What happens | Likely cause | Quick check | Fix |
|---|---|---|---|
| Chain skips with a clunk when you push hard, in most gears | Worn chain, cassette or chainrings | Chain checker, or a 12 in ruler along the chain | Replace the chain; if a new chain still skips, replace the cassette |
| Chain clings to the chainring during a front shift under load and jams against the chainstay (chain suck) | Worn chain or hooked chainring teeth | Chain check, then look at the tooth profile | Replace the chain; replace the ring if the teeth are hooked |
| Skipping started right after you fitted a new chain | Worn cassette cogs that no longer mesh with a fresh chain | Does it skip on the cogs you ride most? | Replace the cassette |
| Skips in one or two cogs only | Those cogs are worn, or a tooth is bent | Compare that cog’s teeth with a cog you rarely use | Replace the cassette; straighten a single bent tooth |
| Clunk under load, and the cassette rocks side to side on the hub | Loose cassette lockring | Wheel off: wiggle the cassette by hand | Tighten the lockring with a lockring tool to the maker’s torque |
| Skipping on a used bike, or after swapping one part | Chain and cassette of different speed counts | Count the cogs; check the chain’s speed rating | Match chain, cassette and shifter |
| A jump that repeats at a steady rhythm every few crank turns | Stiff link | Backpedal and watch the chain leave the lower derailleur pulley | Flex the stiff link side to side |
| Chain ticks against the next cog or climbs to it on its own (too much cable tension); or hesitates to climb and drops back to a smaller cog (too little, common on a new bike as the cable settles) | Cable tension (indexing) | Shift one click at a time and listen at each cog | Quarter turns of the barrel adjuster |
| Barrel adjuster can’t quiet every gear; began after a crash or fall | Bent derailleur hanger | Look from behind: the pulleys should hang straight below the cog | Realign the hanger with a gauge, or fit a new hanger |
| Chatter or skipping in the largest rear cogs only | B-screw gap too small | Smallest ring, largest cog: measure the pulley-to-cog gap | Tighten the B-screw |
| Pedals drop forward with a clunk, chain stays on the cog | Freehub pawls slipping | Wheel up: turn the cassette forward by hand; it must drive the wheel with no dead spot | Clean and oil the freehub; replace it if it still slips |
| Chain sags or bunches when you stop pedaling | Freehub dragging, so the cassette keeps driving the chain while you coast | Wheel up: spin it forward and watch whether the cranks creep around | Clean and oil the freehub |
| Chain falls off the front chainrings, inward or outward | Front derailleur limit screws, height or angle | Check the cage gaps on the smallest and largest rings | Reset the front derailleur |
| Chain bounces off on rough ground | Chain too long, or a slack single-speed chain | Smallest ring and smallest cog: any slack? Single-speed: see the tension rule below | Shorten the chain, or pull the wheel back |
| Chain drops past the smallest cog or into the spokes | Rear limit screws, or a bent hanger | Shift to both end cogs and watch where the derailleur stops | Check the hanger, then set the H and L screws |
Check the chain first
Park Tool names two common signs of a worn chain: a chain that keeps slipping under load, and chain suck, where the chain stays engaged on a chainring during a front shift under load, binds and hangs on longer than it should. Clean and lube the chain before you measure it.
- Lift-off test. Shift to the largest chainring and the smallest rear cog, then pull the chain forward off the front of the chainring. Pass: the chain stays close to the teeth. If you see a lot of daylight between chain and ring, Park Tool says the chain is at or near replacement.
- Ruler test. Line a rivet up with the zero mark of a 12 in ruler and count 24 more rivets. Pass: the 24th rivet sits on the 12 in mark. More than 1/16 in past it, and Park calls the chain due for replacement. By our math, 1/16 in over 12 in is about 0.5%, so the ruler matches the 11-speed and 12-speed limit and is conservative for older drivetrains.
- Chain checker. A wear gauge gives the most accurate reading. Replace the chain at the limit for your drivetrain: Park lists 0.5% for 11-speed or more, 0.75% for 10-speed or fewer and 1.0% for single-speed, the points at which most manufacturers suggest replacement. Each maker sets its own figure, so use your manual’s if it gives one.
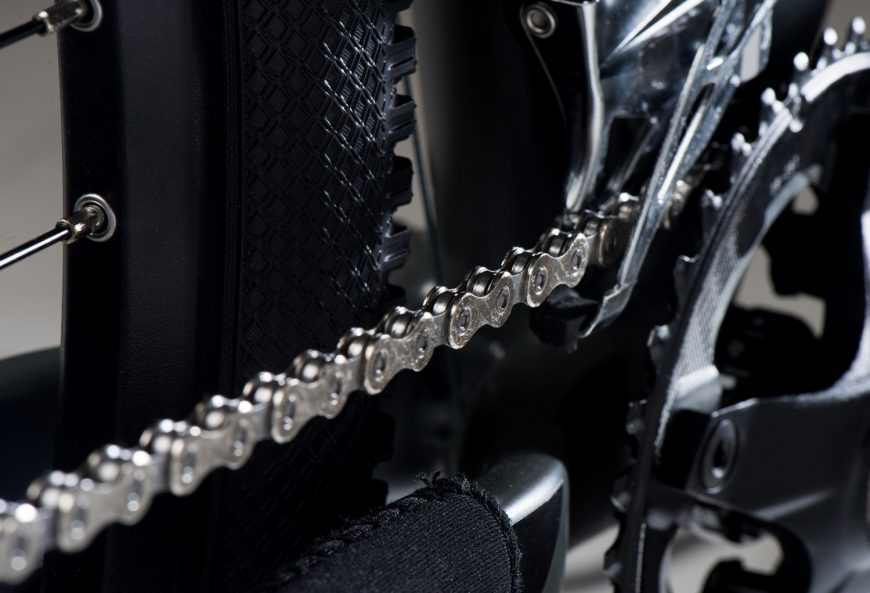
A chain run past its limit wears the cogs with it. To plan the next check, use our chain wear replacement estimator.
Skip this section if the chain is new and the problem began after a crash or a cable change; go to the hanger and indexing fixes.
Fixes for each cause
A worn chain, cassette or chainring
After a new chain, push hard in every cog you use on a quiet road. If it skips, Park Tool’s chain replacement guide points to worn cassette or freewheel cogs, which may need replacing after a long run on an over-worn chain. The cogs you ride most wear first.
Look at chainring teeth side-on. Worn teeth lean forward and look hooked, and a hooked ring can skip under load or cause chain suck. A tooth bent sideways after a crash shows up as a skip at the same point in every crank turn.
Two parts problems mimic wear. A loose cassette lockring lets the cogs rock and clunk under load; tighten it with a lockring tool to the maker’s torque. On a used bike, check that chain and cassette share a speed count.
A stiff link
A link that won’t bend straight can’t wrap around the small derailleur pulleys, so the cage kicks forward each time that link passes and the chain hops a tooth. The tell is the rhythm. With a 116-link chain on a 40-tooth chainring, the stiff link comes around about once every three crank turns (our math: 116 / 40 = 2.9).
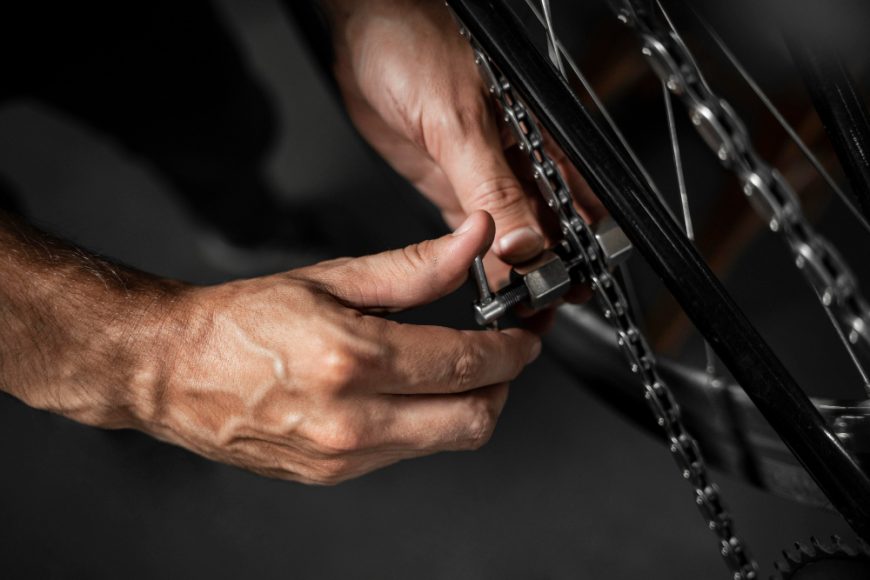
Backpedal by hand and watch the chain come off the lower pulley: a stiff link stays kinked as it leaves. Park Tool’s fix is to flex the chain side to side at the tight link. If it stays stiff, replace the chain; our guide on why bicycle chains break covers stiff links and bad rivet installs.
Indexing and cable tension (ghost shifting)
The barrel adjuster on the rear derailleur or shifter lines each click up with a cog. Park Tool’s method:
- Shift to the largest chainring (the middle one on a triple) and the smallest rear cog.
- Pedal and click the shifter once. The chain should move one cog, no more.
- If it doesn’t reach the next cog, turn the barrel adjuster one full turn counter-clockwise and try again. If one click jumps two cogs, turn it one full turn clockwise.
- Fine-tune by sound. A chain ticking against the next larger cog means too much tension: turn the barrel clockwise until the noise stops. Check every cog, in quarter turns.
- Shift back down through every cog. If a shift toward the smaller cogs feels slow, another quarter turn clockwise helps.
On a new bike, or after new cables, the cable and housing settle in over the first rides, tension drops and the chain hops between gears. A quarter turn counter-clockwise at the barrel adjuster sorts most of it. On an older bike that won’t hold an adjustment, replace kinked housing or rusty, frayed cable. Our guide on why your bike won’t shift gears covers cable and shifter faults.
A bent derailleur hanger
The hanger is the metal tab that holds the rear derailleur to the frame. Park Tool calls it a common culprit for mysterious shifting trouble; it bends in a crash, a fall or a knock in a bike rack. Park says the barrel adjuster and limit screws generally can’t correct a bent hanger.
Stand behind the bike in a middle gear. The two pulleys should hang in a straight line under the cog. If the cage tilts toward the spokes, straighten the hanger with a hanger alignment gauge (a bike shop tool) or fit a replacement made for your frame. Fix the hanger before you touch indexing. Skip this check if every gear shifts clean and the bike has never fallen on its drive side.
B-screw gap
The B-screw sets how close the upper (guide) pulley sits to the cogs. Check it in the smallest chainring and the largest rear cog. Park Tool says most road and mountain derailleurs want a gap of 5 to 6 mm, and a hex wrench of that size works as a feeler gauge. Tighten the B-screw to open the gap and loosen it to close it. Some derailleurs, SRAM Eagle among them, use their own gap figure and setting method, so follow the derailleur’s manual where it differs. If the bike shifts well, Park says to leave it alone.
Freehub pawls slipping, or dragging when you coast
The freehub is the ratchet inside the rear hub that lets you coast. Park Tool says the pawls can start to slip with wear. A slipping freehub feels like a skipping chain, but the chain stays seated on the cog while the cassette turns and the wheel doesn’t. To test it, lift the rear wheel and turn the cassette forward by hand: it should drive the wheel at once, with no dead spot. Turn it backward: it should spin free with an even click.
A sticky freehub does the reverse: it keeps turning the cassette while you coast, so the chain sags or bunches. Park’s fix covers both: flush the freehub and use the liquid lubricant most hub makers specify, since grease is typically not required inside. If cleaning and lubing don’t stop the slipping, sticking or noise, Park says to replace the freehub.
Single-speed and hub-gear bikes
Kids’ bikes, coaster-brake cruisers, BMX and internal-gear city bikes set chain tension by wheel position. A slack chain skips teeth under load and falls off over bumps. A tight one binds and drags. Park Tool’s rule: about 1/2 in of up-and-down movement at a point halfway between the chainring and the rear sprocket. Our guide on how to tighten a bike chain walks through moving the wheel. A worn single-speed chain skips too; replace it at 1.0%.
How to put a chain back on a bike
If the chain is broken or twisted, or the rear derailleur is bent toward the spokes, putting the chain back won’t make the bike safe; see how to fix a bike chain. If the chain is jammed between the chainring and the frame, which is what chain suck leaves behind, don’t force the cranks forward. Backpedal half a turn and ease the chain out by hand.
Where does the chain go? In front, on the smallest chainring, with the front derailleur cage shifted over it so the chain runs inside the cage. At the back, on the cog the derailleur pulley hangs under right now. If the chain fell off the outside of the cassette, that is the smallest cog.
On a bike with gears (derailleur)
- Stop out of traffic and lay the bike on its left side, or hang it by the saddle on a rail, so the rear wheel can spin. Click the front shifter to the small-ring position; the shifter moves the front derailleur cage even with the chain off. Skip this on a bike with one chainring.
- Check the back end. The chain must sit on a cog and run through both derailleur pulleys. Park Tool warns to route it on the correct side of any tab on the derailleur cage. If it dropped between the largest cog and the spokes, lift it outward while you turn the wheel backward a little.
- Push the rear derailleur cage forward, toward the front wheel, with one hand. That gives you slack.
- With the other hand, lay the chain over the top teeth of the smallest chainring, so a few teeth poke up through the links.
- Let the derailleur go. With the rear wheel free to spin, turn the cranks forward by hand. The chain climbs onto the ring as the teeth come round.
- Shift through the gears on a quiet road before you ride in traffic.
Keep your fingers on the outside of the chain while the cranks turn; the point where chain meets teeth catches fingers.
On a single-speed, coaster-brake or kids’ bike
These bikes have no derailleur to give you slack, so a correct chain feels tight going back on.
- Fit the chain around the rear sprocket first, then hook it over the top teeth of the front chainring, as far round as it will go.
- Turn the cranks forward by hand, and the chain rolls on. On a coaster-brake bike, backpedaling applies the brake, so only turn forward. On a fixed-gear bike the cranks turn whenever the wheel does; keep fingers clear.
- If the chain won’t stretch over the teeth, loosen the rear axle nuts (typically 15 mm, Park Tool notes), push the wheel forward and fit the chain. Then pull the wheel back to the 1/2 in tension rule, since a chain that fell off was too slack.
- Center the wheel and tighten both axle nuts. On a coaster-brake bike, check that the brake arm is still strapped to the chainstay and its bolt is tight (retighten it if you loosened it to move the wheel), then test the brake by backpedaling hard while you push the bike.
With a chain guard or full chaincase
A guard over the chainring can stop the chain going back on. Take off the guard’s screws or clips, or loosen the rear axle nuts and slide the wheel forward for slack. Don’t lever the chain past it with a screwdriver.
Keeping your hands clean
A roadside trick: move the chain with a stick, a tire lever or a plastic bag over your hand. Greasy hands? Rub them with dry grass or dirt, then wash, and wipe them before you grab the brakes.
Why your chain fell off, and how to stop it happening again
A chain that keeps falling off has a cause you can find:
- Cross-chaining. The big chainring with the largest rear cogs, or the small ring with the smallest cogs, runs the chain at its steepest angle.
- Chain too long. Park Tool’s length check: in the smallest chainring and smallest cog the chain should have no slack, and the derailleur shouldn’t pull back so far that the chain touches itself. Our bike chain length guide covers sizing.
- Front derailleur set wrong. Park Tool’s settings: the outer cage plate sits 1 to 2 mm above the teeth of the largest ring, about the thickness of a penny, with the cage parallel to the chain, and the inner plate about 1 mm from the chain in the smallest ring and largest cog. If the chain drops off the inside, the L-screw lets the cage travel too far or the cage angle is off; Park’s fix is to tighten the L-screw 1/8 turn and test again.
- Rough ground. Shimano says its SHADOW RD+ chain stabilizer reduces chain slap and chain drop. If your rear derailleur has an on/off switch, leave it on. Leave it on for rough riding.
- Worn or bent teeth. Hooked chainring teeth and a tooth bent after a crash both let the chain ride up and off.
Rear limit screws and single-speed slack are in the table. Skip this section if the chain came off once and has stayed on since.
When to stop riding
Fix the bike before hills or traffic if the chain skips when you stand to pedal, a link is twisted or cracked, or the derailleur leans toward the spokes.
Questions riders ask
Why does my chain slip when I pedal hard but not when I ride easy?
A worn chain sits higher on the cog teeth, and hard pedaling forces it over the tops. Measure the chain first, and replace the cassette too if a new chain still skips.
Can a new chain cause skipping?
The old cogs wore to fit the old chain, so a fresh chain doesn’t seat in them and skips under load. Replace the cassette, and look at the chainring teeth while you’re there.
Why is my chain slipping when I’m not pedaling?
If the chain sags, bunches or drops while you coast, the freehub is dragging and turning the cassette when it shouldn’t. Clean it and use liquid oil, as covered above.
Will lube stop a chain from slipping?
Lube fixes a dry, noisy chain but can’t restore worn teeth. If a clean chain under the limit still skips, check indexing and the hanger.
Sources
- Park Tool. When to Replace a Worn Chain (accessed October 14, 2026). Slipping under load and chain suck as wear symptoms, lift-off and 12 in ruler tests, 0.5% / 0.75% / 1.0% limits.
- Park Tool. Chain Replacement: Derailleur Bikes (accessed October 14, 2026). Chain length check, routing past the cage tab, flexing tight links, skipping after a new chain.
- Park Tool. Rear Derailleur Adjustment (accessed October 14, 2026). Limit screws, indexing with the barrel adjuster, B-screw gap of 5 to 6 mm.
- Park Tool. How a Rear Derailleur Works (accessed October 14, 2026). Barrel adjuster direction, B-screw effect on the pulley gap.
- Park Tool. Rear Derailleur Hanger Alignment (August 30, 2015). Hanger damage and why indexing and limit screws can’t correct it.
- Park Tool. Front Derailleur Adjustment (accessed October 14, 2026). Cage height 1 to 2 mm, cage rotation, L-screw gap about 1 mm, 1/8-turn steps.
- Park Tool. Freehub Service (accessed October 14, 2026). Pawl slip, liquid lubricant, replacement.
- Park Tool. Chain Replacement: Single Speed Bikes (accessed October 14, 2026). About 1/2 in of chain movement halfway between the sprockets.
- Park Tool. Wheel Removal and Installation (accessed October 14, 2026). Axle nuts, typically 15 mm.
- Shimano. SHIMANO SHADOW RD+ (accessed October 15, 2026). Stabilizer on/off switch reduces chain slap and chain drop; model list.