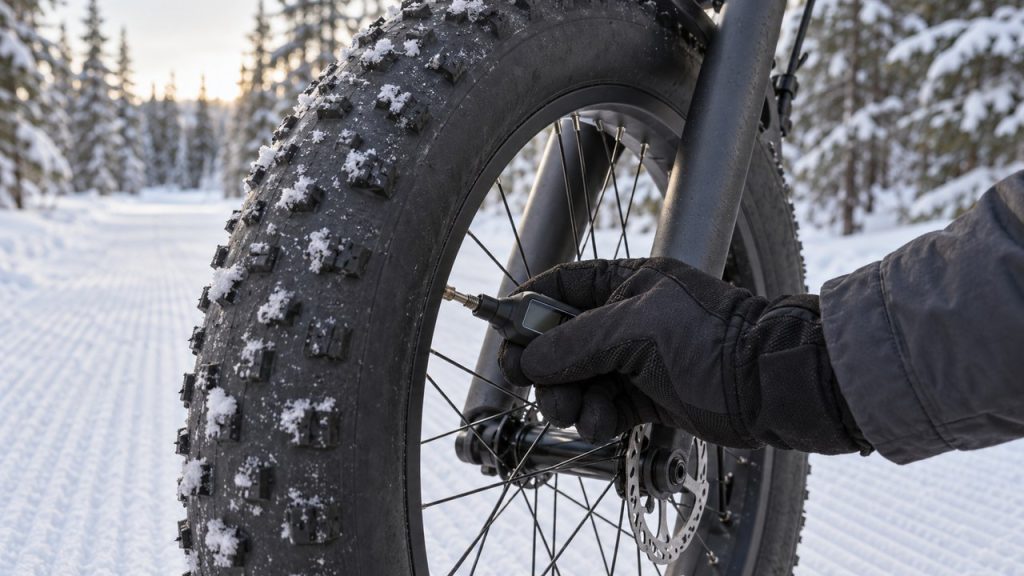
For a 200 lb rider on 4.0 in tubeless fat tires, start at about 6 psi front and 7 psi rear on groomed snow, 5 and 5.5 psi in fresh snow, 8 and 9 psi on dirt, and 9.5 and 10.5 psi on pavement. Lighter riders go lower and heavier riders go higher; the chart below scales each surface by weight. Stay inside the range printed on your tire’s sidewall and your rim’s limit (Surly lists 5 to 15 psi for 3.7 to 4.8 in fat tires), and set the pressure outside, because a tire set to 6 psi in a 68°F house reads about 3.3 psi at 0°F.
Icebike started in 1996 as a mailing list of riders who refused to park their bikes for the winter, and the site grew out of that list. Winter riders still argue about fat bike pressure, because one or two psi changes how a tire floats on snow, and the gauge on a road floor pump can miss that by several psi.
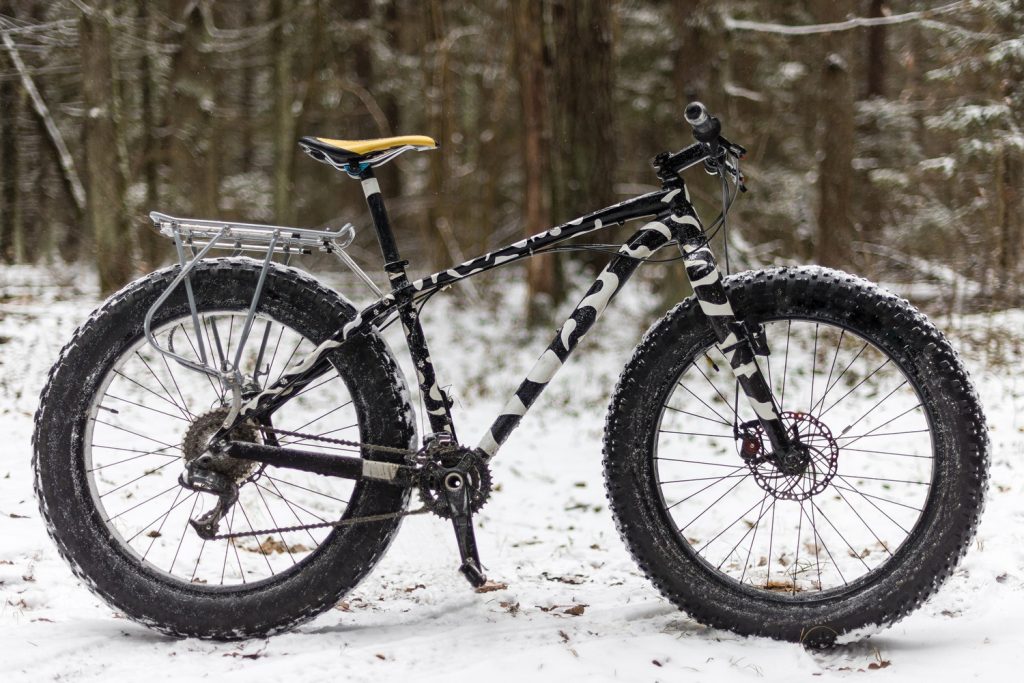
Fat bike tire pressure chart by surface and rider weight
Read across from your surface to your weight. Each cell shows front / rear psi for a 4.0 in tubeless tire, from the Icebike model explained below the table. Treat every number as a starting point: ride a test loop, then adjust in 0.5 psi steps.
| Surface | 150 lb rider (front / rear) | 200 lb rider (front / rear) | 250 lb rider (front / rear) | Change it when |
|---|---|---|---|---|
| Groomed or packed snow | 5* / 5.5 | 6 / 7 | 7 / 8 | Let air out if you leave a rut or the bike wanders |
| Fresh or loose snow | 5 / 5* | 5* / 5.5 | 6 / 7 | Let air out if you sink, but only to your sidewall minimum |
| Ice, studded tires | 5 / 6 | 6.5 / 7.5 | 8 / 9 | Don’t go below the sidewall minimum chasing grip |
| Soft, dry sand | 5 / 5* | 5* / 5.5 | 6 / 7 | Let air out if the front wheel plows and stalls |
| Wet, firm sand | 5* / 5.5 | 6 / 7 | 7 / 8 | Let air out if the tire breaks through the crust |
| Dirt trail | 6 / 7 | 8 / 9 | 9.5 / 10.5 | Add air if the rim hits rocks; let air out if the tire bounces |
| Pavement (dry) | 7.5 / 8.5 | 9.5 / 10.5 | 11.5 / 13 | Add 1 to 2 psi if the bike feels sluggish, up to your limits |
*Starred cells are held at 5 psi; the model gives 3.8 to 4.9 psi there. 5 psi is the lowest minimum Surly and Schwalbe publish for 4 to 5 in tires.
How we built it (Icebike math, not a maker chart). The snow and ice rows come from the formula behind Icebike’s winter tire pressure calculator, using rider weight plus 35 lb for the bike and winter gear. The dirt and pavement rows use the fat bike setting of Icebike’s bike tire pressure calculator. No tire maker publishes a sand number, so the sand rows borrow the snow values: dry sand behaves like fresh snow, wet sand like a groomed trail. As a cross-check, 45NRTH team rider Danielle Musto starts at 6 psi rear and 5.5 to 6 psi front on hard-packed snow, then drops to 5 rear and 4 to 4.5 front in loose snow. That sits close to the 200 lb column.
Adjust the chart for your setup:
- Inner tubes: add about 1 psi. The two Icebike calculators raise tubed setups 12 to 15% over tubeless to keep the tube off the rim.
- Wider tires: subtract about 1 psi for a 4.5 in tire and about 1.5 psi for a 4.8 in tire (Icebike calculator model at 200 lb), but never below your sidewall minimum. On the 150 lb column that means staying at 5 psi on most 4.5 and 4.8 in tires.
- Rim width: a wide rim (80 mm or more inside) spreads the casing and supports it better than a 65 mm rim, so it can tolerate a little less pressure. Treat that as general guidance, not a number; our rim width and tire size chart shows which tire widths fit which rims.
- Front vs rear: run the front 0.5 to 1 psi below the rear. The rear carries more of your weight, and 45NRTH’s team riders report splits of that size.
- Racks, bags or a motor: use your total loaded weight. Vee Tire’s e-bike guidance says heavier bikes and riders go toward the top of the printed range.
What tire makers publish, and the limits you can’t cross
Your tire’s sidewall and your rim set a window, and every number in the chart must fall inside it. Surly’s wheel, rim and tire instructions say never to go below the tire or rim minimum or above either maximum. In practice, use the higher of the two minimums and the lower of the two maximums.
| Maker | Tire or rim | Published pressure | What it means |
|---|---|---|---|
| Surly | Fat tires, 3.7 to 4.8 in | 5 to 15 psi | Recommended operating range. The sidewall maximum is for seating the bead only. |
| Surly | Fattest tires, 6.0 to 6.2 in | 1 to 10 psi | The only maker spec range below 5 psi we found |
| Schwalbe | Jumbo Jim 26 x 4.80 | 5 to 30 psi (0.4 to 2.0 bar) | Spec-page minimum and maximum; 120 kg load rating |
| Vee Tire | Snowshoe XL, Snowshoe 2XL, Snow Avalanche | 8 to 20 psi (0.6 to 1.4 bar) | Range listed in Vee’s spec tables. Vee markets the Snowshoe XL for snow and sand dunes. |
| 45NRTH | Dillinger 4, Dillinger 5 | One figure per size: 20 or 30 psi | A single pressure on the spec table; the instructions say to use the range on the sidewall |
| 45NRTH | Levitas rim | 30 psi maximum | Rim limit, whatever the tire says |
| Terrene | Cake Eater, Johnny 5 | No range on the product or tech pages | Read the sidewall |
Makers don’t always agree with themselves. Vee’s spec tables list 8 to 20 psi for its snow tires, yet its Winter Fat-Biking 101 guide tells riders to start at 4 to 6 psi on packed trails, drop to 2 to 4 psi in soft snow and go to 1 to 2 psi when it gets deep. When a blog and a sidewall disagree, the sidewall is the rated limit. Below it, you ride outside what the maker will stand behind, and Schwalbe warns that too little pressure can let the tire come off the rim.
Fat bike tire pressure for snow
On groomed or packed snow, most riders land between 5 and 8 psi. IMBA Canada’s fat bike guidance says snow riding pressure “will often be less than 10 PSI,” and gives a test you can see: you should travel over the snow without leaving a rut deeper than one inch. If you cut a deeper rut on a groomed trail, let air out or turn around.
In fresh or loose snow, drop 1 to 2 psi from your groomed setting. Musto calls that change huge: the lower pressure puts more tire on the surface so you float instead of sinking. Conditions change during a ride, too. Another 45NRTH rider, Chelsea Strate, let air out before a race start when warm sun and warm-up traffic turned the course to mush.
Firm snow goes the other way. 45NRTH racer April Morgan found a tacky, cement-hard course and ran 9 to 10 psi, and she felt fast. At another race, on a very cold day with the course in mint condition, she ran 4 to 5 psi and said it felt like dragging a piano for nearly five hours.
Skip the low end if you ride rocky trails under thin snow. A tire that folds onto the rim at 5 psi can damage both.
Studded fat tires and ice
On ice, run a studded tire near the low end of its printed range, not far below it. Schwalbe’s winter advice says that even with studded tires you should stay close to the tire’s recommended minimum pressure, because that is where the studs grip best. The chart’s ice row follows the Icebike calculator model, which sits 0.5 to 1 psi above groomed snow and stays inside the 5 to 15 psi Surly range. Use Schwalbe’s rule as the floor: don’t drop below the minimum to chase more grip.
- Bare pavement between icy patches: Schwalbe says a higher pressure cuts running noise on clear roads. Add air for a road commute and drop it again for an icy trail.
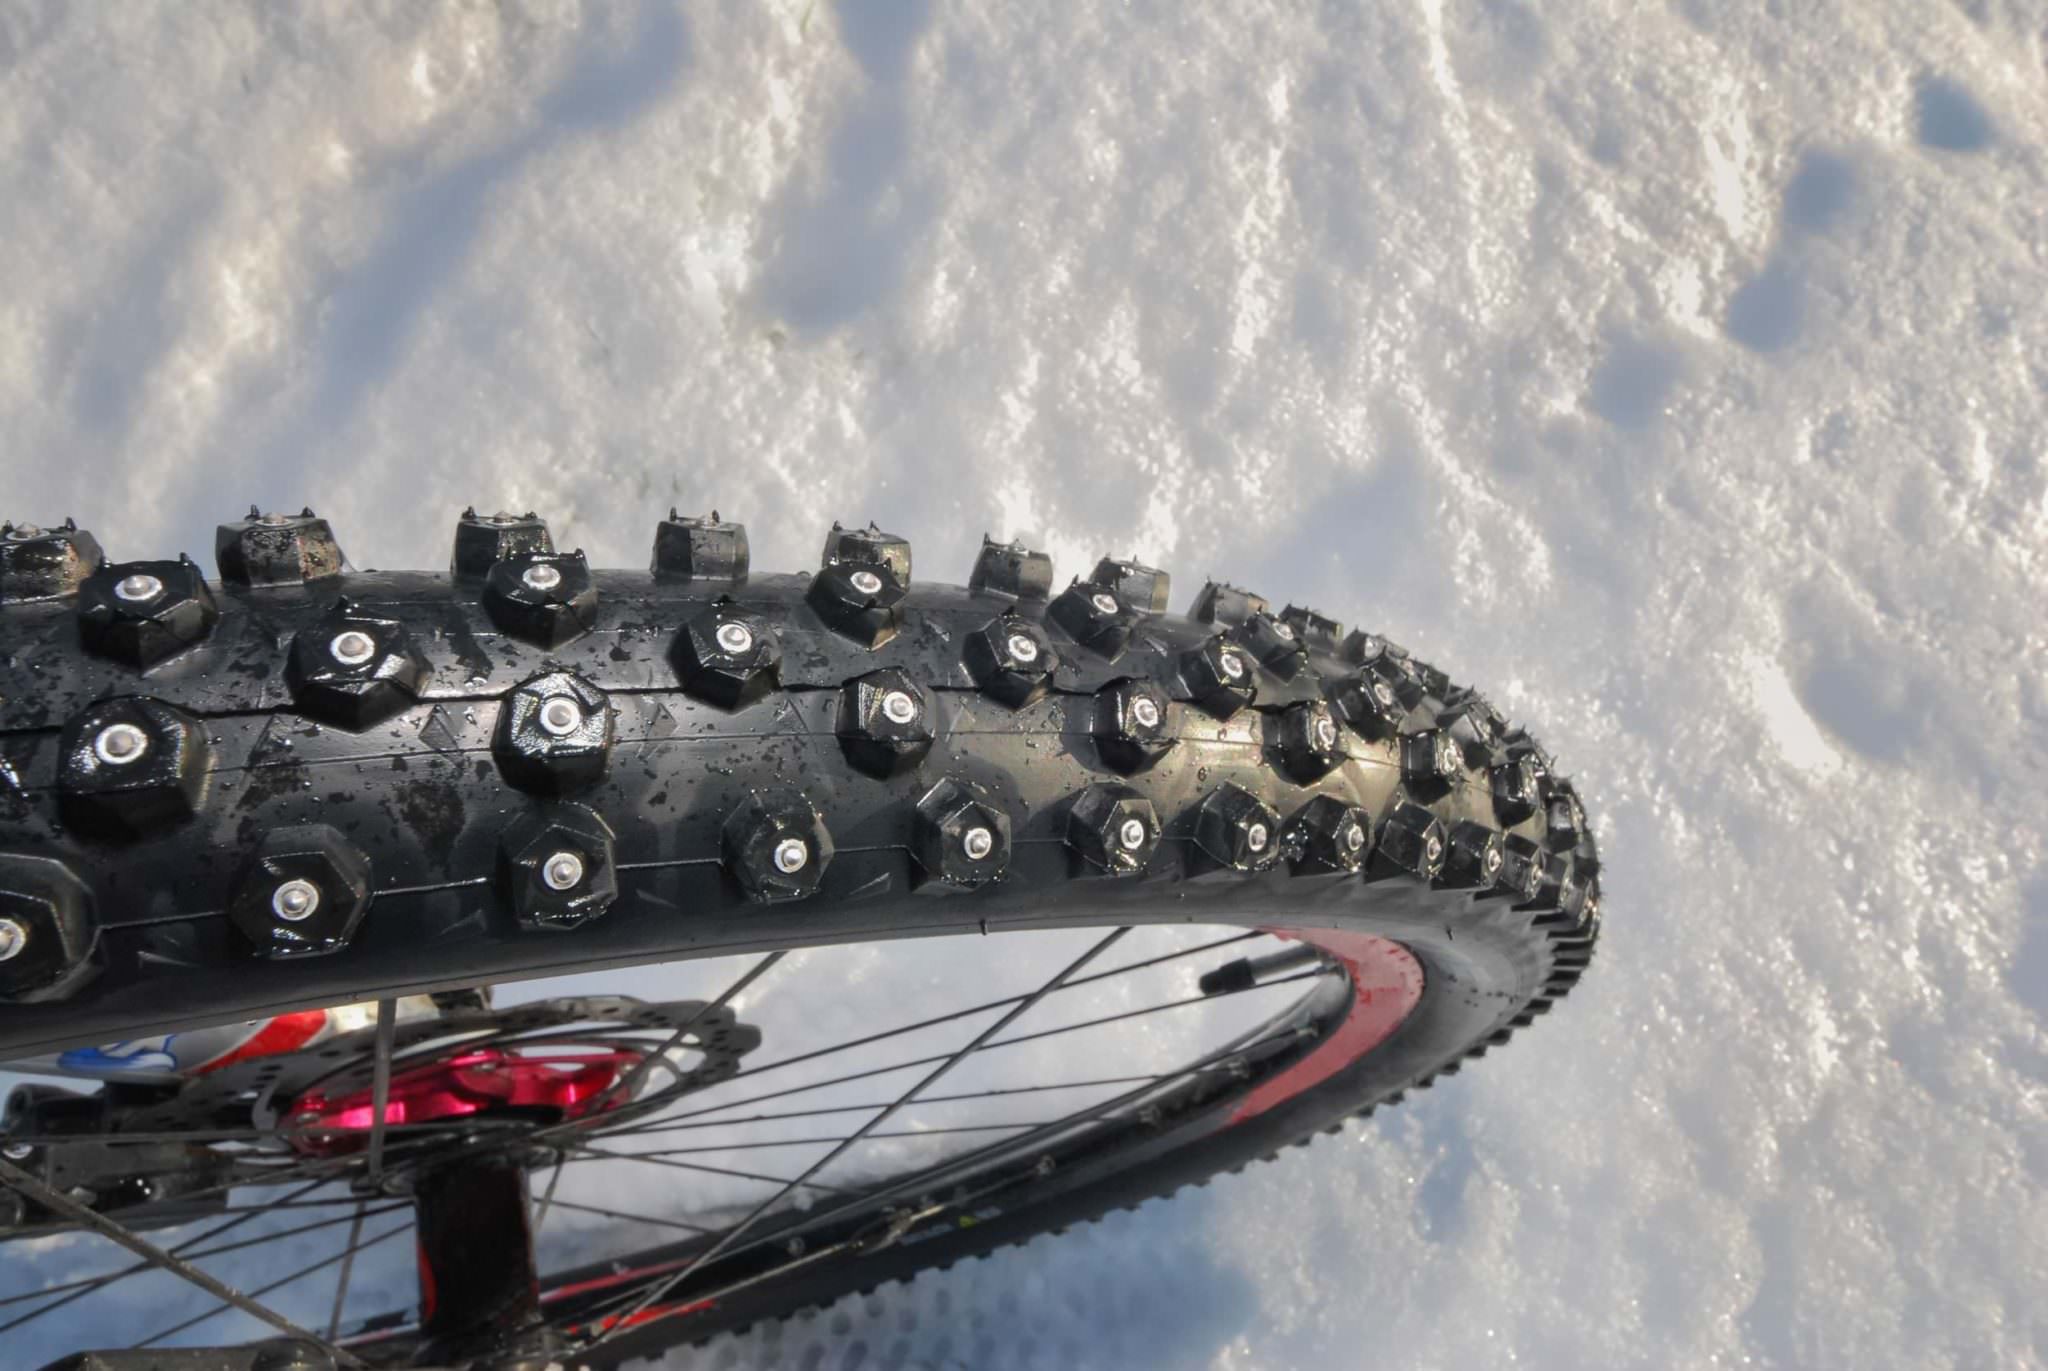
- Stud count: studded fat tires carry 160 to 280 studs depending on model. Vee’s Snow Avalanche 26 x 4.0 has 280, 45NRTH’s Dillinger 5 26 x 4.6 has 258, and Terrene’s Cake Eater 26 x 4.6 Light Studded has 180.
- Stud loss: 45NRTH says hard stops and sharp cornering can rip studs out of their pockets. Check that every stud sits fully in its pocket before each ride.
- E-bikes: 45NRTH does not recommend its tires on power-assist bikes, because the extra torque and weight wear the casing and pull studs.
Not sure you need studs at all? The studded tire selector matches tire type to your conditions, and our guide to winter bike tires and studded tires covers stud types and tread.
Fat bike tire pressure for sand
For soft, dry sand, start at your fresh-snow pressure: 5 to 5.5 psi for a 200 lb rider. On wet, firm sand near the waterline, use your groomed-snow pressure. These are Icebike starting points by analogy with snow; none of the tire makers above publishes a sand number, though Vee markets its Snowshoe XL and 2XL for sand dunes.
Keep a pump with you. If a paved road connects you to the beach, add air before you ride it, then drop back on the sand.
Fat bike tire pressure for pavement and dirt trails
On pavement, a fat tire needs more air than on snow: about 9.5 to 10.5 psi for a 200 lb rider, and 11.5 to 13 psi at 250 lb. Other fat bike guides list 15 to 22 psi for pavement, and several of them are written for heavier e-bikes. Those numbers sit above the 5 to 15 psi Surly recommends for 3.7 to 4.8 in tires. If you ride only pavement, you can work up toward the top of your tire’s printed range. Schwalbe notes that on the road, higher pressure lowers rolling resistance, and that riding on too little air wears the tire early and cracks the sidewall. If the bike still feels sluggish, add 1 to 2 psi at a time, up to the lower of your sidewall and rim maximums. On a Surly tire, stop at 15 psi, the top of its operating range.
On dirt and roots, 8 to 9 psi suits a 200 lb rider. Go higher if you feel the rim hit rocks; go lower if the tire bounces and loses grip on roots.
Ride an electric fat bike? Its tires and weight are a different case. Our e-bike tire pressure guide covers them.
How cold changes fat bike tire pressure
Air pressure falls as the air cools, and at fat bike pressures the drop is a large share of what you set. Set a tire to 6 psi in a 68°F (20°C) house and ride at 0°F (minus 18°C), and it reads about 3.3 psi, a loss of nearly half.
| Set indoors at 68°F | At 32°F (0°C) | At 14°F (minus 10°C) | At 0°F (minus 18°C) | At minus 20°F (minus 29°C) |
|---|---|---|---|---|
| 5 psi | 3.7 psi | 3.0 psi | 2.5 psi | 1.7 psi |
| 6 psi | 4.6 psi | 3.9 psi | 3.3 psi | 2.5 psi |
| 8 psi | 6.5 psi | 5.7 psi | 5.1 psi | 4.2 psi |
| 10 psi | 8.3 psi | 7.5 psi | 6.8 psi | 5.9 psi |
| 15 psi | 13.0 psi | 12.0 psi | 11.2 psi | 10.0 psi |
Icebike calculation. We used the ideal gas law at constant volume: absolute pressure (gauge reading plus 14.7 psi of sea-level air) changes in step with absolute temperature in kelvin. At 6 psi, every 10°F of cooling costs about 0.4 psi. The table assumes the air inside has reached the outdoor temperature and ignores small changes in casing volume, so read it as a close estimate.
Chelsea Strate learned this at a minus 12°F race start. She let air out in a hotel room near 80°F, and outside her rims hit the ground. By the same math, 5 psi set at 80°F falls to about 1.6 psi at minus 12°F.
The fix: let the bike sit outside until the tires reach air temperature, then set the pressure there. If you must set it indoors, aim higher. To ride at 6 psi at 0°F, set about 9 psi at 68°F; to ride at 5 psi at 14°F, set about 7 psi.
Why your floor pump gauge can’t read 5 psi
Most floor pump gauges can’t measure fat bike pressure well, because 5 psi sits at the bottom of a dial built for road tires. On a 0 to 160 psi dial, 5 psi uses the first 3% of the needle’s sweep.
ASME B40.100 is one of the main standards for mechanical pressure gauges, and Ashcroft explains that its Grades A and B allow the most error in the lower and upper quarters of the dial: plus or minus 2% of span for Grade A and 3% for Grade B. We found no ASME grade published for the bike pumps named here. Our inference: even a 160 psi gauge that met Grade B could read up to 4.8 psi high or low at the bottom of the dial, close to a whole snow setting.
| Gauge full scale | Allowed error, lower quarter, Grade A | Allowed error, lower quarter, Grade B |
|---|---|---|
| 0 to 160 psi | plus or minus 3.2 psi | plus or minus 4.8 psi |
| 0 to 30 psi | plus or minus 0.6 psi | plus or minus 0.9 psi |
| 0 to 15 psi | plus or minus 0.3 psi | plus or minus 0.45 psi |
Use a gauge built for low pressure. Vee Tire’s fat bike survival kit lists a 0 to 15 psi gauge, and Topeak builds a 30 psi gauge into its JoeBlow Dualie floor pump for fat bike tires. Whichever gauge you trust, use the same one every time, so a reading of 6 psi means the same thing next week.
No gauge on the trail? 45NRTH’s team riders squeeze the tires of riders around them at a race start. If everyone else runs softer, they let a little air out.
Tubeless vs tubes at low pressure
Tubeless lets you run about 1 psi lower than a tube (Icebike calculator model), and it removes the tube that can pinch. Vee Tire puts the tube problem in one line: a heavy bike at low psi pinches the tube against the rim on every impact.
- Seating: Surly’s tubeless steps inflate the tire above riding pressure to seat the bead, then drop it to riding pressure. Use the sidewall maximum for seating only.
- Sealant in the cold: Vee’s kit list calls for a sealant rated for freezing temperatures. Orange Seal sells a Subzero formula made for extreme cold.
- Rolling the bead: Schwalbe warns that pressure below the printed minimum can let the tire come off the rim.
- Valves: Strate’s Presta valve corroded on a salty road, and she couldn’t add air. Fit valve caps for winter riding.
Fat bike tire pressure calculator
For a number tuned to your exact weight and tire, use the calculator below. Select Fat bike as the tire type, enter rider plus bike weight in pounds, and enter tire width in millimeters (4.0 in is about 100 mm, 4.5 in about 114 mm, 4.8 in about 122 mm). Its fat bike floor is 5 psi, the same as the chart: when your weight and tire point lower, it shows 5 psi and says the result is held at the floor. If your sidewall minimum is higher than 5 psi, use the sidewall number. Its cold pavement setting assumes winter roads and runs 2 to 3 psi below the chart’s dry pavement row, so use the chart for dry summer pavement.
Winter Bike Tire Pressure Calculator
Estimate starting tire pressure for cold pavement, snow, ice, studs, and fat bikes.
The calculator covers cold pavement, snow and ice. For dry dirt and summer pavement, use the bike tire pressure calculator with the fat bike setting.
Checklist: set fat bike tire pressure before a winter ride
- Read your tire’s sidewall range and your rim’s maximum. Write down the narrower window.
- Leave the bike outside until the tires reach air temperature.
- Measure with a 0 to 15 or 0 to 30 psi gauge, not a 160 psi floor pump dial.
- Set the rear from the chart, and the front 0.5 to 1 psi lower.
- Ride a test loop. On a groomed trail, check that your rut stays under one inch.
- Adjust 0.5 to 1 psi at a time: let air out if you sink or spin, add air if the tire folds in corners or the rim hits.
- Carry a pump and your gauge, and add air before any paved road home.
Fat bike tire pressure FAQ
What PSI should a fat bike tire be?
Between 5 and 15 psi for most 4 to 5 in fat tires: 5 to 8 psi on snow and 6 to 13 psi on dirt and pavement, depending on weight. Stay inside the range on your sidewall.
Can you run a fat bike tire at 2 psi?
Only if the tire is rated for it. Surly lists 1 to 10 psi for its 6.0 to 6.2 in tires, but 5 psi is the published minimum for its 3.7 to 4.8 in tires and for Schwalbe’s Jumbo Jim.
Should the front tire have less pressure than the rear?
Yes, by 0.5 to 1 psi. The rear carries more of your weight, and 45NRTH’s team riders run splits of that size.
Does cold weather lower fat bike tire pressure?
Yes. At 6 psi you lose about 0.4 psi for every 10°F of cooling, so set pressure outside at riding temperature.
Looking for a bike to run these pressures on? See our picks for the best fat tire bikes.
Sources
- Surly. Wheel, Rim, and Tire Instructions (PDF, 6/24; accessed October 15, 2026). Operating ranges: 1 to 10 psi for 6.0 to 6.2 in tires, 5 to 15 psi for 3.7 to 4.8 in fat tires; rim and tire minimum and maximum rule; maximum pressure only for seating.
- 45NRTH. Rules of Fat: Dialing in Tire Pressure, by Danielle Musto (accessed October 15, 2026). Team riders’ pressures for packed and loose snow, 9 to 10 psi on a hard course, the minus 12°F race start, valve corrosion, squeezing other riders’ tires.
- 45NRTH. Tire Instructions (PDF, 2/22; accessed October 15, 2026). Use the pressure range on the sidewall; check studs before each ride; no power-assist bikes.
- 45NRTH. Spec tables for Dillinger 5 and Dillinger 4, and the Levitas rim page (accessed October 15, 2026). PSI figures of 20 or 30 per size, 258 studs on the Dillinger 5 26 x 4.6, 30 psi rim maximum.
- 45NRTH. Stick It to Winter: A Guide to Studded Tires (accessed October 15, 2026). Hard stops and sharp cornering pull studs.
- Vee Tire. Winter Fat-Biking 101 (accessed October 15, 2026). 4 to 6, 2 to 4 and 1 to 2 psi suggestions; 0 to 15 psi gauge and freeze-rated sealant in the kit list.
- Vee Tire. Spec tables for Snow Avalanche, Snowshoe XL and Snowshoe 2XL, and the E-Bike Tires guide (accessed October 15, 2026). 8 to 20 psi (0.6 to 1.4 bar), stud counts, Snowshoe XL and 2XL marketed for sand dunes, tube pinching at low pressure.
- Schwalbe. Jumbo Jim 26 x 4.80 Super Ground (accessed October 15, 2026). 0.4 to 2 bar, 5 to 30 psi, 120 kg load.
- Schwalbe. Winter Tips for safe riding (accessed October 15, 2026). Lower pressure adds grip, don’t go below the sidewall minimum, studs grip best near the recommended minimum, higher pressure cuts noise on clear roads and lowers rolling resistance on the road.
- Terrene. Cake Eater 26 x 4.6 Light Studded, Johnny 5 26 x 5.0 Light and Tech pages (accessed October 15, 2026). 180 studs; no pressure range published.
- IMBA Canada. Fat Bike Best Practices (accessed October 15, 2026). Pressure often under 10 psi on snow; no rut deeper than one inch.
- Ashcroft. What Are ASME Accuracy Grades for Mechanical Pressure Gauges? (February 23, 2026). ASME B40.100 grades as percent of span, with separate limits for the lower quarter.
- Topeak. JoeBlow Dualie spec page (accessed October 15, 2026). 30 psi (2 bar) gauge for fat bike tires.
- Orange Seal. Subzero Sealant (accessed October 15, 2026). Formulated for extreme cold.