
Bike chain repair update: This guide/tool page was refreshed on May 26, 2026 with a clearer decision section, practical checks, and stronger internal links while preserving the original article and tool below.
Bike Chain Repair: First Find Out What Failed
A bike chain problem can be a dropped chain, stiff link, broken link, worn chain, bent derailleur, or poor shifting setup. Start by identifying the failure before forcing the pedals, because pedaling hard on a jammed chain can damage the derailleur, spokes, or frame.
| Problem | What to do first | Tool that helps |
|---|---|---|
| Dropped chain | Shift easy and place it back carefully | Gloves or rag. |
| Broken link | Remove damaged link and reconnect safely | Chain tool or quick link. |
| Stiff link | Flex and inspect the link | Chain tool if adjustment is needed. |
| Repeated skipping | Check wear, cassette, and derailleur alignment | Chain checker and mechanic help. |
For related drivetrain help, use how to reinstall a bike chain and the bike gear ratio calculator.
Having a broken bike chain when you are far away from your destination can be a nightmare but it can be even more devastating when you don’t have the knowledge to make the necessary repairs. If the broken chain is not repaired on time then it can be quite impossible to reach your destination and you don’t want to be left stranded on the road.
In this guide, we will be telling you how to fix a broken bike chain, it is not hard so you don’t need to stress. You just need to have the necessary tools for the repairs and the knowledge. If you compare fixing a flat tire with fixing a broken chain, you would be amazed by the similarities, but difficulty wise fixing a broken chain is much easier.
Sometimes even a minor chain stretch could become a problem, that is when you need to be vary. Having a chain breaker in these situations also helps, you can’t fix everything.
Before you get started though, you need to be prepared about some things. Let’s start with the tools!
Tools Required
In order to fix your bike chain, you need to have the following tools at your disposal.
- Chain Rivet Extractor
- Chain Tool
- Chain Hook
- Master Link
Chain Rivet Extractor
The first thing that you need to have is the chain rivet extractor. This tool pushes out the faulty rivets that are still attached together, while using this the rivets also come out. The difficult part could be the choices that are presented to you in the market.
Any brand is good enough, you just need to select the one that is light and portable so that you can carry it with you on rides.

Buy the Chain Rivet Extractor here.
Chain Tool
A chain tool comprises multi-tools that are necessary for the repairs. Some people love having pliers and screwdrivers with them but if you have a chain tool with you then you don’t need anything else.
Chain Hook
A chain hook is used to hold the chain in place, and this will make the attachment easier. Although they are not that much necessary for repairs, having them can make things very easy for you.
Master Link
A master link is very necessary for repairing your bike chain. The master link comprises two metal plates that are used to join the chain. While one metal plate will be used to join the chain, it is advised to carry a spare one with you. Master links are also adjacent to the number of gears you have, you can find links that are compatible with a lot of gears.
All the brands will work with your bike chain although you have to be careful about Shimano. The Shimano master link will only be compatible with another Shimano product, so be mindful of that.
Now that you know about the tools’ requirements, let’s start with the guide.
The Reason Behind Chains Breaking
You might be wondering that if you take care of your bike the best way possible, why do chains break then? What causes them to break so easily? Let us tell you how!
One of the main reasons why your bike chain just breaks is when you are pedaling at full force and also shift the front derailleur simultaneously. This causes a chain reaction and results in the chain being broken. Apart from this, a sharp object could get stuck in your chain which eventually damages it. You need to be considerate about these things and whenever you feel something bumpy, you should then take your bike to the local bike shop.
Problems could also arise with the rear derailleur and the derailleur cage but that is a rarity.

How Do Bike Chains Operate?
Knowing how bike chains actually work is a necessary feat because knowing is half the problem solved. There are multiple links in a chain and each of that links are connected by a steel pin, we also call them pegs. In order to push out those pins, you can always hammer them or use your trusty chain tool, we would always recommend you to use the chain tool.
If the chain breaks that means that the links are broken, you would have to mend them first and then re-attach. If you have a bike with derailleurs then you are in luck because there are always extra links that you can use, so even if you remove a couple, it won’t result in problems.
The main problem arises with single-speed bikes because you won’t be able to remove the links that way. There is not enough room in the chain to remove those links, you would have to use links from an old chain or get a new one completely.
Before you start with the repairs, you need to know that fixing a bike’s chain can be the dirtiest job on the planet. We would suggest that you change into something comfortable so that the repairs become easy.
Inspect The Chain Carefully
Fixing a bicycle chain can be a tricky job, that is why you need to be careful in every step. Be extra mindful of the chain pin and the chain ring, if not handled with care they can be damaged. The first thing to do here is to inspect the two broken ends, flip your bike so that you can inspect easily. Chances are that only one end is broken or it could be both, the damaged part needs to be removed. Make sure that the rear wheel is in the right gear before doing all of this.
You don’t need to remove the damaged end fully, just two segments of it. People often get confused here and remove only one segment, that is what they do wrong here. Be sure to always remove two segments, that is how you will be able to reattach them.
You need to place the chain into the chain tool and then disconnect. You can also use the other tools here, the rivet extractor comes in very handy here.

Separate The Chain Carefully
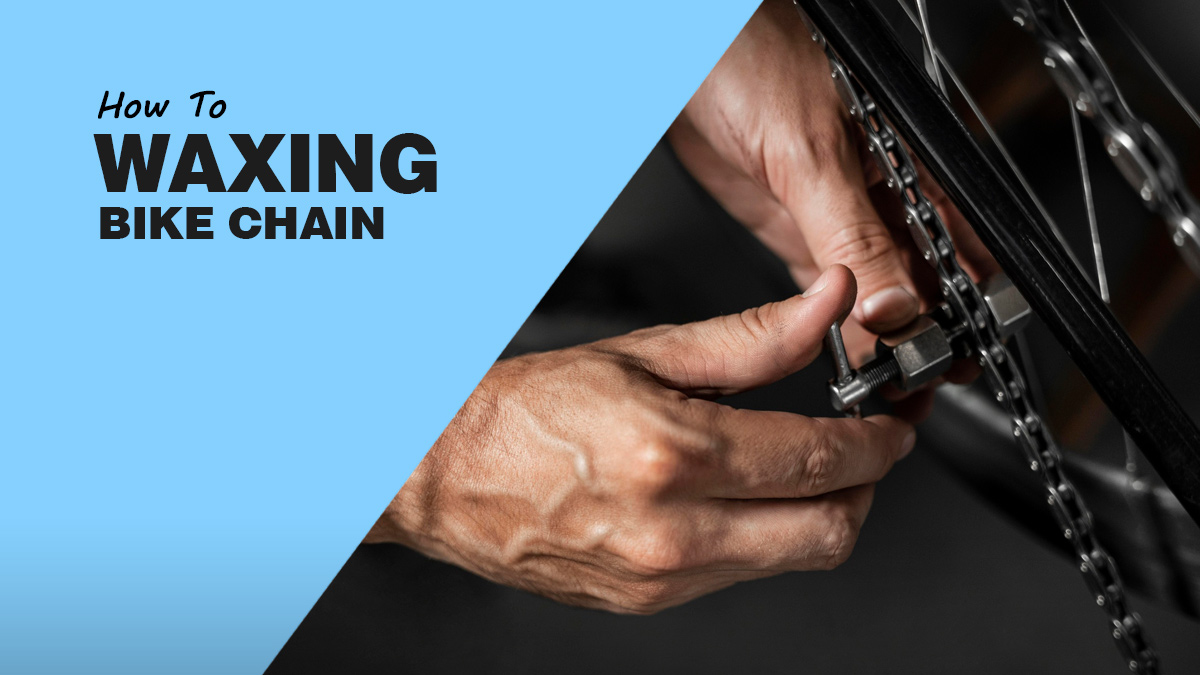
Now you need to separate the chain but be careful while doing so. The pins need to come off the chain, and you will need the chain tool for that, operate the chain tool by turning the screw. The pin on the chain and the pin on the chain tool need to be on the par, you don’t want them slipping out.
Another mistake that people do here is that they remove the pin all the way out, it needs to be done in a manner that the chain just comes out. Leave some room for the pin, you need to put the chain back in there.
Time To Reattach The Links
The chain needs to go back to the sprockets now, our recommendation here would be to have a buddy with you. This is a two-person job so be sure to have the help with you. You will need to use the chain tool to push back the pin back in. Chain links are quite vulnerable so it would help a lot if you have chain lube with you.
Keeping the tool linked with the pin can be very tricky. If you are unsure about this part then let it be done by a professional friend. This whole process also becomes easy when you are installing a new chain, some modern chains have a special link that makes the whole installation process very easy.
Configure The Chain Loose
Now that you have pushed the pin all way in, you will notice that the link has become quite stiff. You need to make it loose so push it back and forth, that is how it will become loose. You are done, well that wasn’t so bad now, was it?
What Might Interest You
- How To Determine Bike Chain Length
- How To Tighten A Bike Chain – Bike Maintenance Tips
- How To Clean Bike Chain – Bike Maintenance Tips
- How To Reinstall Bikes Chain – Bike Tips And Tricks
Reusing The Old Chain
The first thing that would come to your mind would be to throw away the old chain right? Well, that is wrong, you now know how to fix a bike chain and that is a real skill. You can use that old chain to make something new completely.
If you have the necessary skills you can even turn that old worn chain into something shiny like a bracelet or an earring. The sky is the only limit!

1 thought on “How to Fix a Bike Chain: Roadside and Workshop Steps”
My chain slips on my bike more frequently. some tips in this guide helped me to fix it. Thanks a lot.