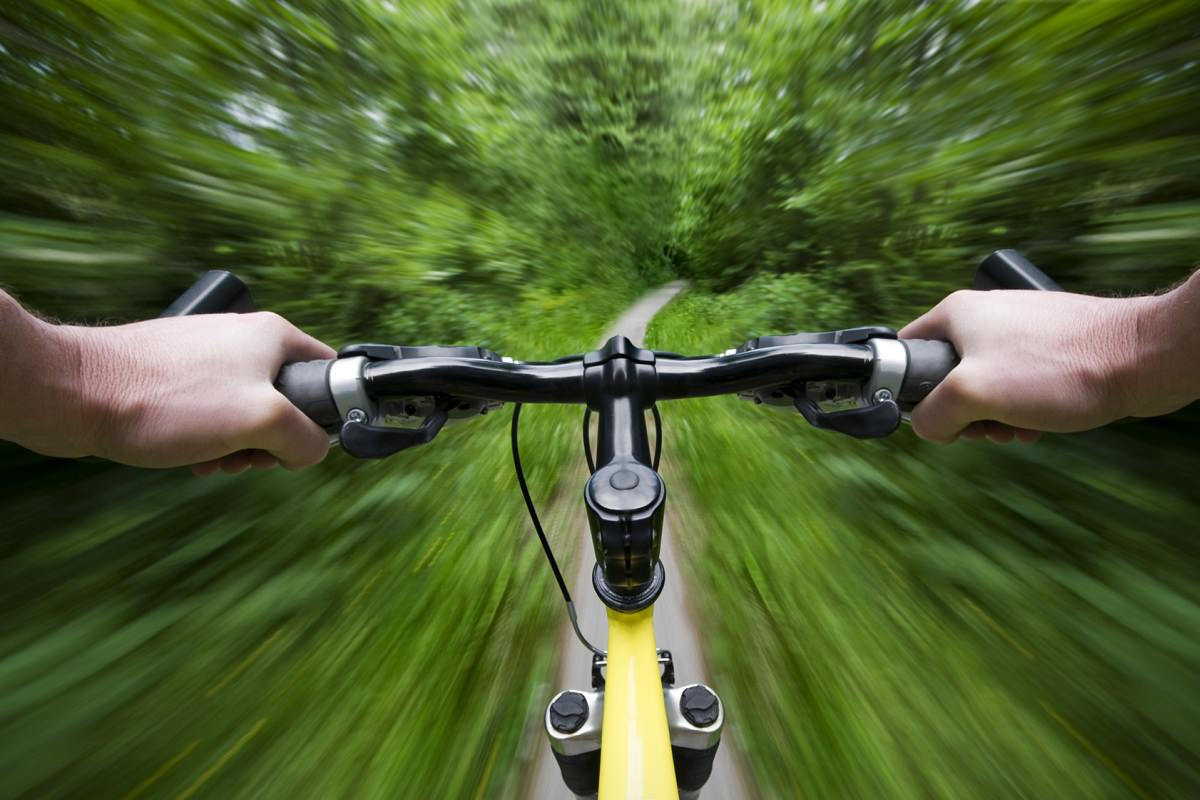
So in this article, I want to begin with the “how” part. If you have read any of my other articles you will know that I truly believe the bike is a utilitarian machine. It is easy to work on, fun to customize, and even more, fun to ride around.
Although, building a bike does take up to 4-5 hours but that depends on your expertise level. It might also cost you more if you go for the more expensive components but Hey! It’s exciting to build a bike of your own and too for the first time.
So, let’s get started.
How To Build Your Bike- Steps
Here is what you are going to need:
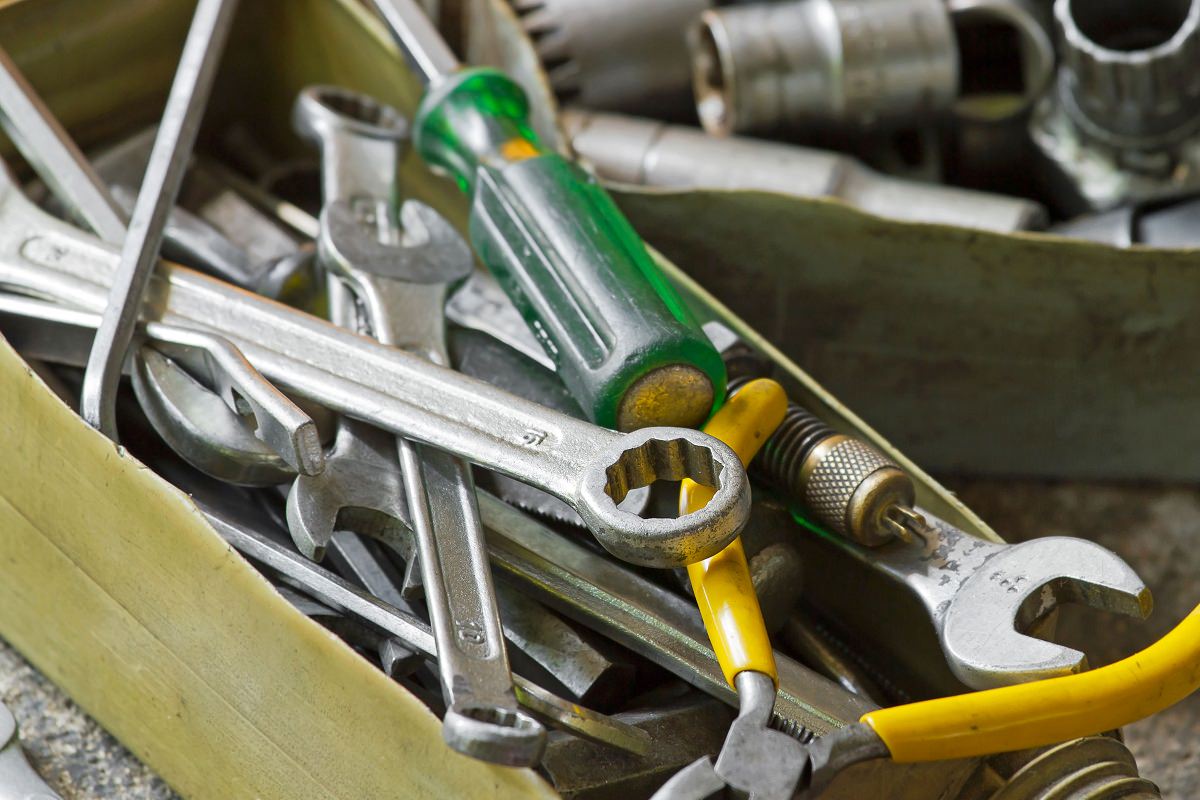
The Tools You Will Need
- Allen Wrench
- Screwdrivers
- Torque Wrench
- Adjustable Wrench
- Spoke Wrench
- Chain Tool
- Bottom Bracket
- Pedal Wrench
- Cable Cutters
- Grease and Lubricants
- Chain Whip and Cassette Lockring Tool
Don’t be scared of the long list. These tools are only going to make the job simpler! Let’s begin.
Want to create a custom bike that’s perfect for you? Follow our guide and build your dream bike
Step 1: Get The Frame
The frame is something you will have to buy either new or used.
You need to choose what kind of bike you want to build and buy accordingly. You should look for something your size of course. Besides the size, you want to make sure the frame is not bent, rusted, or broken in any way. When dealing with steel, try to bend it and see what happens. Aluminum and carbon fiber tend to have more catastrophic failures and will be easy to see with the naked eye.
Get the perfect bike fit with our comprehensive bike frame size guide. Check it out now!
If you can, try to make sure the bottom bracket threads have not been stripped or damaged as well. Many times used bikes will come with a lot of parts still attached to the frame. Sometimes the classifieds or your local co-op are good places to start looking for frames.
Get to know your bike inside and out with our comprehensive guide to bike anatomy

Step 2: Find The Fork
Just like with the frame you need to know what kind of fork you want. It should match the type of bike be it road, BMX, mountain, or everything in between. You should know what material is best for how you want to ride and it needs to have the right clearance for the types of tires you want.
Some manufacturers are now doing offset or tapered headsets in which the top race (headtube race) is smaller in outside diameter than the bottom race (crown race). The key is to find a compatible fork.
In choosing your fork think about the frame material. Carbon fiber is light and strong. It will dampen the hardness of the road beneath you. Aluminum is light and rigid. It can sometimes amplify those bumps in the road but it is cheaper than carbon fiber and most mid to upper-level road bikes are made out of aluminum.
Steel is heavier and suppler than the other two. It is cheaper as well. This is my go-to material for my mountain bike fork. It’s best for touring, fat tire mountain bikes, and family heirloom road bikes. Plus, there is a possibility that it might outlast you!
Step 3: Buy The Headset
The headset is a set of bearings, cups, and races that connect the fork to the frame. It is what allows your front wheel to turn. The races are pressed down onto the fork, the cups are placed into the holes in the headtube on the frame, and bearings fit into these cups.
Most modern headset bearings are sealed bearings. They are also usually higher quality than unsealed bearings.
Sealed means that the bearing inners and outers are press-fitted around the bearing balls themselves. Usually, a rubber or plastic seal is placed on top of the bearing balls so you cannot see them when you look at the finished product. The only drawback here is that sealed bearings are much harder to work on.
Bearings that are not sealed tend to last a little longer because you can clean and regrease them after every season. My favorite headset brands include Chris King, Phil Woods, Paul Components, and Cane Creek.
Not sure what size bike you need? Check out our bike size chart and find the perfect fit for you!
Step 4: Find A Compatible Stem
You need to get a stem that will fit around your steer tube. Modern stems fit down over the steer tube and tighten into place. There will be spacers to raise the height of the stem. The spacers go on top of the headset and then the stem fits down over them.
Then the fork is cut (steer tube is what I use to refer to the part of the fork that is not the actual fork part. It is the long tube of metal the fork is attached to.), and after a star nut is placed inside the steer tube. The headset cap bolts down on top of the stem, sandwiching everything down tight together so the bearings in your headset are flush against their cups.
There is no particular order to buy these things. Most people already have ideas about what kind of bars or stems they want to use and then they buy the matching parts after. There is plenty of variety on the bike market to find what you like and what will be compatible.
Get the perfect bike for your needs with our comprehensive guide to step-through vs. step-over bikes. Check it out now!
Step 4 ½: Do You Want The Quill Stem?
A quill stem is an older part from a time when forks and headsets were threaded so owners could remove the play in the fork by tightening down the nuts over spacers down onto the fork itself. Then the quill stem would fit down inside the steer tube instead of down over the steer tube like a modern stem.
Quill stems often come in an L –shape with the long part of the L going down into the steer tube. There is a long bolt at the top of the stem that connects to a wedge at the bottom.
The more you tighten this bolt the tighter the wedge gets down inside the steer tube holding it into place. I think modern stems and forks are easier to work on but there is a sure classic feel to the quill stem. I have one on my track bike

Step 5: The Handlebars, Shifters, And Brake Levers Come Next
The handlebars are because they define the entire feel of how you interact with your bike. Road bikes traditionally have drop bars, mountain bikes usually have flat bars, and touring bikes have some hybrid in between. The type of bars will determine what kind of shifters and brake levers you have.
Flat bars dictate some kind of trigger shifter and traditional brake lever. Whereas road bars might have you using integrated or bar end shifters and road brakes with the hoods for hand placement.
Ready to assemble your bike? Check out our step-by-step on how to assemble a bike guide to get started today!
Step 6: Now Load Up The Brakes
There are 3 types of brakes out there.
Hub brakes
Where the braking mechanism is in the hub like drum brakes or coaster brakes.
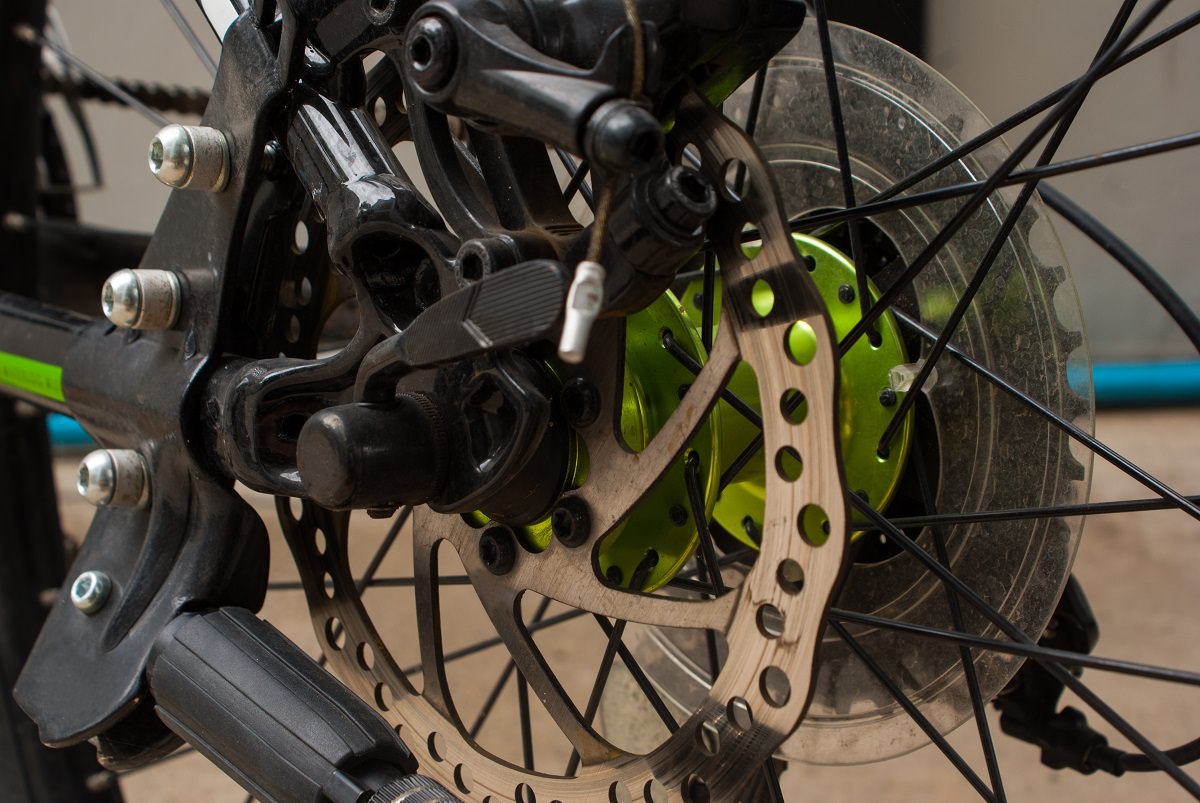
Disc Brakes
Uses a disc rotor and hydraulic or mechanical calipers.
Rim Brakes
That uses a caliper to squeeze the braking surface of your rims. Hub brakes although not super popular can be fun, but you will most likely go with a rim brake or disc brake.
Pros And Cons Of Different Brakes
Here is a table for the pros and cons of the different types of brakes:
| Brake Type | Advantages | Disadvantages | Additional Notes |
|---|---|---|---|
| Disc Brake |
|
|
Not UCI approved for sanctioned road races |
| Mechanical Brake |
|
|
|
| Rim Brake Models |
|
|
|
(read all our road bike reviews here.)
Honestly, if you can afford it, just get hydraulic disc brakes. Doesn’t matter what kind of bike you are trying for, the stopping power alone is my number one reason.

Step 7: Get In The Wheels and Tires
Wheels are made up of a hub, a rim, spokes, and nipples. Hubs and their quality will determine how light your wheel is and how well it will roll. Inside the hub is a set of bearings sitting over your axle.
Bearings
The better the bearings the better it rolls. Most companies have low, mid, and high-quality sets. Shimano has Tiagra and Dura-Ace. Sram has rivals and every other company has crazy names for their different sets. Look for something you like.
Rims
The same goes for rims. Most rims are made of aluminum but carbon is extremely popular with all those people looking to save weight. The important thing to remember for carbon road rims is that traditional brake pads do not work.
They generate too much heat from the friction between the pad and rim and end up melting the resin that holds the carbon fiber together. You will have to get carbon fiber-specific brake pads.
Spokes
There are also quite a few different spoke materials and styles. Some will be sturdy to help you carry that extra load. Some are flattened or butted for less material and better wind resistance. Do some research and find what is best for you. I usually go with a 32-hole 3-cross pattern. There are so many different options.
Tires
Do some research and get the tire you need for the type of riding you want to do. If you want to run wider tires make sure you have the clearance in your frame and fork.

Step 8: What About The Seat Post?
First of all, make sure you get the right size that is compatible with the seat tube on your frame. After that, it is a matter of the material. Carbon, steel, and alloy (aluminum alloy usually) are the three main materials.
| Material | Advantages | Disadvantages | Additional Considerations |
|---|---|---|---|
| Carbon | Good at dampening road ruts | Expensive and hard to repair | |
| Steel | Will not break, easy to repair, inexpensive | Can be uncomfortable | |
| Alloy | Balanced characteristics | ||
| Suspension Seatpost | Provides a softer ride | May enhance comfort | |
| Dropper Seatpost | Common on downhill mountain bikes | Do research before purchasing |
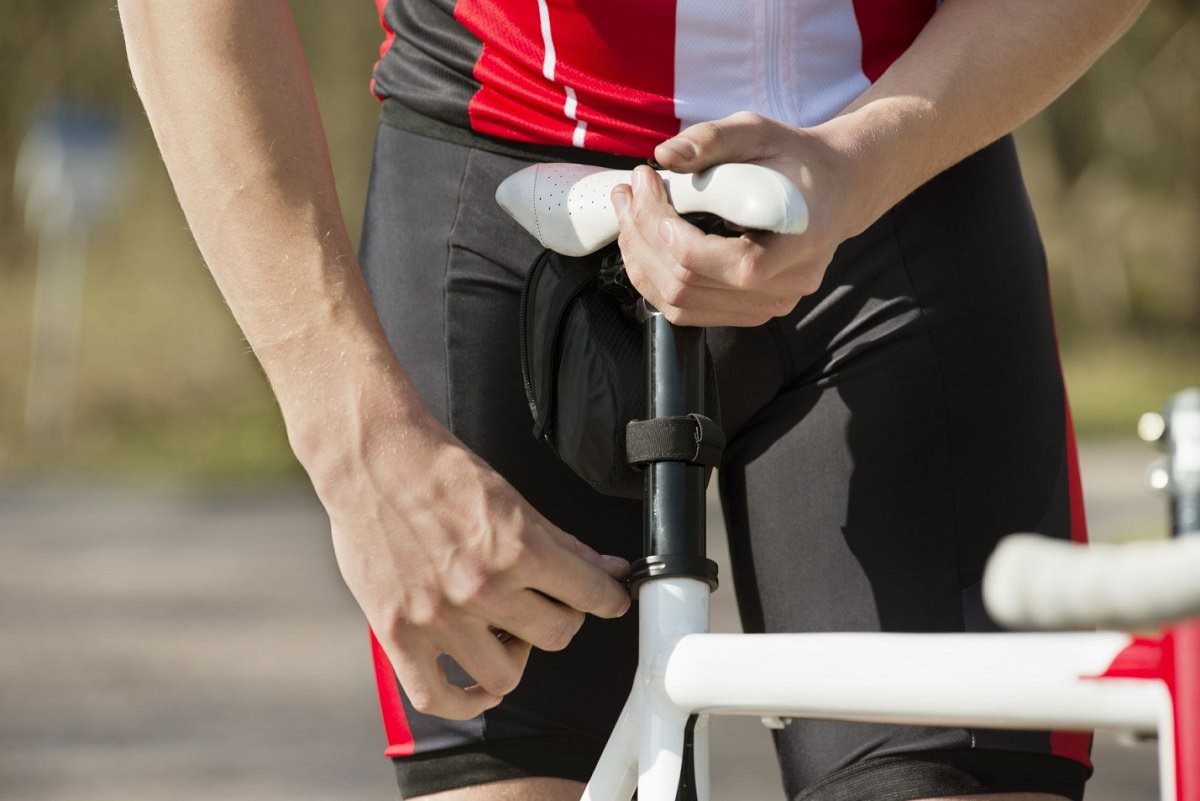
Step 9: Hunt For A Comfortable Saddle
The saddle is perhaps the easiest thing to buy that will affect the way you ride. Get something comfortable that you can put some miles into.
Don’t worry about compatibility so much because all saddles interface with the post the same way and sizing is not an issue. Check out this article I did a few weeks back on how to choose your saddle.

Step 10: Now Get The Bottom Bracket
This is where things can get tricky depending on your frame. The thread pitch is important. This is the distance between each thread in the bottom bracket shell. The shell is where the bottom bracket fits into your bike.
The thread pitch must be the same. There are so many different kinds of measurement standards used over the years that this is pretty complicated. There is the Japanese industrial standard, ISO, some French and English standards are different, and of course, Campagnolo is all kinds of weird.
Once you have determined the thread pitch just buy a compatible bottom bracket that you like. Here you’ll be wanting to get a feel for how light they can be and what kind of bearings they use. The better quality the bearings are, the better your pedal stroke can be.
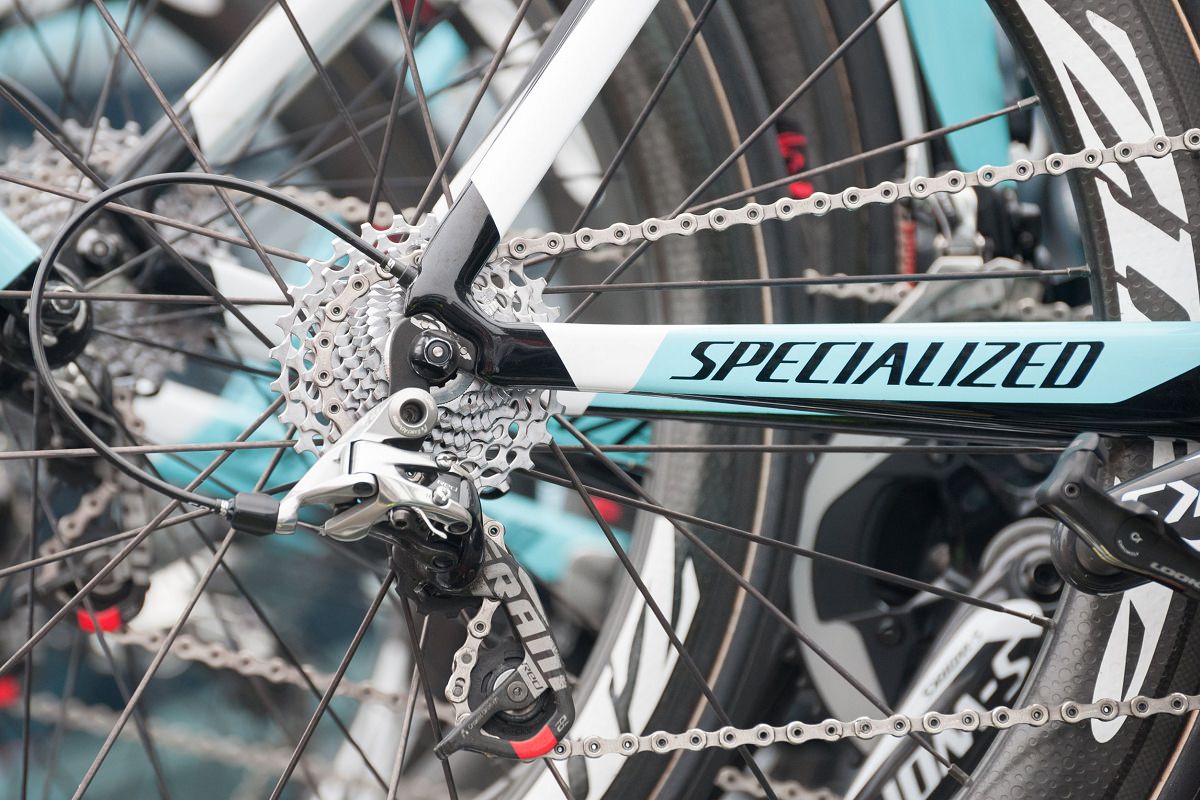
Step 10 ½: Get The Crankset, Gearing And You Are Almost Done
Single, double, triple, and gear inches are things you should be considering. All types of cycling have their preferred gearing. For example, mountain bikes usually have a really large range of gears especially on the low end so riders can climb all of the hills they face.
Road riders usually go with a double in the front and 10-11 speeds in the rear. This is important because it will determine what you can do on your bike. I suggest doing some more research on your own because there are many different theories about what kind of gear you need. Make sure that your gearing is compatible with your derailleur (derailer) and that your derailleurs are compatible with your shifters.
Why Should You Build Your Bike?
So after all that why would you build your bike? It is the only way to have complete control of what goes on your bike. Sure, you can add new parts to an already complete bike but you won’t learn as much.
Building a bike will increase your knowledge of the industry. It will increase your knowledge of the mechanics of bicycles, and increase your confidence in yourself. I have done it. It took time and effort, and it was not cheaper than buying a complete bike but it changed the way I think about transportation. it made me want to become a mechanic which I am today.
Here is a beginner guide that might help you a lot through the building process
Tips To Build Your Bike
With such an exciting project at hand, it’s very easy to get carried away but you do want to get the job done, rightly. Here are a few things to keep in mind when building your custom bike.
1. Keep In Mind Your Riding Style
You want to set your mind on which type of bike you want along with your riding style. I am an adrenaline junkie so I knew I would be riding on the hills more than the roads.
This is why I built myself a mountain bike using a Nukeproof Scout 275 Alloy MTB Frame. You can build a road bike, commuter, or whatever kind of bike, just make sure that it aligns with your riding preferences. This will help you choose the right components.
2. Do Your Research!
We have done most of this part but try to search on the different components. Explore the bike shops and see what interests you. If you are going to buy a used frame (which I do not recommend) examine it thoroughly. Make a wise choice.
3. Set Your Budget
Although it is somewhat cheaper than buying a whole bike, you still need to set a budget. Try to achieve a balance between quality and affordability. You do not want to get carried away with the idea because that can cost you some bucks!
4. Get The Right Tools
As I previously said, having the right tools will make your job much easier. Get the right tools before you start assembling your bike.
5. Seek Professional Help
If things get too complicated or overwhelming, seek professional help. Most home mechanics can even pay a visit to your garage to help you with the process. Take proper measurements so that you can get a proper bike fit.
You can also visit a custom bike builder or a bike shop that specializes in building custom bikes to get help.
FAQs
Can I assemble a bike myself?
Yes, you can assemble the bike yourself if you follow the steps properly.
What does it cost to build a bike?
The cost of building a bike depends on the type of material you buy to build it. It can cost you a hundred to thousand dollars.
Are bikes easy to build?
Yes, you have basic mechanical skills, it can be easy to build a bike.
What materials are used to build a bike?
Steel, carbon, aluminum, and titanium are commonly used materials to build a bike.
Recap
Yes, I know the whole process requires some serious dedication but don’t forget to enjoy the process. Building your dream bike is rewarding and that’s what makes the process much more fun!
Your new bike is just a few tweaks away! If you have any questions, hit me up in the comment section below.
Also Read
- How To Install New Bike Tires? Tips and Tricks
- How To Tighten and Align Brakes on Bike – Bike Tips and Tricks
- How To Reinstall Bikes Chain – Bike Tips and Tricks
- How To Use A Bike Pump — Bike Tips and Tricks

11 thoughts on “How To Build Your Own Bike- A Detailed Guide”
great post love this page
For hottest information you have to pay a visit world wide web and
on internet I found this site as a best web page for most up-to-date updates.
inspiring…
I was extremely pleased to discover this site. I want to to
thank you for ones time due to this wonderful read!!
I definitely enjoyed every bit of it and I have you bookmarked to
see new information in your website.
Thanks for all infornation, but If I want to build a bike and start to sell it, what happens?
I need some permission to do it?
I need some certification about it?
If someone can help me I say thanks…
Hello, I live in south florida. I have a unique bicycle frame idea. Can you provide guidance as to what sort of person/place I should seek out to make it?
Many thanks in advance. Love this site!
The site below is my own personal business as I do advertising design on the side, and since you requested a website its the only one I have to offer. Have a great one!
Hey Jay.
I also have an idea for a new tyoe of bike but not much technical knowledge to do it alone. I see your post is from 2017. Did you get to find anything since then ?
Thanks
honestly made me so motivated i use my bike for delievries (work) and i love always playing around with my bikes swapping the seats and tyres around but always wanted to make my own bike but never had confidence on how to but seeing this made my eyes shine and really excited to make my own bike now thanks very much
how do I know whether parts are compatible? e.g. if I buy a frame which fork fits etc. I see a lot of great products but never know if they would fit together in the end
I have same question.
Well, it’s an excellent idea for a biker, and a biker can make his bike by his choice by this process.
I have some ideas in my mind but can’t understand how to apply this. Know some essential things from your informative article. Thanks for this.
Hopefully, I can start building a bike soon.