No matter how you ride, whether on or off the road, casually or competitively, bicycling is most comfortable when you adjust your bike and its components to fit your body. Fitting your bike will be great for your flexibility, height, and riding style.
If your bike fits poorly, it’ll make your riding inefficient, and cause muscle aches, body pains, and general discomfort that might discourage you from cycling regularly – these are problems that may prevent them from cycling often.
Table of Contents
- A Step-by-Step Guide to Properly Fit a Bike
- Getting Started
- Step 1: – Select the perfect bike size
- Step 2: Adjust the seat
- Step 3: Adjusting the seat height
- Step 4: Adjust the fore/aft position of the seat
- Step 5: Align the side-to-side cleat position (knee alignment)
- Step 6: Set the height of the handlebar
- Step 7: Adjust the handlebar reach
- Step 8: Adjust the crank length
- Why Fit Your Bike?
- Bike Sizes
- Bottom line
A Step-by-Step Guide To Properly Fit A Bike
For those who are new to the concept of bike fitting, the best approach is to take it one step at a time; you don’t need to rush. This bike fit process is easy to follow and will enable you to do a bike fit at home by yourself.
But if you experience an issue that you’re unable to fix on your own, don’t hesitate to contact a professional bicycle-fit technician. Let’s get started with your DIY bike fit.
Getting Started
When cycling, the body comes in contact with the bicycle at five points; the hands, the pelvis, and the feet. These points have huge impacts on the comfort and efficiency of the rider.
There are some methods you can use to determine your ideal position as you ride, such as:
- Hands – brake levers, handlebars, and hoods
- Pelvis – height, saddle selection, fore/aft and tilt, and cycling shorts
- Feet – cleats, pedals, cycling shoes, and crank arm length
Step 1: – Select The Perfect Bike Size
This step is for those who are yet to purchase their bikes, and it happens to be the most important step in having the right bike fit. Even the best bike fit expert will be unable to fix a bike that is not your size.
Ensure that the bike you purchase is not too big or too small for you. In case you buy a bike that is not your size, you can manipulate the saddle height, the stem length, the seat tube, or the saddle setback.
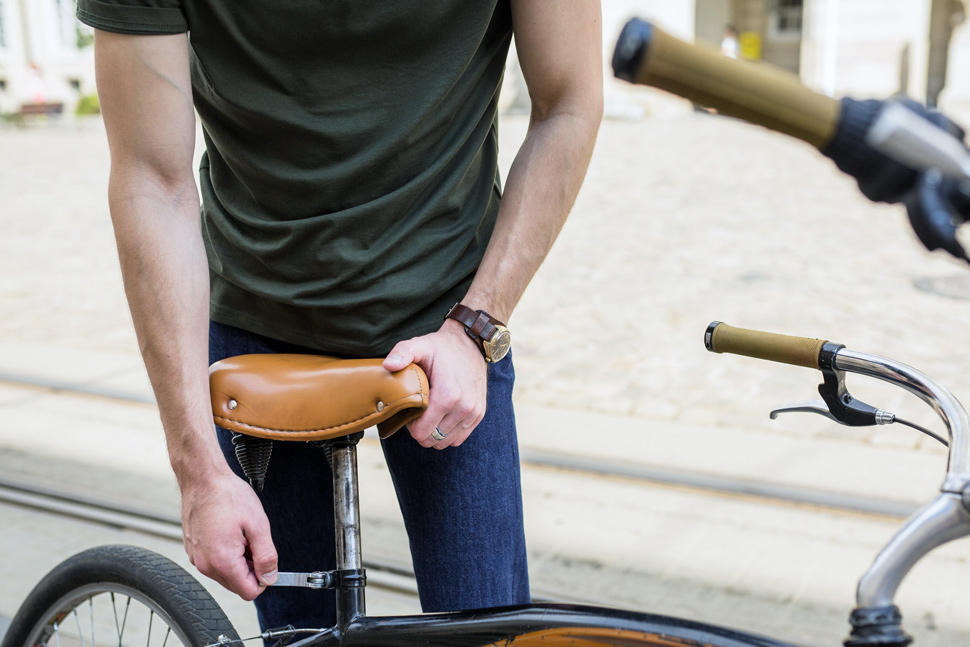
Step 2: Adjust The Seat

The next step in fitting your bike is to adjust the seat. You can do this by placing the bicycle on a level surface. While at it, ensure that the seat is level by putting a carpenter’s level on the seat. If you don’t have this tool, use a yardstick.
Place it on the seat and compare its edge to a horizontal line. As you adjust the length, make sure that the seat is centered on its rails.
Step 3: Adjusting The Seat Height
The easiest way to adjust the seat height is to do it on a trainer, or indoors in a doorway. You’ll need another person to assist you with this process. Wear your cycling shorts and shoes, mount your bike in the trainer or the doorway, get on, and use the doorjamb for support.
To get the perfect seat height, put your heels on the pedals, and pedal backward. You’ll know if you’ve gotten the best seat height if your legs are completely extended at the bottoms of the pedal strokes with your heels on the pedals. Setting the saddle forward can mess with your riding position. Your legs should have a slight bend.
As you pedal backward, ask your helper to observe for rocking hips. When he or she notices rocking hips, this means that the seat is too high. Your legs should completely extend at the bottom of the pedal stroke with no rocking of the hips.
Step 4: Adjust The Fore/Aft Position Of The Seat
After you’ve set the seat height, focus on adjusting the angle of the seat and its fore/aft position on the seat post.
Some cyclists prefer leveled seats or seats that are parallel to the ground. But some people may find it more comfortable when the nose of the seat is slightly angled down.
Adjusting the fore/aft position of the seat can be a bit complicated; you may need the help of a friend. The best way to do this is to sit on the bike on a level surface with your foot on a pedal at the 3 o’clock position.
Then use a string with a small weight at the end and dangle it from the small indent immediately below your kneecap. Once you’re done with this step, consider your knee alignment.
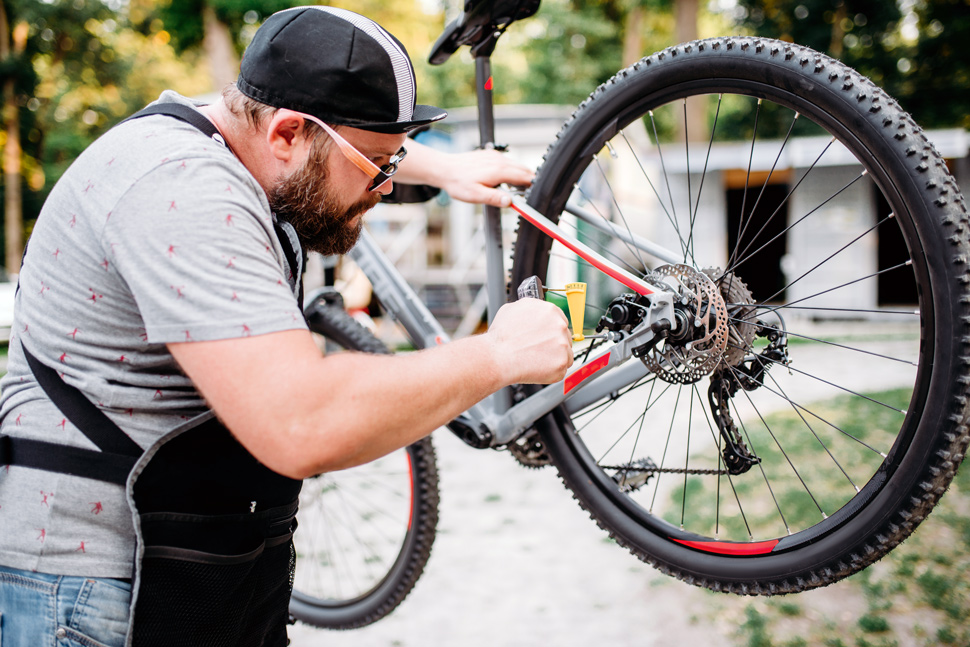
Step 5: Align The Side-To-Side Cleat Position (Knee Alignment)
Good bike fit starts with the feet because this part is important for comfort. As you ride, your feet are the most locked-in part of your body. A wrong alignment can have a dangerous effect on your ankle, knee, glute, and lower back.
The side-to-side cleat position is the medial/lateral cleat placement. One way to determine the side-to-side cleat position is to look at the alignment of your knee over your toe; it determines your stance width.
Most people overlook this part of a bike fit. It is recommended for the foot to be below the knee as you pedal.
You can adjust cleats to account for differences in stance width; and the distance between your hips; however, there’s a limit to the degree of adjustment you can make. Those who have wider hips should get pedals that make it possible to use longer spindles to bring the feet out. This will help them to straighten out their knee tracking.
Step 6: Set The Height Of The Handlebar
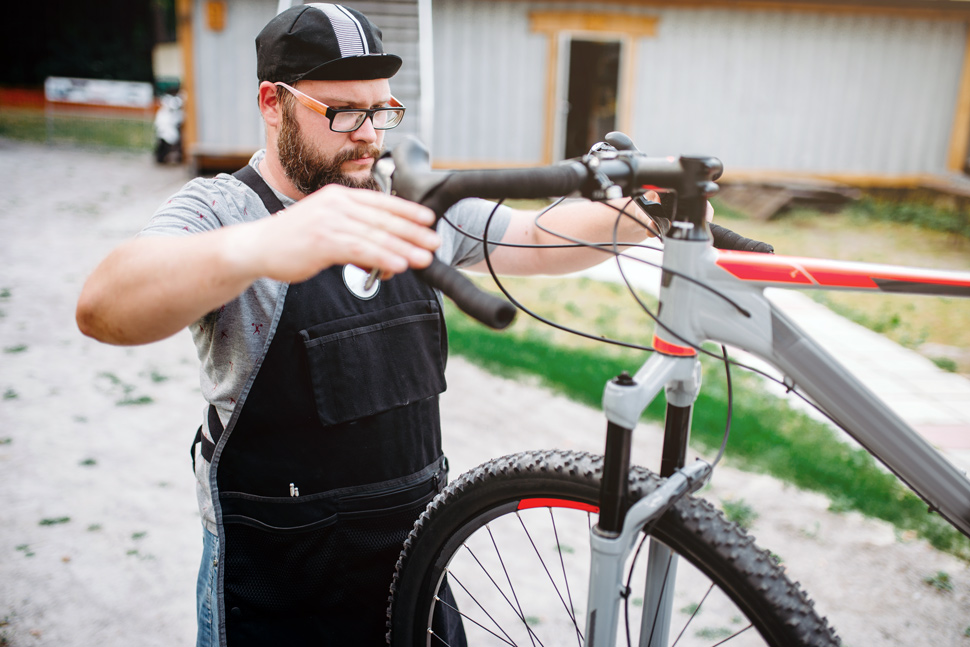
Having the right handlebar height is probably the one adjustment that depends more on what’s comfortable than any particular method. Also note that while most hybrids have adjustable stems for changing the height of the handlebars, some bikes do not.
If your bike has a fixed stem that is non-adjustable, you may need to purchase one that has a further rise to set the handlebars at the right height.
The general rule for adjusting the height of handlebars is that they should be set higher than the seat’s height for a more upright and comfortable riding experience, and lower than the seat’s height for a more forwarding-leaning, performance-oriented riding experience. How you set it will depend on your preference and what you’re comfortable with.
Step 7: Adjust The Handlebar Reach

The right handlebar reach is the key to enjoying comfortable cycling. If the bars are too far or close, it might cause neck, shoulder, back, and hand pain, and also make you always scoot forward or backward on your seat. Make sure that you are comfortable with the handlebar width.
To change the length on most bikes, you’ll need to replace the stem. There are various types of stems, all having different diameters. You, therefore, need to check your position and get the perfect replacement.
Step 8: Adjust The Crank Length
Crank length appears to be one of the least critical factors in most bike fits. Most people have no issue with the cranks that come with bikes. Generally, shorter people are advised to use shorter crank arms and taller individuals should use longer cranks. But the longer the crank, the more your knee will bend.
After properly fitting your bike, if you still encounter some problems, then you should consider the crank length. This is rare because a lot of bike fits will take care of most of these issues.
Even though the length of the crank arm highly depends on the rider, if your inseam is less than 31 inches you may want to use cranks that are shorter than 170mm. If your inseam is greater than 32 inches, then get cranks that are longer than 170 mm.
Why Fit Your Bike?
Proper bike fit is a must to have an enjoyable and safe bike ride. Do you suffer aches or pains whenever you go for a ride. Well, I guess it’s time for you to consider your bike fit!
Most times, you can eliminate these problems with a few advanced bike fitting techniques. But for your safety, you need to properly fit your bike.
Bike Sizes
To effectively determine how to fit your bike, you need to understand how bikes are sized. Bikes come in different models, sizes, and fittings. For instance,
- Road bikes can have standard (Small, Medium, and Large) sizes and numerical sizes. This size range may come with different numbers, making them fit differently.
- Mountain bikes also have standard sizes (Small, Medium, and Large); however, a mountain bike is mostly similar across various models.
- Hybrid bikes on the other hand are a combination of both. They have a more flexible sizing than road bikes but as than mountain bikes.
Bottom Line
Getting a proper bike fit is one of the most commonly ignored steps when buying a new bike; however, it is one of the most important. If you suffer from shoulder discomfort, numb hands, knee pain, lower back pain, or other pains after riding your bike, it is likely a result of improper bike fit.
Though this guide will help you fit your bike yourself, nothing beats a professional bike fit. You can also get it done at a local bike shop. If you wish to get a perfect bike fit, this article will enable you to ask the right question, thus putting you in a better position to determine the right person for the job.
Also Read:
- Bike Size Chart: What Size Bike Do I Need?
- Why You Need To Worry About Road Bike Sizing And Fitting
- Gravel Bike Size Chart: Learn Everything From Sizing To Geometry (Ultimate Guide!)