
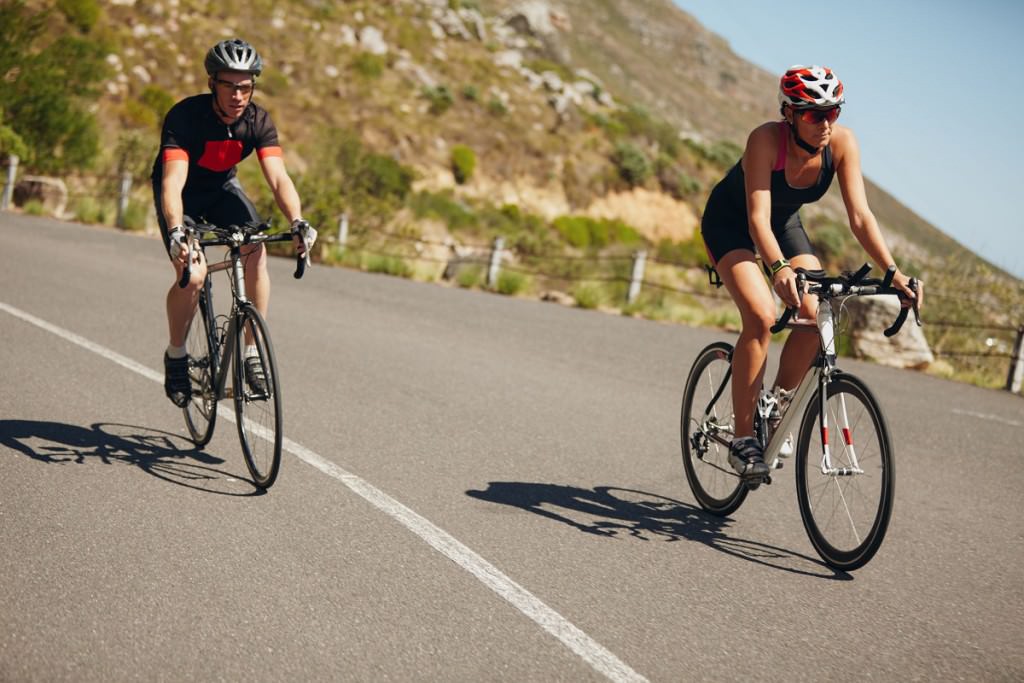
Bike sizing and fitting are important if you want a comfortable and pain-free ride. With the right size, you will feel a difference in bike handling. Knowing bike sizing can be quite helpful in selecting the right bike for a comfortable ride. If the right size is chosen, the bike can run faster and will be easier to handle.
Why Do You Need To Worry About Bike Fitting
Fitting your road bike is to guarantee efficiency and comfort. This begins by paying attention to the five points where your body comes into contact with the bike. These points of contact are the pelvis, two hands, and two feet. These five points of your body must find an ideal position on your bike to give you enough satisfaction.
Consider these important bike fitting processes that must be undertaken on your bike:
- Pelvis: Saddle selection, fore/aft and tilt, height, and occasionally cycling shorts
- Hands: Handlebars, hoods, and brake levers which are connected through a stem
- Feet: Cleats, cycling shoes, pedals, and sometimes crank arm-length
Let’s analyze these processes one by one.

Pelvis
- Saddle selection: Choose a good saddle for your bike. A saddle that is not well-position on your bike may cause you to sit awkwardly on the bike, a situation that can make you feel uncomfortable because of your tilted sitting position.
- Saddle height: Select the right height for your saddle by sitting on it with one leg hanging free and your pelvis level is not one hip tilted higher or lower. As a road biker, you should choose a height that will comfortably allow your knee to enjoy between 27 and 37 degrees of flexion from your straight leg.
- Saddle tilt: You should tilt the saddle to the best position that will guarantee your comfort while riding on your bike.
- Saddle fore/alt position: Knee over pedal spindle positioning has been used for years to explain saddle fore-aft position. This means placing one foot forward (as at 3 o’clock) with your crank arms parallel to the ground and ensuring the forward knee cap is over the center of the pedal. However, road bikers who are more experienced may consider the front-to-back balance themselves on the bike.

Hands
- Handlebar positioning: Your handlebar positioning is a mixture of your road bike’s bar’s height, width, depth, brake types, and position, which sometimes may include the lever’s reach. You can change the position by increasing/decreasing the length and height of the stem, the width and reach of the handlebars, and the fore/aft and inward/outward position of the brake lever hoods. Try to place your hands in the regular position you have been using for a long while.
- Road bike handlebar width: You need a good bike handlebar width, and the best approach to getting a fitting one is to visit a bike shop and physically try your hands on the handlebar, from the drops to the tops.
- Road handlebar reach and drop: The handlebar reach is defined as the measurement from the part of the bar that attaches to the stem to the furthest part of the bar (the point where the bending downward occurs).While drop is said to be the measurement of the top of the handlebar to the top of the lower part of the bar (which is also referred to as the “hooks”). The good rule is that to enjoy riding your road bike, you should shorten your handlebar’s reach and drop!
- Road handlebar rotation: Try to rotate your handlebars upward until you get a more neutral position for your wrist. This will make your ride comfortable as you don’t have to worry about the pain in your wrist.
- Handlebar height: Try to adjust your handlebar height to your comfort: some road bikers may let their handlebars be in a drop position or like riding by putting their hands on the hoods. The choice is yours.

Feet
- Crank length: Most bikers prefer the crank length that comes with their bikes. But if you are uncomfortable, you may want to consider adjusting your crank length. Your crank arm length depends on you: if your inseam is under 31 inches, you may want to use a crank length that is shorter than 170mm. But if your inseam is 32 inches, you may choose to have your crank length to be more than 170mm.
- The foot/pedal connection: Give your foot/pedal connection a good position, because if you are going to get uncomfortable while riding a bike, it comes from the pain arising from poor foot/pedal connection.
- Cleat fore/alt position: A good cleat fore/alt position will give you a pleasurable ride experience. But in case you feel some pain in your calf or Achilles tendon, you need to change something quickly, and this could be moving the cleat back toward the heel of the shoe. But if what you feel is sore under the arch, you should move the cleat forward to the shoe.
- Cleat side-to-side position: You must retain a good cleat side-to-side position, and the best approach to determining this is to look at the position of your knee over-toe alignment, which will determine your stance width. In case you adjusted your cleat but still recognize that your bike is not fast enough, you may consider changing to a pedal that has a different spindle length.
- Cleat tilt: The tilt and angle of your forefoot on the pedal are very helpful in enjoying your ride, so pay attention to it. So, tilt your cleat until you are satisfied with the position.
- Cleat rotation: Do not hesitate to rotate your cleat until you get a firm, good position on the pedals. Your shoe should be in a good position to make the pedaling easier.
- Leg length issues: If you are having some leg length issues, consult your local bike shop and try out the different road bikes to select the best bike that matches your leg length.
What You Need To Consider For A Road Bike Size
Getting a bike is easy with all those tables and size guides. But there are a few things that you have to consider before going for a road bike fit:
1. Different Categories and Sizes
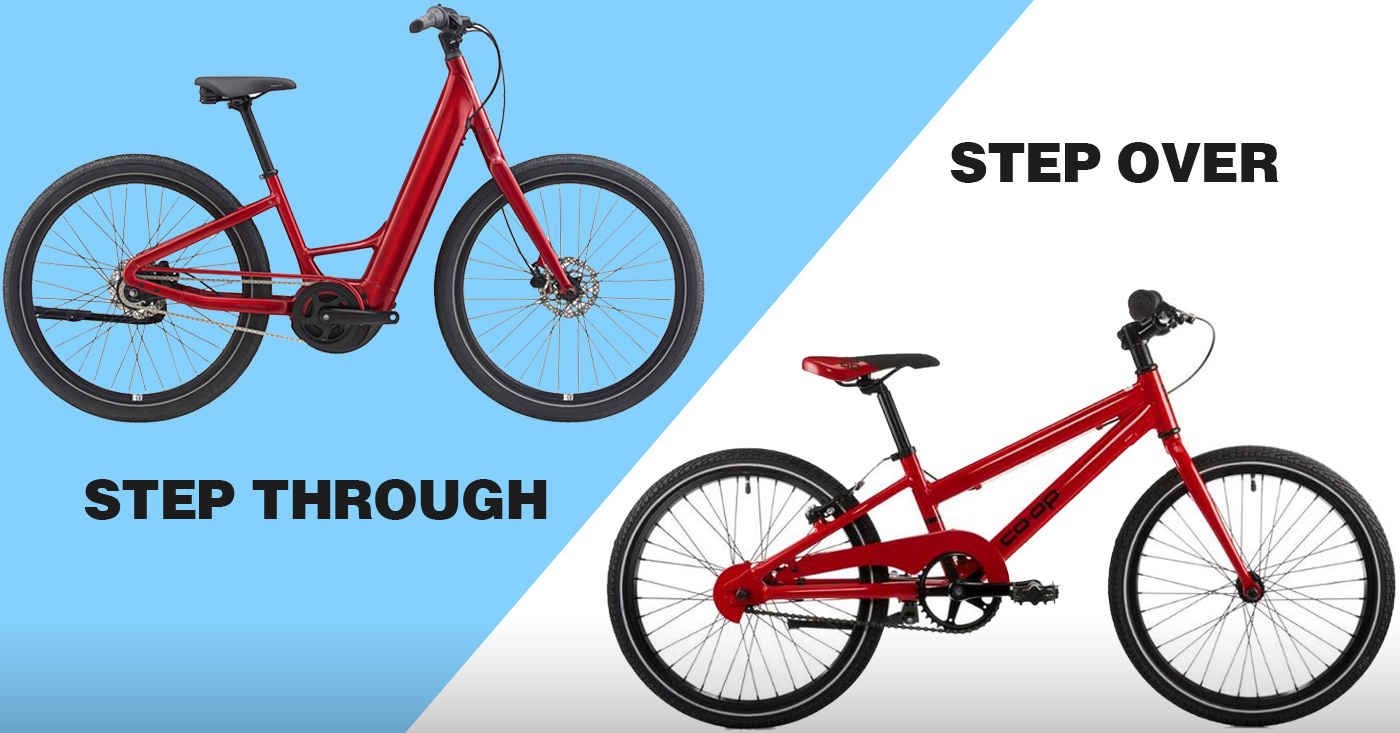
Road bikes’ frames could be made from aluminum, steel, carbon fiber, and titanium. The two known categories of road bikes are “traditional (standard)” and “compact” based on their frame geometry. Traditional/standard frames have horizontal top tubes while compact frames have sloping top tubes.
Road bike sizes are normally defined and measured by the length of their seat tubes. Normally, the length of a bike’s seat tube is given in imperial (inches). Sometimes, this measurement may be categorized as small, medium, large, or extra large. So, if you want to know exactly what road bike size you need, pay attention to these three important measurements:
- The rider’s height (which is your height)
- Inside leg measurement (this is your inside leg measurement)
- The rider’s reach (this is your reach)
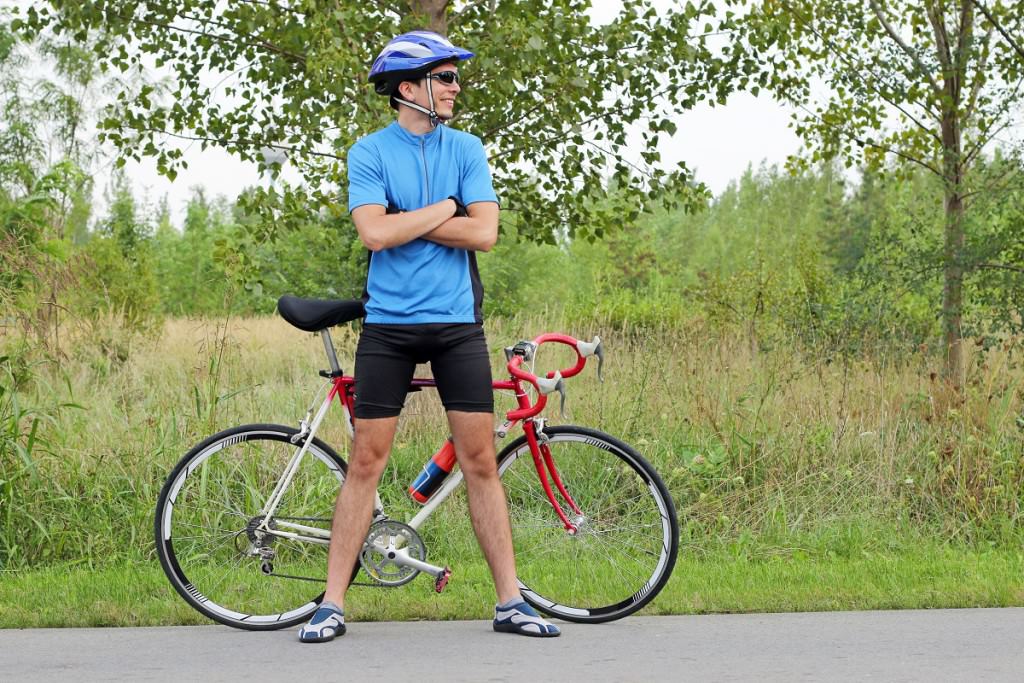
Your inside leg measurement will be useful in determining your stand-over height. It means the distance between the top tube of the bike and your crotch when standing in front of the saddle. It may be a good idea to purchase a road bike with at least an inside leg measurement of 2 inches (2”).
If you’re going to buy a road bike, check out our comprehensive guide on road bike sizing to ensure that you get the perfect fit for your body type.
2. Your Reach And Ape Index
If you are unable to settle for a particular road bike’s size because your height and inside leg measurement turn up two different bike sizes, your reach could be the last deciding factor.
How To Determine Your Reach
To estimate whether you have a long or short reach, you need to, first of all, calculate your “ape index”. This is your arm span minus height. If you have a positive ape index (which means your arm span is greater than your height), it is then advisable that you go for the larger bike’s size. But if your apex index is negative, you may then enjoy riding the bike with the smaller size.
For example, 170 cm (arm span) – 162 cm (height) = -11. Such a rider should go for a road bike with a smaller frame.
Measurements for standard road bikes
| Height | Inside Leg | Frame Size |
|---|---|---|
| 5’1”-5’3” | 27”-29” | 48cm |
| 5’3”– 5’5” | 28”-30” | 50cm |
| 5’5”-5’7” | 29”-31” | 52cm |
| 5’7”-5’9” | 30”-32” | 54cm |
| 5’9”-5’11” | 31”-33” | 56cm |
| 5’11”-6’2” | 32”-34” | 58cm |
| 6’1”-6’3” | 33”-35” | 60cm |
| 6’3”-6’5” | 34”-36” | 62cm |
Give our guide on Bike Size Chart a read to understand what bike size suits you the best.
Measurements for compact road bikes
| Height | Inside Leg | Compact Frame Size |
|---|---|---|
| 5’2”-5’4” | 27”-29” | XS |
| 5’4”-5’7” | 29”-31” | S |
| 5’7”-5’10” | 31”-32” | M |
| 5’10”-6’0” | 32”-33” | M/L |
| 6’0”-6’3” | 33”-34” | L |
| 6’3”-6’6” | 34”-36” | XL |
Measurements for compact road bikes (for ladies only)
| Height | Inside Leg | Compact Frame Size |
|---|---|---|
| 5’0”-5’2” | 26”–28” | 2XS |
| 5’2”-5’4” | 27”-29” | XS |
| 5’4”-5’6” | 28”-30” | S |
| 5’6”-5’8” | 29”-31” | M |
| 5’7”-5’10” | 30”-32” | L |
Check out the Best Hybrid Bikes For Women to find the best options
3. Brands with different sizes
The charts above provide the general frame sizes for both the traditional/standard and compact road bikes, it is important to state that a few bike brands have different sizes as shown in the charts below.
Merckx road bikes are such a brand, and it utilizes “compact geometry”, meaning its frames have sloping top tubes instead of the horizontal ones for traditional road bikes. Their bike frame sizes could be designated as either 42, 45, 48, 51, or 54cm.
TheMerckx road bike sizing
| Traditional sizing | Merckx sizing | Rider’s height | Rider’s height (cm) |
|---|---|---|---|
| 51cm | 42cm | 5′2″–5′4″ | 155–163 |
| 53cm | 45cm | 5′4″–5′7″ | 163–175 |
| 56cm | 48cm | 5′7″–6′0″ | 175–183 |
| 58cm | 51cm | 6′0″–6′3″ | 183–191 |
| 60cm | 54cm | 6′3″–6′6″ | 191–198 |
Learn how to measure your bike frame size with our easy-to-follow guide

4. Road bike tire sizes
Knowing the right road bike size is a good step towards choosing a nice bike for yourself. However, that knowledge is not enough. You also need to be aware of the appropriate tire size and type that will be able to make your cycling experience enjoyable.
If you are using your bike for daily commuting, chances are that you will soon have to change your tires. Hence, being aware of the different types of tires and their corresponding sizes for road bike are quite valuable.
Most road bike tire sizes are designated as 700 x 23, 700 x 25, or 700 x 28, with 700. Women’s bikes may have 650mm rims.
Wide tires (25-28 mm) have the following usefulness:
- For training when you desire extra traction and comfort
- As a commuter, use wide tires because they prevent pinch flats, save the rims from damage, reduce rolling resistance, and guarantee a smooth ride on the roads
- To have maximum grip on the roads, use wide tires
Narrow tires (20-23 mm) have the following usefulness:
- Good choice for any rider who wants to go fast
- Less rolling resistance when running at higher pressure
- For training and racing, most especially the 23mm ones
- Fast, lightweight, and maximum comfort (use 20 mm tires)
Both Performance Bike and Nashbar have a nice menu, so it’s easy to sort their tires and find the right size.
Make sure your bicycle fits you perfectly with our step-by-step guide on how to fit your bicycle.

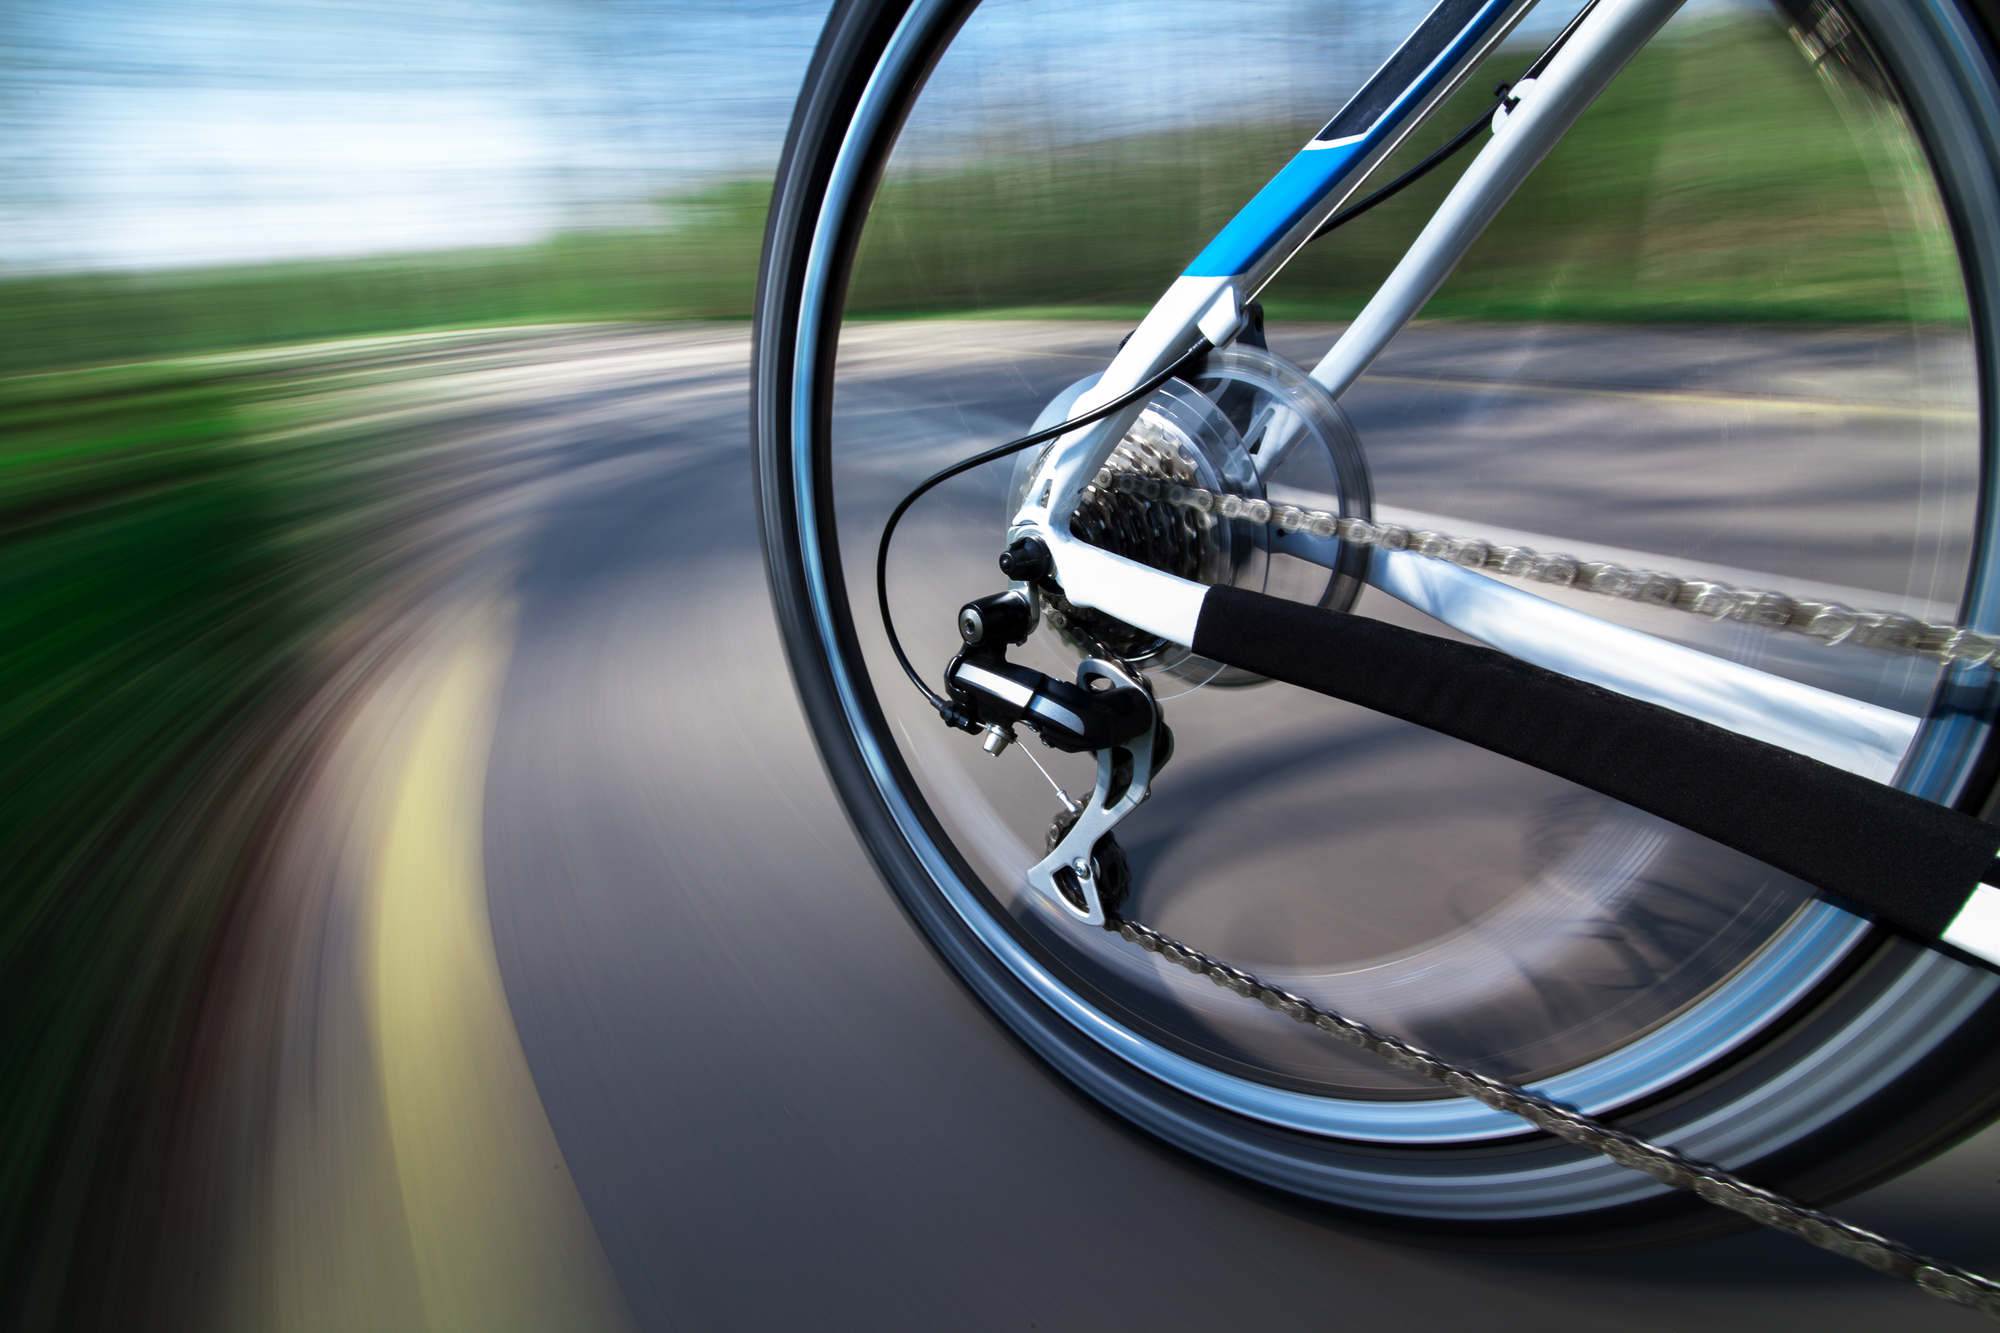
5. Threads per inch (TPI)
The casings of road bike tires are produced with a cloth that consists of non-woven strands of nylon or other materials neatly arranged in piles. Here is the secret: the more threads per inch (tpi) for your road bike’s tires, the supplier and thinner its sidewall will be and the lighter the tire.
So a tire with over 100 TPI is puncture-resistant good for fast-riding, and can run at higher pressures. On the other hand, low-thread count tires, with TPI less than 100, are economical and durable and they are heavier with thicker sidewalls.
You should also know about the “bead types” your bike tire has. The bead is described as the portion of the tire that makes it stay stuck to the rim. This is done by a thin cord of woven steel or aramid fiber which is located around the inner circumference on both sides of the tire and holds the tire firmly to the rims.
There are typically two types of bead tires: Folding bead tires and wire bed tires.
| Aspect | Folding Bead Tires | Wire Bead Tires |
|---|---|---|
| Foldability | Foldable | Not foldable |
| Primary Use | Racing | Training bikes |
| Weight | Lighter | Usually heavier |
| Cost | More expensive | Less expensive |
| Mounting Difficulty | Harder to mount, especially when new | Easier to mount |
| Shape Maintenance | May lose shape when not mounted | Maintains shape even when not mounted |
| Tread Compounds | Butyl rubber, carbon black compounds, silica, synthetic compounds, and other additives | Butyl rubber, carbon black compounds, silica, synthetic compounds, and other additives |
| Benefits | Lightweight for racing, foldable for portability | Cost-effective for training, easy to mount |
| Performance Emphasis | Emphasizes performance for racing applications | Balances durability and cost for training bikes |
Worried that your bicycle might be too big for you? Check out our guide on the signs that your bicycle is too big for you.
FAQs
What is the size of road bike?
Common road bike sizes are 44cm to 62cm. From this, 52 cm is the most famous road bike size.
What size person fits a 52cm bike?
Around 5 feet 5 inches to 5 feet 8 inches sized person can fit a 52cm bike.
What age is 28 inch bike for?
A 28-inch bike is typically suited for kids 8-11 years old.
Can you ride a bike at 30?
Yes, you can ride a bike at 30 if you do not have a health condition.
Conclusion
Sometimes the term “Bike Sizing” is often confused with “Bike Fitting”. But you need to get an appropriate bike size first before you can engage in fitting it don’t you think? For you to properly fit your bike you will be dealing with its saddle, brake levers and hoods, stem, handlebar, and especially its shoes, pedals, and cleats.
If you have any confusion, reach out to me in the comment section below. Meanwhile, here is a video that can help you understand how to perform a proper bike fit!
Also Read:
- Best Mountain Bikes Under $500
- 15 Best Bikes For Heavy Riders
- Bike Size Calculator
- Bike Saddle Height Calculator


8 thoughts on “Why Road Bike Sizing and Fitting Matters For All Riders!”
***”If you have a positive ape index (which means your arm span is greater than your height), it is then advisable that you go for the larger bike’s size. But if your apex index is negative, you may then enjoy riding the bike with the smaller size.
Take for instance, 170 cm (arm span) – 162 cm (height) = -11, such a rider should go for the road bike with the smaller frame.”***
These statements contradict one another. First you say if your arm span is greater than height you choose the larger size, but in the example with the 170cm arm span larger than the 162cm height, you advise the rider to choose the smaller frame. I was wondering which one it is.
Hi, just a note. Two paragraphs in your Ape Index section seem to contradict each other. One paragraph says that if the arm lengh is greater than height, you should buy a larger bike. But, in the example, the arm length is greater (170) than the height (162), but you’ve given a -11 score, and said it should be smaller. Sorry, but the math doesn’t seem to add up. Could you clarify? Thanks.
If you are going to write articles please update them when people spot mistakes (like they have in the two comments above).
As the people before me mentioned – your math is off.
Good on you for trying to explain bike sizing to the non-specialist, but this article is full of inaccuracies and nonsense. This is not helpful to anyone.
Two years since last post regarding and four years since initial – must update article with corrections regarding ape index. 170 – 162 = 8 not – 11, therefore a positive score indicating larger frame not smaller. This is obvious but the confidence in writing the contradiction in the two sections is unnecessarily confusing and of course frustrating to any level of cyclist. Please proof reading before publishing.
I love the section on tire width 😂.
A bicycle with insufficient reach is usually uncomfortable as it causes cramping. That’s the reason why you must measure your bike stem for optimum performance and comfort throughout the road. The first thing to do is to place your road bike against something firm. Know the length by measuring from the middle bolt of the bike’s headset top to the center of the handlebar. A bike stem length usually runs in 10 mm increments and starts from 70 mm to 140 mm. The measurements you get are possibly off by a few millimeters, you must adjust the measurement to the closest 10 mm increment.