Finally, we are talking about my second favorite hobby. What’s the first you ask? Well, it’s riding my bicycle of course! What’s that? Do you want to learn how to assemble a bike? I thought you’d never ask. I like experimenting, so I am always putting together components from different companies to build a bike.
You might have ordered the bike online so it requires assembly, or you might be like me and want to experiment! Anyhow, here’s how you can assemble a bike!
How To Assemble A Bike
Without the right tools, you will be stopped dead in your tracks when assembling a bike.
Tools Needed To Assemble Bike
First, you have got to have these tools:
- Hex Allen Keys
- Bike Pump
- Grease
- Torque Key
- Torque Wrench
- Carbon Assembly Paste (In The Case Of Carbon Parts In Bike)
1. Begin By Unboxing The Bike Box
For the first part, you won’t need a bike mechanic at all. In this step, you need to pull the bike out of the box. Use a screwdriver or other tool to remove all the staples that are on the box lid, this will make sure that there are no damages to the bike and you are also protected from injuries.
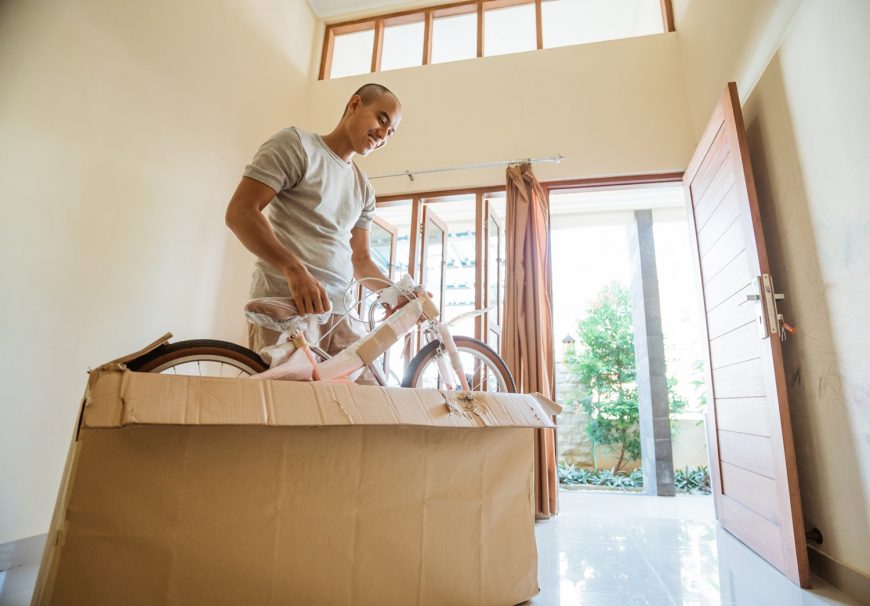
The bike will not be whole when you remove it from the box. The front wheel of the bike and handlebars will have been removed because of shipping. Pull out the bike, the wheels, and the handlebars from the box carefully. Make sure that you also remove the protective packaging with care, as you will need it in the future.
2. Now Insert The Seat Post On The Bike
In the next part, we will be inserting the seat post on the bike. Unpack the seat post first, you will notice that the saddle is still attached to it, and in the majority of the bikes, it is. The seat post would either be carbon or metal. If the seat post is carbon, put a little bit of carbon assembly paste and if it is metal, then apply grease. Both of these pastes will be applied inside the seat tube. Make sure that there is no extra paste on the parts, if so then just wipe it away with a clean rag.
Sometimes the Seatpost clamp bolt will be at the rear of the seat tube. Before tightening the clamp post, check the manual for the correct torque setting.
3. Now Attach The Handlebars
Attaching the handlebars comes next and that is why you have to proceed with caution. Chances are, that you would be getting one of the latest bikes, seemingly mid-tier to high-tier if you have planned on purchasing it online. These bikes come with integrated cockpits, which means that the handlebar and stem are one. You will need the manual to see how to fit the handlebar properly.
Installing Handlebar On A Traditional Two-Piece Stem Bike
If you have a bike with a traditional two-piece stem then you will have to do things differently. First, you would have to remove the front plate of the stem, this is what holds the handlebar to the stem.-
Check the torque setting next and insert the handlebar, tighten the face plate bolts according to the torque setting mentioned in the manual. The next part might be a bit tricky so be careful and attentive.
The bolts at the top of the stem need to be tightened so that there is resistance, this needs to happen when the bolts at the base of the stem are also slackened so that there is a balance. Since we are dealing with a traditional stem, the bolt on the top of the stem will be screwed directly into a star nut, which will go within the fork steerer, this will result in the headset being preloaded.
The Nm setting for this bolt is always balanced, it cannot be too loose or too tight. Now, you need to straighten the stem so that it is on par with the front tire, they need to be in the same line. In the end, just clamp the two stem bolts following the torque setting provided by the manufacturer.
4. Install The Fron Wheel Into The Fork
It is time to insert the front wheel into the fork now, since there are two types of axles in a bike, things will be done differently for each type.
- Thru-Axle
- Quick-Release Skewer
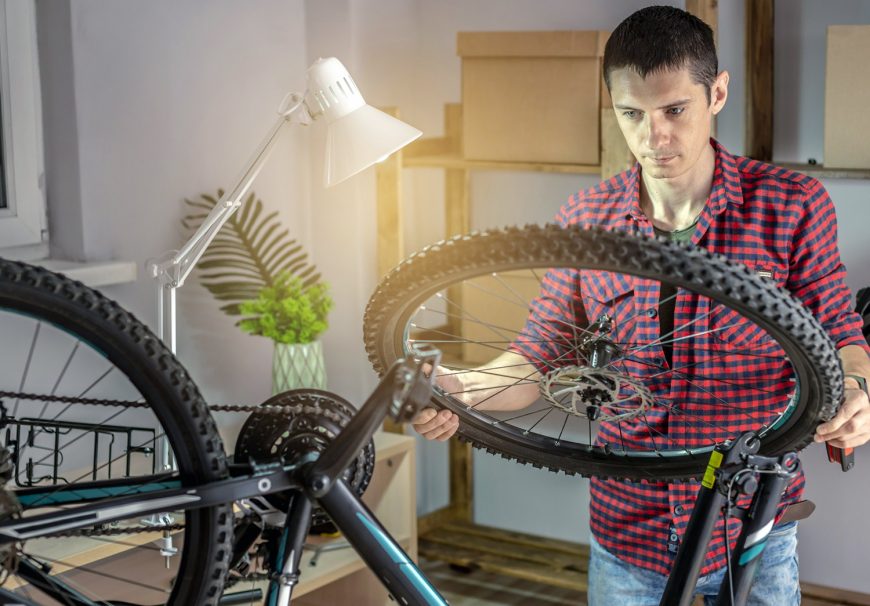
Thru Axle
The Thru Axles are going to vary from bike to bike, as their diameter and length will be different. With Thru Axles, things are also very easy as they bolt the wheels straight into the frame of the bike without any kind of complications.
Quick-Release Skewer
This is where things get difficult as they are nothing like a Thru Axle. This is a narrow type of skewer that passes through the wheel and that is where the differences start. At the fork and rear of the bike frame, there are open slots that are located over the hub axle. This quick-release skewer is fixed properly with the help of a nut, this skewer is attached to the threaded end of the frame.
Now that the skewer is threaded into the nut carefully, we will be using a lever to push for the tension so that it doesn’t budge. This is how the frame is clamped on the hub’s axle. All you have to do now is close the lever. The front wheel needs to be in the perfect position as misalignment can result in the brakes being rubbed against each other or much worse. Be sure to pay extra attention to the brake pads and brake levers, they could be damaged along the way.
5. What To Do When There Are Different Brake Types?
Your bike could have two different types of brakes, and that is why you would have to do things differently.
- Rim Brakes
- Disc Brakes
Rim Brakes
The first possibility is that you could have rim brakes, in this case, it is advised to check what kind of orientation the front bike has. This can be done by checking the direction arrow located on the sidewall.
Disc Brakes
In the case of rim brakes, all you have to do is apply some grease on the thru-axle before inserting it through the wheel. Do this perfectly and there will be nothing to worry about.
6. Inflate The Tires Properly
In the next step, we will be inflating tires and you need to do that per the manufacturer’s guidelines.
Best Tire Pressure Levels For Different Bikes
Different bike types have different recommended levels of PSI. Make sure that you follow them when using the bike pump:
- Road Bikes: 80-130 PSI
- Mountain Bikes: 30 PSI
- Hybrid Bikes: 40-70 PSI
Double-check the tire pressure levels before you head out as even the smallest mistake could result in huge problems.
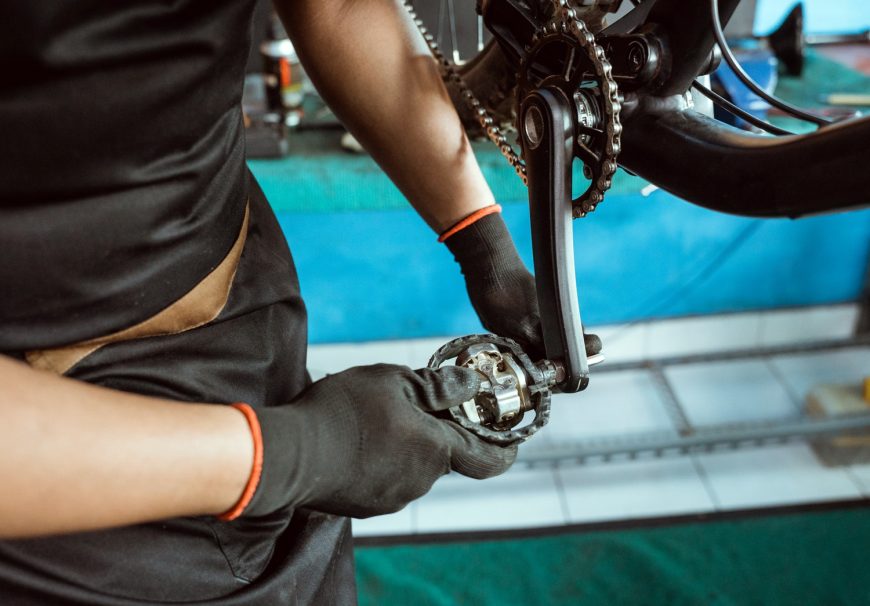
7. Now Install The Pedals
There could be two outcomes here, if your bike comes with good pedals then you install them. In the other case, your bike could come with below-average pedals and you would want to remove them and swap them for something better.
The first thing that we need to do here is grease the pedal threads and then install them. We will be using the Hex Allen keys for that. If you get confused about the left pedal or the right pedal, then they come marked with an L or R.
8. Setting Up The Saddle Height
You need to set up your saddle height according to your comfort level. However, before you start doing that, the saddle rail bolts need to be tight enough. The Seatpost clamp also needs to be tightened, after this set the best height for yourself.
9. Make The Final Inspections
Now that everything is done, it is time to make the final inspections of your bike. These preparations will differ when dealing with kids’ bikes as they are smaller and require less effort. A Mountain Bike or a Road Bike will have the same proceedings though.
Do something fun here for a change, check the brake disc and the quick-release mechanism, and then proceed to take pictures of your bike. You did good, be proud of yourself and celebrate!
Buying Online vs From A Local Bike Shop
There is this eternal debate over the topic if one should purchase bikes from an online store or a local bike shop. Should you ever purchase a bike from a local bike shop?
Paying a visit to a bike shop is a very good idea, especially if it is your first time buying a bike. Since you don’t know about the components and everything, there will be skilled help in the store to help you with the best products according to your budget range.
Apart from this, you would also be able to try out the bikes before buying them. A great fit is necessary if you want to ride your bike perfectly, you don’t want to have a bike that is either too big or too small for you. Brands in the store would be eager to give you a discount or deals as compared to buying from an online store. Plus, if you are a beginner, then one of the skilled bike mechanics from the shop would be more than happy to assemble your bike when it reaches your home.
If you opt for an online store, then there are still great benefits that you will be able to enjoy. After all, it is all about the benefits and the comfort that most cyclists are after. In online stores, there is a wide variety of bikes to choose from, plus there are also amazing discounts that you can enjoy. The only downside to all of this is, that you will have to assemble the bike yourself. That is what the goal of our guide is, to show you in easy steps how to assemble your bike.

FAQs
Can I assemble a bike myself?
Yes, you can assemble a bike yourself.
How long does it take to assemble a bicycle?
It takes 3-4 hours to assemble a bike but if you have done this before, it will take less time.
Are bikes difficult to build?
No, bikes are not difficult to build if you follow the steps properly.
Recap
Now that all the inspections are done, it is time to go for a ride and test-drive your bike. Even if it feels clunky at first, things will fall into place with time. You can get your bike checked through a professional bike mechanic when you are done. This is it, you have finally assembled a bike successfully!
Also Read:
- How To Clean Bike Chain – Bike Maintenance Tips
- How To Use A Bike Pump — Bike Tips And Tricks
- Best Folding Mountain Bikes – Review And Buying Guide
Should you have any questions or require further clarification on the topic, please feel free to connect with our expert author Rhodes Perry by leaving a comment below. We value your engagement and are here to assist you.


