Riding rugged trails while smoothly shifting between hills has never been more comfortable, all thanks to dropper seat posts. They are a game-changing revolution that has made biking much more adaptable. However, this has also led to the birth of certain issues which can be frustrating. Such as a sinking dropper post or one that will just not move.
Although it’s an upsetting situation but is not one without a solution. Maybe you just need to Tighten The Clamp or check your Air Pressure.
Common Dropper Post Problems and Solutions
Nonetheless, let’s find out what problem you have and what you can do to fix it. I have also included some DIY hacks that I practice myself which are game-changers.
Problem 1: Dropper Post Keeps Sinking Down
The most common type of dropper post problem that all of us cycling enthusiasts face is that our dropper post keeps sinking. The main indicator of this problem is that when you are riding, your saddle gradually keeps sinking under your weight. When this happens, it affects your riding as well as your bike handling capabilities.
Usually, three factors are the culprit behind this problem:
1. Air Leakage
There are post’s internal seals through which you can face an air leakage. This is mostly because either you are improperly handling your bike or you are bike lifting when your seat post is down.
2. Cable Tension
Too high or too low cable tension can also prevent the lever of your dropper post from fully disengaging after it is pushed.
3. Air Pressure
Dropper posts also have a required air pressure. It typically ranges from 200-300 PSI. Having low air pressure can also be the reason for your post to sink under your weight.
Solution
If you are facing an air leakage, you have to seek out professional help so that they can bleed the air out and restore the functionality of the dropper post. If this is not your problem, you might have to fix the cable tension. Adjust the cable tension. It should neither be too high nor too low.
This will allow the dropper post lever to engage and disengage. If you have an air pressure problem, pump in the air in intervals using a shock pump until you reach the recommended air pressure level. I would suggest investing in a self-adjusting hydraulic cartridge. These self-adjusting hydraulic cartridges automatically adjust the air pressure.
Hack: If you are facing the air pressure issue a lot, you can carry a small shock pump with you while you ride. This way you can make the required adjustments on the go.

Problem 2: A Stuck Dropper Post
A stuck dropper post can make you feel trapped. It refuses to go down or slide up and just doesn’t budge. This can make you feel trapped in your riding position because you won’t be able to adapt as your trail changes. I like to call it a ride ruiner!
You can face a ride ruiner because:
1. Cable Slack
You have an excessive cable slack which does not allow the cable to move the post efficiently.
2. Tight Seatpost Clamp
Your seatpost clamp is overly tight. This compresses the post and hinders the post-movement.
3. A Damaged Cable
A damaged cable also affects the ability of the dropper post to move smoothly.
Solution
Trim all the excess cable but from the lever side. This will make sure that there is no excess cable to hinder the movement of the dropper post. Loosen your seat post clamp. There will be a manufacturer’s recommendation for torque. Follow these recommendations to avoid any compressing of the post. Examine your cable to see if it is damaged or if there is any wear and tear. If yes, replace the cable as soon as possible.
I have a dropper post with a specialized anti-stiction coating. This coating allows the post to move without getting stuck so there is less risk of facing a stuck dropper post.
Hack: You can also use a zip tie and make it into a makeshift cable tensioner. This way you can reduce slack and make sure that the cable has the required tension.
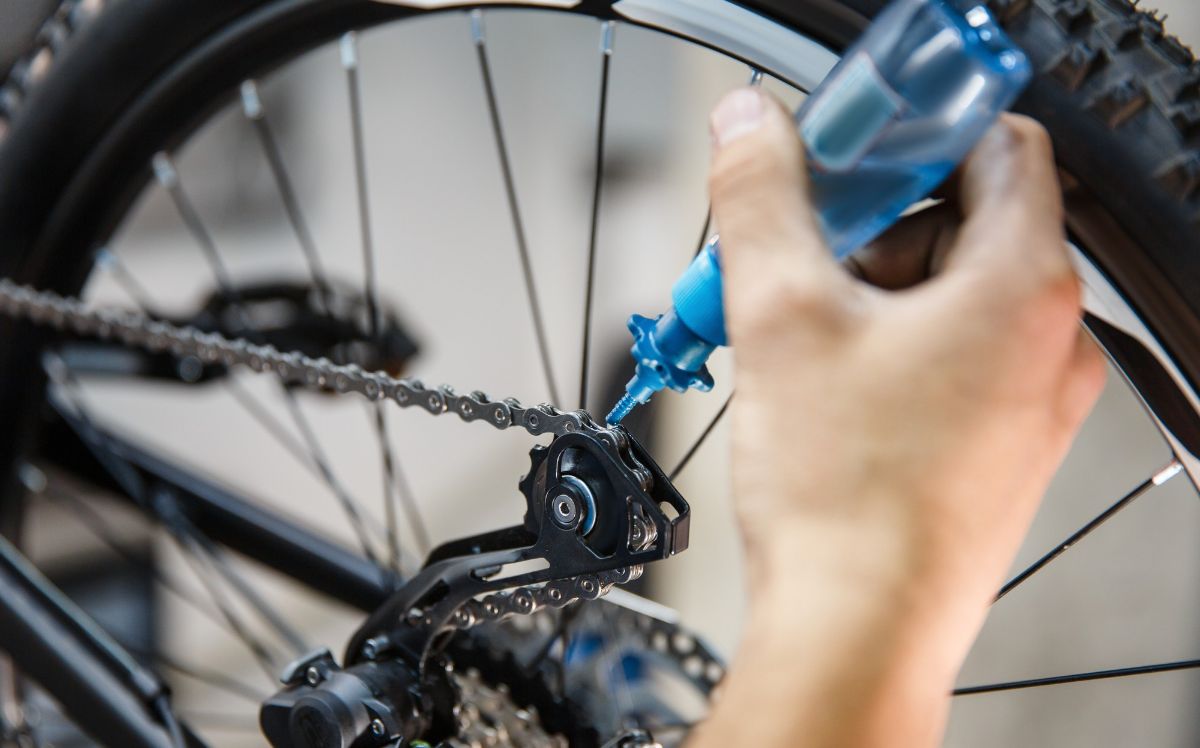
If you’re looking for eco-friendly alternatives to bike chain lubricants, check out our list of options that are both effective and sustainable.
Problem 3: Dropper Post Not Going All The Way Up
A dropper post not going all the way up or failing to reach its fully extended position can limit your chance of enjoying the benefits of a dropper post. As a result, your saddle will not reach your desired height which affects your ability to pedal and maneuver your bike efficiently.
This is mainly caused because of:
1. A Damaged Cable
A damaged cable prevents the post from being fully extended.
2. A Tight Seatpost Clamp
Too tight a seatpost clamp will not allow your seatpost to be fully extended. So you will not be able to reach your desired saddle height if you have an overly tight clamp.
Solution
As I mentioned earlier, you will have some manufacturer’s recommended torque specifications. Adjust the seatpost clamp according to these specifications. Also, replace your cable if it is kinked or damaged. I have installed a torque indicator on my seatpost clamp. This allows me to tighten my clamp according to the correct specification without overly tightening it.
Hack: Take a small amount of heat shrink tubing and apply it to the damaged cable. It will temporarily fix your problem and allow you to fully extend your post until you can replace your cable.

Problem 4: A Wiggling Dropper Post
While it is normal for a dropper post to have somewhat lateral play, it is not normal for it to excessively wiggle. A wiggling dropper post can make your rides unstable. Your saddle might shift a lot and that affects the control you have on your bike. The main cause for a dropper post to wiggle is dirt buildup. Even if you are regularly cleaning your post, dirt, and debris is going to find their way to somehow stick to your post.
Solution
If your dropper post is wiggling excessively, the only solution is to get your post rebuilt or replaced by a professional.
Hack: Take a section of the inner tube and wrap it around the seatpost at the point where it enters the frame. This acts as a cushion to reduce the movement thus making your ride comfortable.
If you’re tired of constantly adjusting your bike seat, check out our guide on how to fix a tilting bike seat
Problem 5: Slow Performance
Slow-operating dropper posts can be frustrating because you can make any adjustments on the go. It will take a lot of time to get the saddle to the required position. The main reason is either dirt or that your internal components are worn out.
Solution
A common solution is regularly cleaning or maintaining your dropper post so that there is no dirt buildup. To avoid this problem, I decided to get a dropper post with user-serviceable internals. This way, it’s easier for me to clean and maintain the post.
Hack: Take a small brush and a compressed air nozzle. Now attach it to your hydration pack. This will create a DIY dropper post-cleaning kit. You can now easily clean your post even on the go and maintain the responsiveness.
Problem 6: Creaking Dropper Post
Imagine riding peacefully down your favorite trail just to be interrupted by the sudden creaking and clicking sound coming from your dropper post. More typically, you will hear this sound when you are trying to adjust your post.
The most common reason for a creaking or noisy dropper post is the lack of lubrication. It’s either that or you have some loose components. Nonetheless, these sounds will be more clear when you make an interaction with your dropper post.
Trouble with the gears on your bike? Read our article on why your bike won’t shift gears and how to troubleshoot!
Solution
Make sure to regularly clean your dropper post. You can also get it serviced so that there is no dirt buildup. Try to apply an appropriate lubricant at regular intervals. Especially apply it to contact points. I use noise-dampening grip tape, the one you use for handlebars, and apply it on the contact points of the dropper post. This helps eliminate any sounds until I can properly address the issue.
Hack: I suggest using a beeswax-based chain lube and applying it to the point where the seat meets the seat post. This will eliminate any friction.
Problem 7: Issues With The Remote Lever
There can also be control problems with your remote lever. The lever will not stay closed or it will feel damaged. This affects your ability to adjust your dropper post. The most common reason behind facing issues with your lever is cable tension. Another reason may be that the lever is damaged.
Solution
If your lever is damaged, get it replaced as soon as possible. If there is no visible damage on your lever post, you can try to adjust the cable tension and see if the problem goes away.
Hack: When going on long rides, I try to carry a small Allen wrench with me. This helps me fine-tune the cable tension making sure that the lever operation stays smooth.
Problem 8: Issues With Hydraulic Dropper Posts
Hydraulic dropper posts have their own set of problems. If you have a hydraulic dropper and it feels spongy when you ride on it, that means that there are air bubbles in the hydraulic lines. There will be a drop in responsiveness and the ride will feel softer than normal when you use the post.
You can tell if there is a hydraulic issue with your post by observing the feel and behavior of the post while you are riding.
Solution
Bleeding the hydraulic system to remove the air bubbles will solve your issue.
Hack: I created my own DIY hydraulic bleed kit by using syringes and tubing. It allows me to release air from the system. You can follow this video and create a mini kit of your own. This one is created to bleed a brake but you can make a similar one for your dropper post.
Problem 9: External Damage
Your dropper post likely suffers from external damage such as scratches or dents. Especially when you do a lot of off-road riding. It surely damages the look of your bike but it also has an impact on your riding performance.
Solution
You can apply a good quality vinyl decal to protect your post from scratches. Be mindful while you are out riding and do not partake in any activity where you know your bike can suffer damage.
Hack: To fix some minor dents, I use a heat gun to reshape the area affected. I sand the area and then apply paint as a touch-up.
Dropper Post Maintenance Checklist
I developed this checklist for you which divides maintenance into three parts: Before every ride, monthly, and every three months. This is a general guideline but you can refer to the manufacturer’s guidelines regarding your specific dropper post.
| Maintenance Task | Frequency | What to look for |
|---|---|---|
| Visual Inspection | Before Every Ride | Check for damage to external components. |
| Remote Lever Operation | Before Every Ride | Test your remote lever’s functionality for smooth operation. |
| Cable Tension | Before Every Ride | Make sure the cable tension falls within the recommended range. |
| Clean and Lubricate | Monthly | Wipe down the dropper post and apply lubricant to the stanchion. |
| Check Remote Lever | Monthly | Inspect your remote lever and cable for wear or damage. |
| Seatpost Clamp Inspection | Every 3 Months | Examine your seatpost clamp for proper torque as per manufacturer. |
| Cable Replacement | Every 3 Months | Replace if there are signs of wear and tear. |
| Air Pressure Check | Every 6 Months | Check your air pressure and adjust it. (250-300 psi). |
| Cable Housing Inspection | Every 6 Months | Inspect cable housing for any damages. Replace as required. |
| Full Service | Yearly | Seek professional service, including seals and components. |
| Stiction Removal | As Required | Remove dirt and clean stanchion for smoother operation. |
| Hydraulic Bleeding | As Required | Bleed the hydraulic system for hydraulic dropper posts. |
Safety Tips For Handling A Dropper Post
Before you start handling your dropper post, here is what you need to do to be safe:
1. Wear Appropriate Safety Gear
Wear a helmet, and some gloves, and don’t forget your safety glasses. The safety gear will help you protect yourself from any flying debris or accidents.
2. Secure Your Bike
Your bike has to be in a stable position before you start working on your dropper post. I use a bike stand for this because it helps keep the bike steady and prevents it from moving. Just be careful that the bike doesn’t trip over.
3. Clean The Work Area
The area where you are planning to work on your bike should be clean and well-lit. Make sure that you can easily access all your tools while you work.
4. Go Through The Manual
There will be a dropper post manual in which there will be guidelines and tips from the manufacturer related to your specific dropper post. Read it carefully because different brands have specific guidelines for their models.
5. Get The Right Tools
Having the right tool for the job makes things much simpler. When I am working on my dropper post, I make sure to keep a torque wrench in hand. It helps me achieve proper tightening.
6. Release The Air Pressure
If you are using an air-sprung or a pneumatic dropper post, release the air pressure. You have to do this before you disassemble any of the parts. This is important so that there is no unexpected movement while maintaining.
7. Careful Handling
There are sharp edges on some components. Be very careful so that you do not cut your hand. When you are working with the cable, do not pinch them. If there is any damage to your cable, you will not be able to control your dropper post. If your dropper post is hydraulic, be careful so that no fluids come in contact with your skin.
While you are bleeding the hydraulic system can vary the fluids. They can be very dangerous if inhaled or ingested. It’s better to use protective equipment to avoid any accidents. Have a first aid kit nearby so you can attend to any minor injuries but also know of the nearest medical facilities just in case.
8. Follow-Ups
Once you are done, double-check everything. Look at the cable routing, the bolts as well, and the fluid levels if you have hydraulic systems. This is to make sure that you do not skip anything and your dropper post is in a fully functioning position.
FAQs
What Is The Pressure On A Dropper Post?
The recommended pressure on a dropper post should be 250-300 psi. This is the pressure for a fully extended post.
Do Dropper Posts Go Up And Down?
Yes, dropper posts go up and down. This functionality allows the rider to adjust the height while riding.
Conclusion
These are the most common issues that you will face with a dropper post and most of them can be solved very easily. You can avoid having such issues with regular maintenance. Addressing these issues before they become a problem can help you enjoy a smoother and safer ride.
Remember, when it comes to your bike maintenance, it is better to be proactive than to be reactive. Did this solve your dropper post problem? Let me know in the comments if you need help with anything else!
Also Read: