
Bike rides, no matter how skillful you are, are not without some dangers. To make these rides safe, bicycles have front and rear braking systems. This system gives you control over any kind of terrain that you are riding. Your power to bring the bicycle to a halt is right under your fingers!
Now, here’s what’s really fascinating. 75% of your braking load is handled by the front brakes! Still, there are some professional riders who use their bikes without front brakes. Even some casual riders like Micheal (a pseudonym), a rider from London, admitted that he does not use front brakes. This admission came right after a woman plunged to her death by a teenage cyclist who was riding without a front brake. In the UK, it is illegal to ride a bicycle without a front brake!
It’s unsafe not to have the front brakes for you as well as those around you. That’s why today, I will show you in easy steps how to install a front brake on your bicycle. I have followed this method many times to install front brakes on my bikes and it works every single time!
7 Bike Tools You Will Need To Install Front Brakes
Having these tools handy will make the installation quicker and more effective.
- Disc Brake Multi-Tool: With hydraulic disc brakes becoming more and more famous, you will need this tool. (Buy It Here)
- Cable Puller: If you are looking to trim some cables and make the bike more presentable then the cable puller is a good choice. (Buy It Here)
- Steel Pick: They might look like tools from the dentist’s office but believe me, nothing fixes internal cables better than the steel pick! (Buy It Here)
- Vernier Caliper: This tool is essential if you want to know the size of components for replacement or repairs, better have them with you! (Buy It Here)
- Philips Screwdriver
- Wrench: Any Kind Will Do
- Pliers: Any Kind Will Do
Stay warm and safe this winter with our guide to ice-tested winter cycling gear.
How To Install Front Brakes On A Bicycle

You have two options when installing the bicycle brakes.
- Linear-Pull Brake Systems
- Cantilever Brakes
Both of these braking systems are mechanical, which means that a lever is attached to wires, and you brake by pulling that lever. These two mechanical brake systems will be installed on the front fork of the bike, on the central pivot point. If you have a bike with suspension then you should be using the linear-pull brakes and if not then you should go with the cantilever brakes.
If you are thinking about rim brakes, you have to remove the rear wheel, adjust the brake rotors, and play around with the rear brake pads.
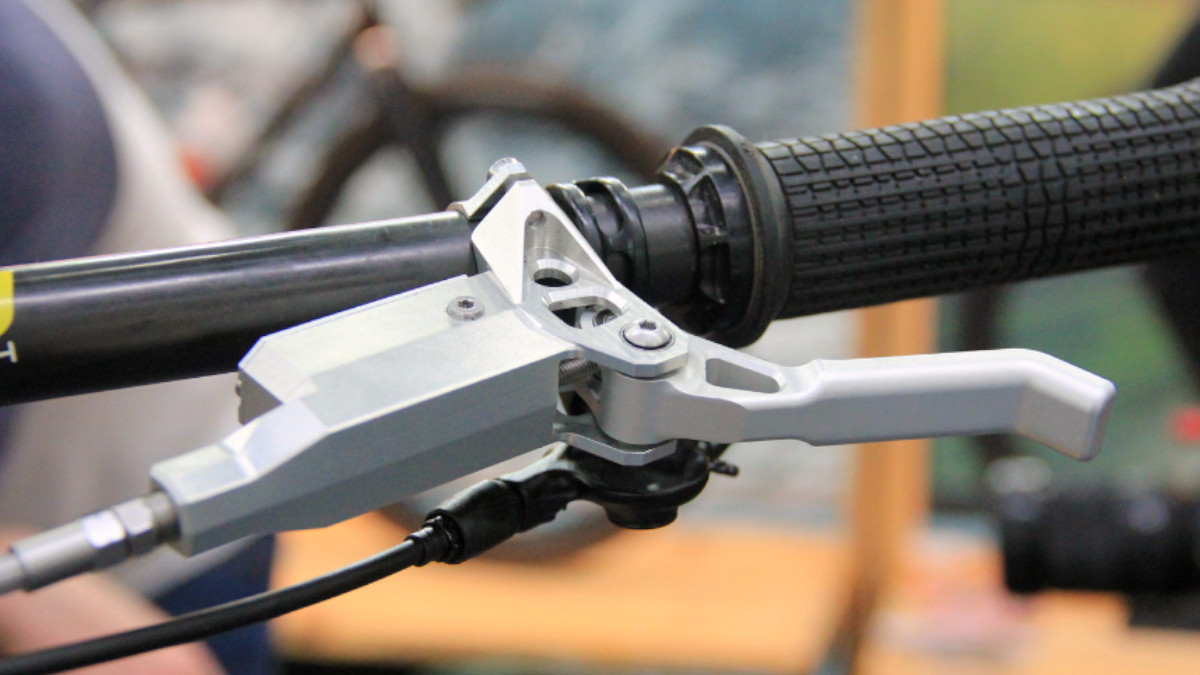
Let’s start with the lever, if you have a lever mechanism you’re good. If you don’t then follow these steps for proper installation.
Don’t let bike jargon confuse you. Learn the parts of your bike with our guide to bike anatomy.
How To Install The Lever System
Brake assembly and brake lever installation are easy.
Step 1
To install the lever on the right handlebar first, remove the grip from the handlebar. Now you have to slide the lever on the right handlebar. Remember that the lever has to point straight, it shouldn’t be curved.
Upgrade your mountain bike’s stopping power with our guide to mountain bike disc brakes.
Step 2
Now you have to secure the lever. Tighten the screw which is on the mounting bracket. After you have secured the lever, you can replace the grip.
Get your brakes back in shape with our simple guide to tighten bike brakes.
Step 3
Now, slide the brake cables through the slot of the lever, all while pulling the brake lever. After this put the cable into the adjustment barrel and you are done.
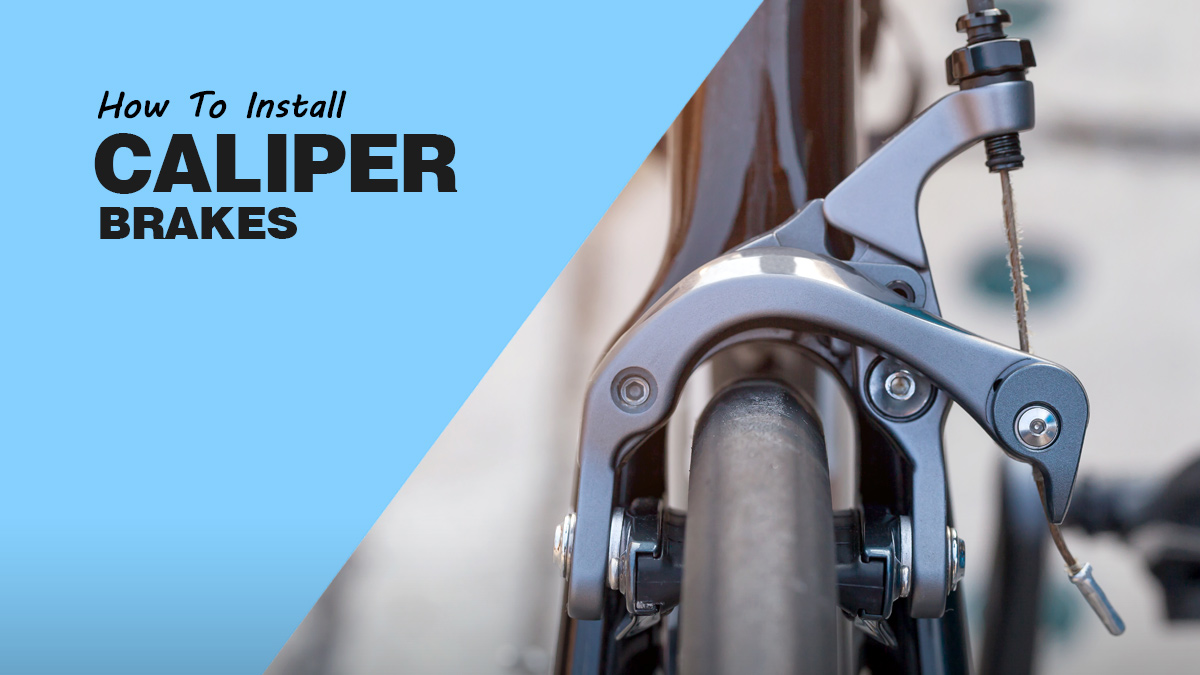
Stop your bike in its tracks! Read our guide to learn how to install caliper brakes today.
How To Install Cantilever Brakes
Cantilever brakes are old but they are still used on bicycles. Here is how you can install a cantilever brake.
Step 1
Attach the brake assembly unit to the front fork of the bike. Now you have put the brake shoes at the rims of the front wheel. They should be really close. Look for the nut attached to the cable anchor bolt. Loosen it, and then put it aside.
Step 2
You have to look for the wire that is at the end of the brake cable. When you find it, put it through the adjustment barrel and the hole at the cable anchor bolt. Now, remove the extra slack from the cable and then tighten the cable anchor bolt.
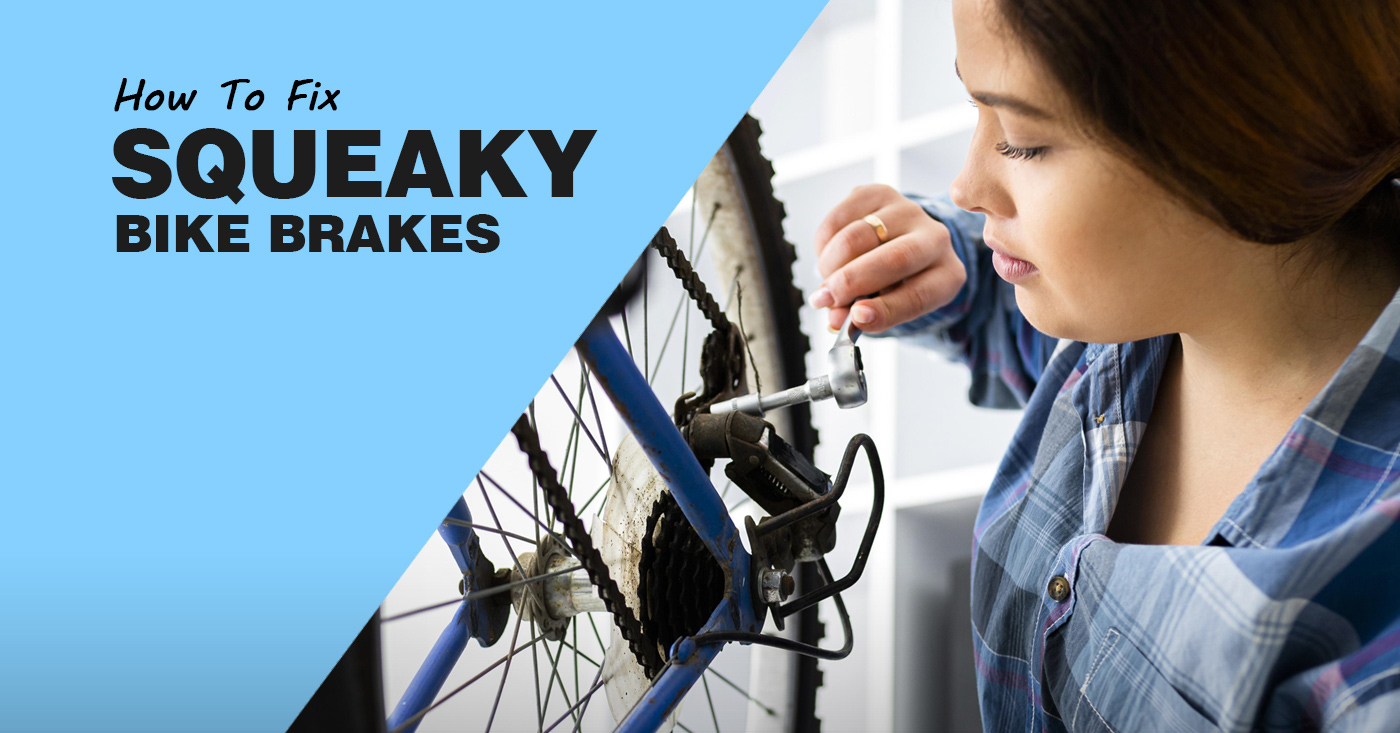
Don’t let your bike’s brakes ruin your peaceful ride. Learn how to fix squeaky bike brakes today.
Step 3
Test the brakes by pulling the lever. Make sure that the brake pad only makes contact with the rim when the lever is pulled.
Upgrade your bike’s stopping power with our guide to road bike disc brakes.

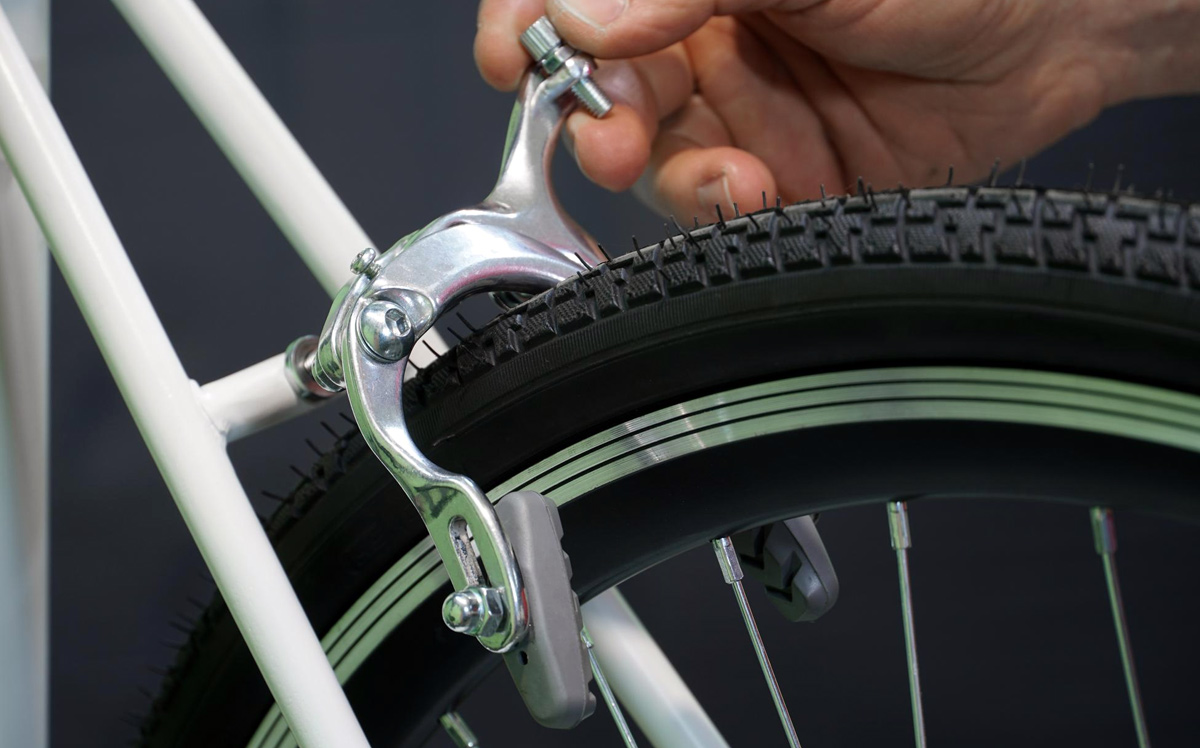
How To Adjust The Cantilever Brakes
Cantilever Brakes are the oldest of the bunch and the hardest to fix/adjust. Head up, be careful while adjusting them, If you are not careful, it could result in brake chatter. It can also damage the brake pad.
With cantilever brakes, everything needs to be aligned properly. These types of brakes have cables that control the left and right brake pads, they need to be of the same length and size. Align the brake pads. They need to be at the same place at both the rims. You need to keep on making these adjustments until you find the perfect balance.
This video explains in detail the process of adjusting the cantilever brakes.
Tip: When it comes to cantilever brakes, the brake cables are extremely fragile. they can get damaged very easily so keep an eye on that. If you are doing it for the first time, I recommend that you get the help of a professional for the initial setup.
Get your bike’s brakes in top shape with our guide on how to tighten and align bike brakes.
How To Install Linear-Pull Brakes
I think Linear-pull brakes are the easiest to use and install. Here are the steps to install them hassle-free.
Step 1
Start here as you did with the cantilever brakes, attach the assembly unit first, and then the brake pads must be pushed against the front rim. Then feed the brake cable into the bike assembly unit.
Learn the step-by-step process of how to assemble a bike with our comprehensive guide for hassle-free assembly.
Step 2
Find the wire which is at the end of the brake cable. Now you will have to loosen up the cable anchor bolt. Pass the wire through it. When the wire has been passed, slightly tighten the bolt. Start pulling the brake lever now, and confirm that the brake pads are making contact with the wheel rim.
Step 3
Hold down the brake lever and then pull the wire that you put through the cable anchor bolt. Release the lever after tightening the bolt. Now you have to stretch the brake cable. For that, you’ll have to pull and release the brake lever rapidly. In the end, you have to pull the wire again and then tighten the anchor bolt. You are done!
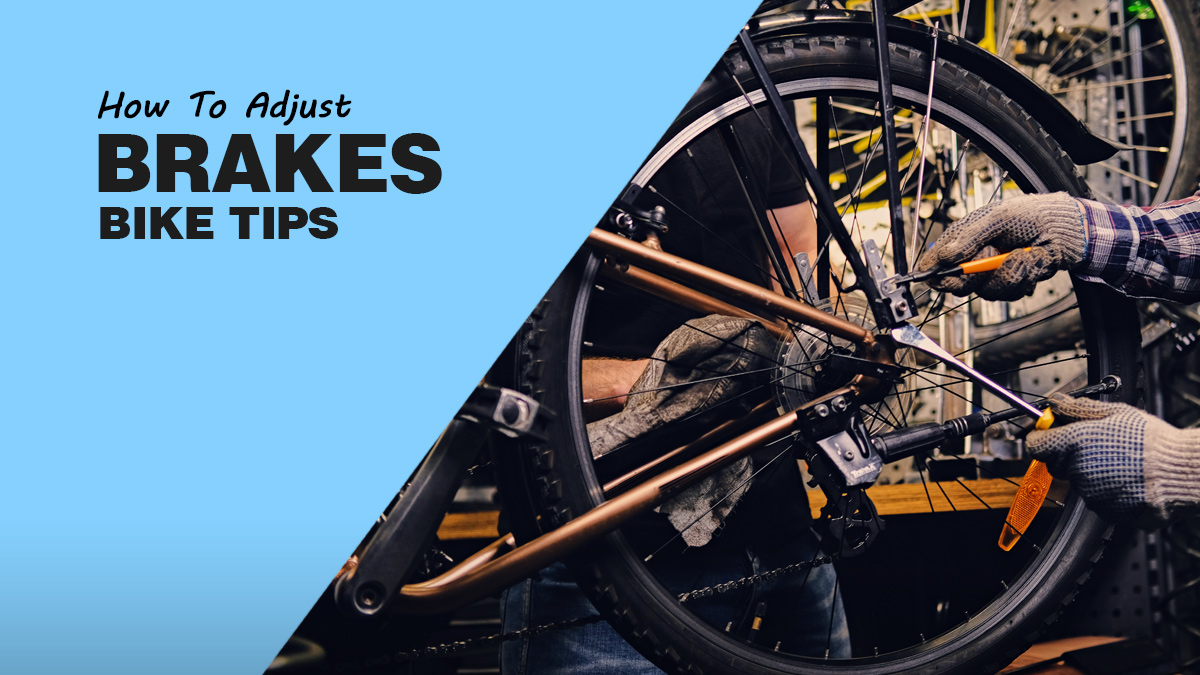
Don’t let your bike’s brakes slow you down. Learn how to easily adjust your bike’s brakes with our guide!
How to Install Brake Cables & Housing
Tips For Using Front Bike Brakes Effectively
I teach these tips to my juniors who are getting used to having a front bike brake on their bicycle. Remember:
- Start by practicing on a flat surface. Roll at a slow speed and apply the front brake slowly. When you notice it locking, back off. Repeat the process.
- Use the front brake with the back brake.
- To control your speed on a turn, only drag the rear brake. Release the front brake. When you have set a suitable turning angle, release the back brake.
- While going down the slope, use only the front brake.
- If you don’t want to flip over, use the rear brake first followed by the front brake.
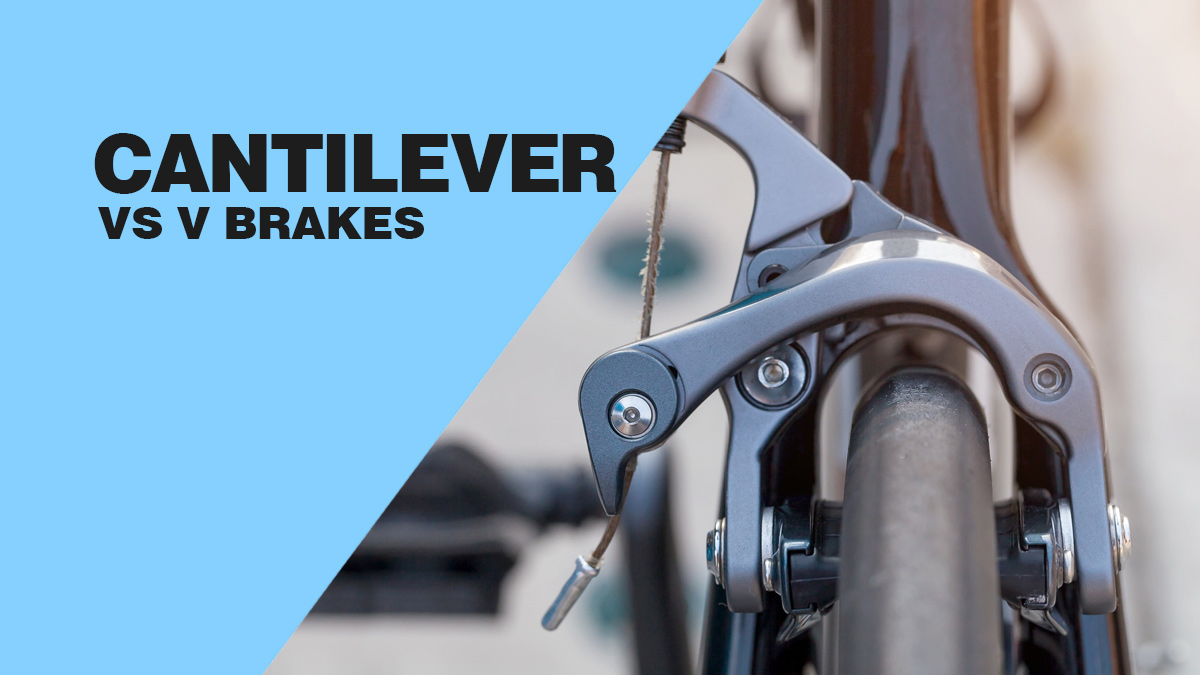
Which brakes are right for you? Learn the differences between cantilever and V brakes.
FAQs
Do front brakes work harder?
Yes, front brakes typically provide more stopping power.
How tight should front bike brakes be?
To find this, you have to adjust the brakes according to your bicycle. After each adjustment, test the brakes to see if they are fine.
How do you compress front brakes?
Squeeze the brake lever backward towards your handlebar to compress the front brakes.
Can front brakes be adjusted?
Yes, front brakes can be adjusted.
Is it safe to ride a bike with only front brakes?
Although it is considered safe, It is not recommended to ride a bike with only front brakes.
Which brake is best for bike front or back?
It is best to have both brakes on the bike. A combination of front and rear brakes on the bike is considered best.
Recap
Bikes are incomplete without brakes. I mean how are you supposed to stop your bike without them? Brakes ensure your safety and with the installation process being so simple to follow, what’s stopping you from installing them?
Remember, while using the brakes you have to squeeze them instead of grabbing them! Do you have front bike brakes? Are you planning to install brakes on your bicycle? Let me know if there is something you need help with!
Also Read
- Master the art of bike gear usage and shifting with our detailed guide.
- Unlock the secrets to effortless cycling! Explore our insights on why your bike is hard to pedal and discover solutions for a smoother ride.
- Give your bike a performance boost! Learn to tune up your bike with our step-by-step guide.
1 thought on “How To Put Front Brakes On A Bike- Easy To Follow Steps”
Once you’ve taken a 5,000 to 10,000 km ride, you can already change brakes or brake pads if you want to. If the remaining brake pad materials are only 1.5mm or less, that’s also a good indicator that they’re due for changing.