What are caliper brakes? Good question! Caliper brakes are mechanical braking systems with a single bolt. You can install them either on the front or rear of a bike. The choice is yours. But don’t worry, I’ll get into the details of how you can install caliper brakes!
Pay attention because we are about to get started!

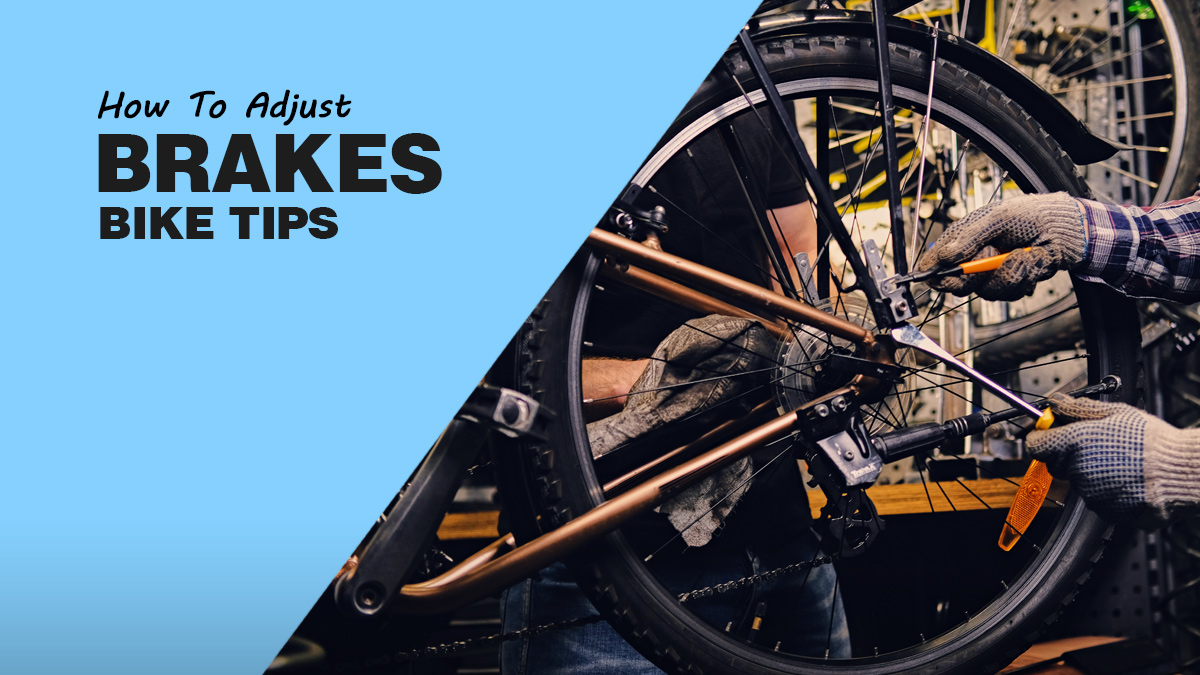
9 Steps For Installing Caliper Brakes
Wait! Before we begin, you need to have the following tools:
Tools Needed
- Gloves (For Protection)
- Brake Pads, Rotors
- Brake Caliper Piston Tool
- Lug Nut Wrench
- Service Jack and Jack Stand
- Brake Bleeder Wrench
- Allen Wrench Set
- Screwdriver
Step 1: Start By Flipping Your Bike!
Flip the bike, the wheels have to be lifted. Use the bike frame here. It will help keep the bike steady while you work on it.
Step 2: Check The Brake’s Caliper Style
Now you need to identify the type of caliper style your bike has. Pay close attention to the middle of the wheel. Most probably they will be mechanical. If you are not able to figure it out, get help from a professional.
Don’t let a lack of front brakes hold you back. Learn how to put front brakes on your bike with our step-by-step guide
Step 3: Adjust The Wheel In The Drop Hose
Now mount the drop-down hose on the wheel, and attach the wheel to the motor. The wheel needs to be fixed. If it isn’t fixed, turn it clockwise. If you have an old bike, use an Allen wrench to tighten the wheel into the drop hose.
Step 4: Clean The Rotor and Adjust The Brakes
Now we have to adjust the brakes onto the rotor. Be careful, the blades can hurt. I suggest putting the disc on two flat sides so you don’t touch them while adjusting. You will also need to clean the braking surface.
Get the most out of your bike’s braking system with our comprehensive guide on how to bike brakes
Step 5: Fix and Maintain The Brake Rub
The brakes need to be tight when you are done installing them. If they are too tight, you’ll have to loosen them. If your brakes rub with one another, that means they are loose. Find the hex bolts and bind them. Brakes need to be tight just enough that they don’t rub with each other. Sometimes it happens that the caliper brakes are tight and are only on one wheel, which is easily fixed.
Step 6: Re-Center The Caliper Into The Rotor
Once you have loosened the hex bolts, you need to pull the brake lever (the one that matches the wheel you are working on, don’t pull the other brake lever!). Doing this will re-center the caliper into the rotor.
Solve your bike brake problems with our expert solutions. Get started now!
Step 7: Now Compress The Bolts Carefully
Keep the brake heel down and insert the Allen wrench into the hex bolt. Now turn it halfway clock-wise so that the rotor caliper is tightened. Do the same for the other hex bolt. Having a buddy here will make things easier. They can hold the brake levers while you work.
Step 8: Turn The Caliper Leg Screw
Some models of mechanical caliper brakes have a set of screws that make sure that the adjustment dial is tight. You have to turn them anti-clockwise two or three times. If there are no screws, you can skip this step.
Get the most out of your bike’s braking system with our comprehensive guide on how to tighten and align brakes.
Step 9: Altering The Adjustment Dial
It’s time to turn the adjustment dial. Look for this plastic dial on the caliper’s bottom. It needs to be one inch wide. To bring the brake pad closer, turn the dial in a clockwise position. When this is done, turn it away from the rotor by rotating it anti-clockwise.
There you have it, you have just installed caliper brakes on your bike!
How To Install And Adjust Caliper Brakes
Still confused? Don’t worry, check out this video explanation of installing and adjusting caliper brakes.
The Different Types of Caliper Brakes
There are three different types of Caliper Brakes. All of them have their different features.
| Braking System | Description | Characteristics |
|---|---|---|
| Single-Pivot Side Pulls | – Brake arms connected with cable housing via inside wire. – Fits onto a stitched surface. |
– Efficient but limited brake shoe movement. – Difficulty in centering. – Provides adequate braking. |
| Dual-Pivot Side Pulls | – Inner cord and brake arm connected via brake wire. – One brake arm revolves around the center bolt, while the other pivots around the axle. – Brake arms move in equal quantities due to the cam connection. |
– Asymmetrical system with two brake arms. – Reliable and advantageous. |
| Center Pulls | – Both brake arms revolve around a pivot. – Uses a traverse cable similar to a U-Brake structure. |
– Complex but favored for long-distance rides. – Advantages for specific riding conditions. – Popular in the 1960s and 1970s and still in use. |
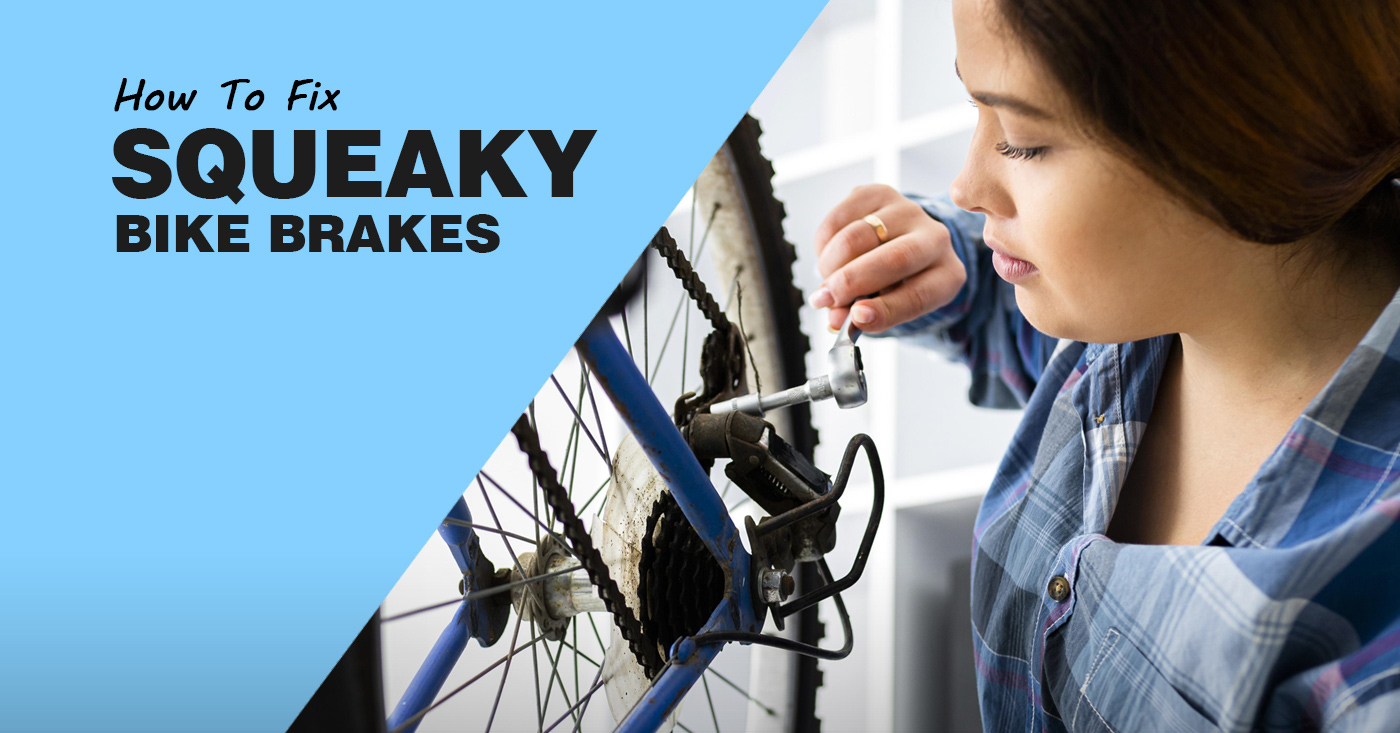
Get back on the road with confidence by solving your bike brake squeaking problems with our guide now!
FAQs
Can you install brake calipers yourself?
Yes, you can install brake calipers yourself.
Are caliper brakes good for bikes?
Yes, Caliper bikes are good for road bikes. They have a reliable stopping power.
What bike brakes are best?
The best brake will differ depending on the type of riding you prefer. Disc brakes are famous for being versatile while caliper brakes are the go-to option for road bikes.
How long do brake calipers last?
Caliper brakes can last years if you maintain them regularly.
Which brake is safest to use in a bike?
Disc brakes are considered the safest to use in a bike.
Recap
Caliper Brakes can be used on a variety of terrain. What I like the most about them is that they don’t overheat the tires. They can be easy to install if you follow the steps correctly. With the right tools, you’ll be installing the brakes like a pro. Remember, the brakes on the rear wheel and front wheel are different. Most of the work is done by the rear brake.
If have any questions about installing a caliper brake, reach out to me in the comment section below!
Also Read
- How To Tune Up A Bike
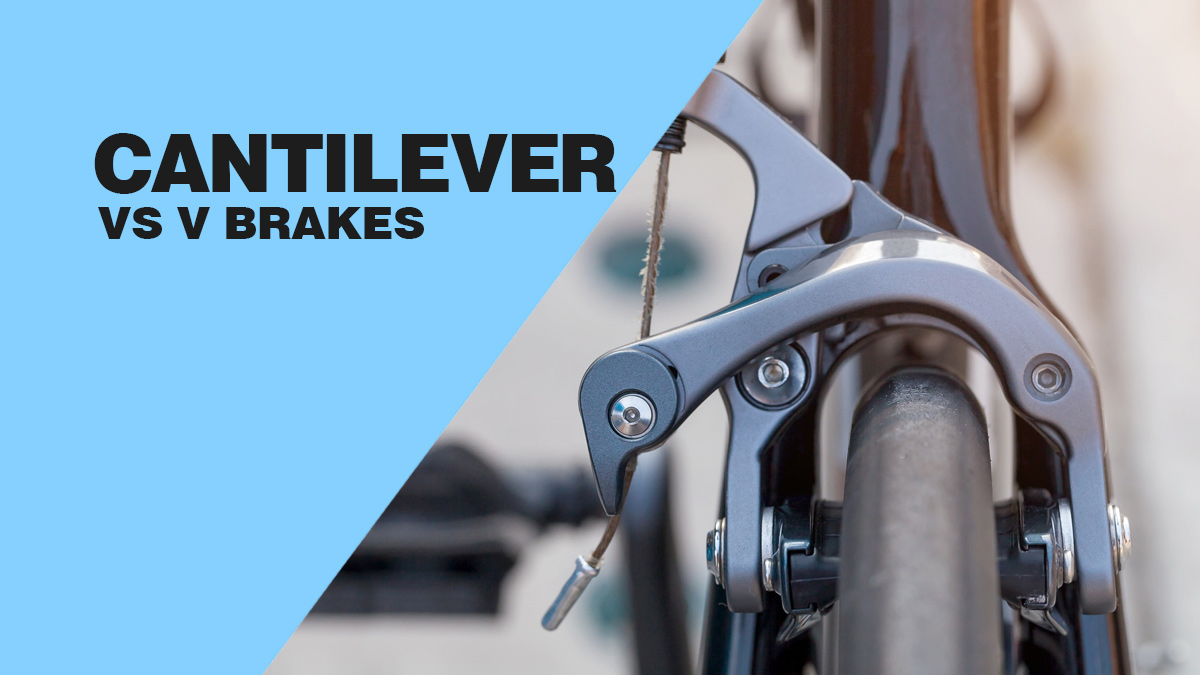
- Cantilever Brakes Vs V Brakes: Which One Is Better For Your Bike
- Three Basic Bike Maintenance Tips You Can Do Yourself
- Is Getting A Bike Tune-Up Worth It?
- Why Disc Brakes For Road Bikes Are A Better Option