Stuck brakes can be frustrating. What do you do when a brake fails to perform the one job that it is designed for? Here’s the good part! There are other solutions than kicking and screaming at your brake because that will certainly not help.
The most common cause of a brake that won’t release is Brake Cable Tension. It also might be due to the reason that you have Misaligned Brake Calipers or your brake components are Rusted. Hydraulic brakes don’t work because there might be a Brake Fluid Issue or Piston Contamination. When your brakes fail to release, the risk of getting involved in an accident increases dramatically. That’s why it is important to have functioning brakes. Whatever may be the reason, there is a solution for it if it’s not too late.
Reasons Why Your Brake Is Stuck
These are the most common reasons why your brake is stuck according to your brake type. I have also mentioned problem indicators so you can easily identify if this is the problem that you need to work on.
Common Brake Problems According To Brake Types
| Brake Type | Functioning | Brake Problems |
|---|---|---|
| Caliper Brakes | Mounts Above The Wheel On A Single Point | Brake Cable Tension, Brake Pad Wear And Contamination |
| Disc Brakes | Uses a Stainless Steel Cable To Trigger the Piston Which Creates Friction | Brake Cable Tension, Brake Pad Wear, Rotor Contamination |
| Hydraulic Disc Brakes | Uses Brake Fluid | Brake Pad Wear, Brake Fluid Issues |
| Cantilever Brakes | Each Arm Of The Brake Is Attached To A Pivot Point On the Side Of the Seat Stay Or Fork | Brake Cable Tension, Spring Tension |
| V Brakes (Linear-Pull) | Similar To Cantilever Brakes With Longer Brake Arms | Brake Cable Tension, Brake Pad Alignment |
1. The Brake Cable Tension Is Not Properly Adjusted
It is possible that you do not have the required brake table tension. When these cables are not properly adjusted, it can lead to them being stretched. This causes an excess tension on the brake cable which prevents the brake from releasing properly. This is also a common problem.
You’ll know you have this problem if you have a stiff brake lever feel. I also keep an eye out if there is an insufficient brake pad retraction from the rim. This is also an indicator of high brake cable tension.
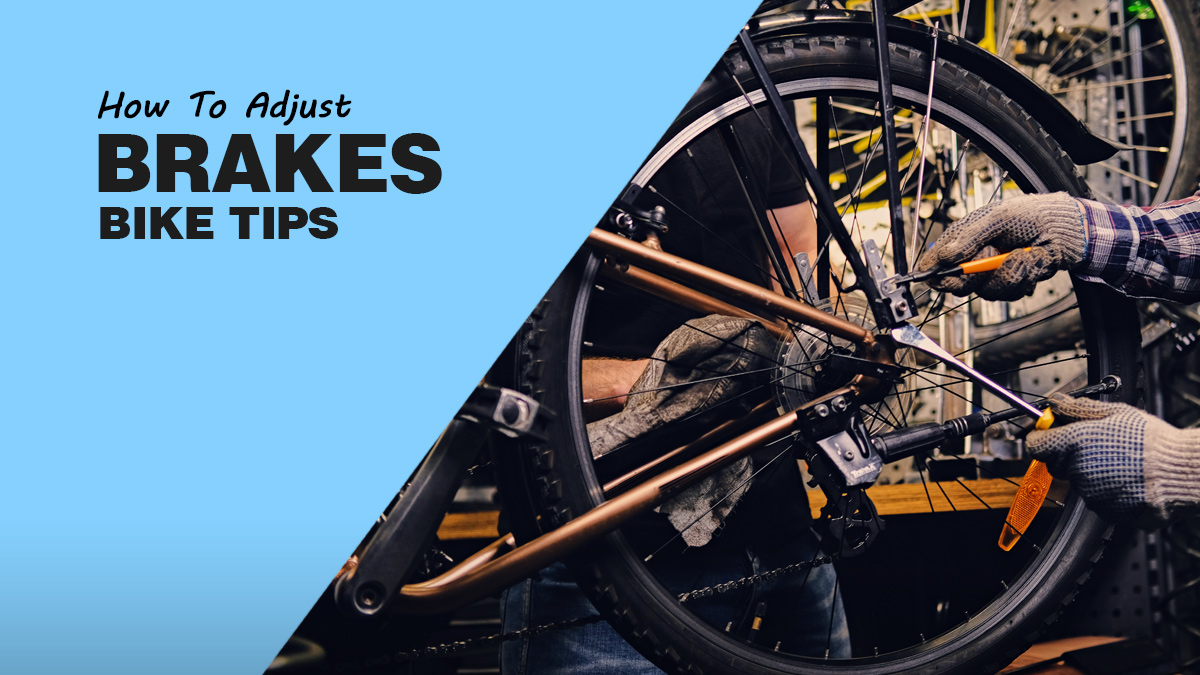
If you’re looking to improve your bike’s braking performance, check out our guide on how to easily adjust your bike brakes.
2. Your Brake Pad Is Contaminated With Dirt
Brake pads are prone to all the dust and debris out there. They can easily accumulate all the dirt, debris, and even the excessive oil that you use. This leads to a loss of grip that the pads have on the rim. You might hear a squealing sound when you use the brakes. This is another cause of reduced brake effectiveness.

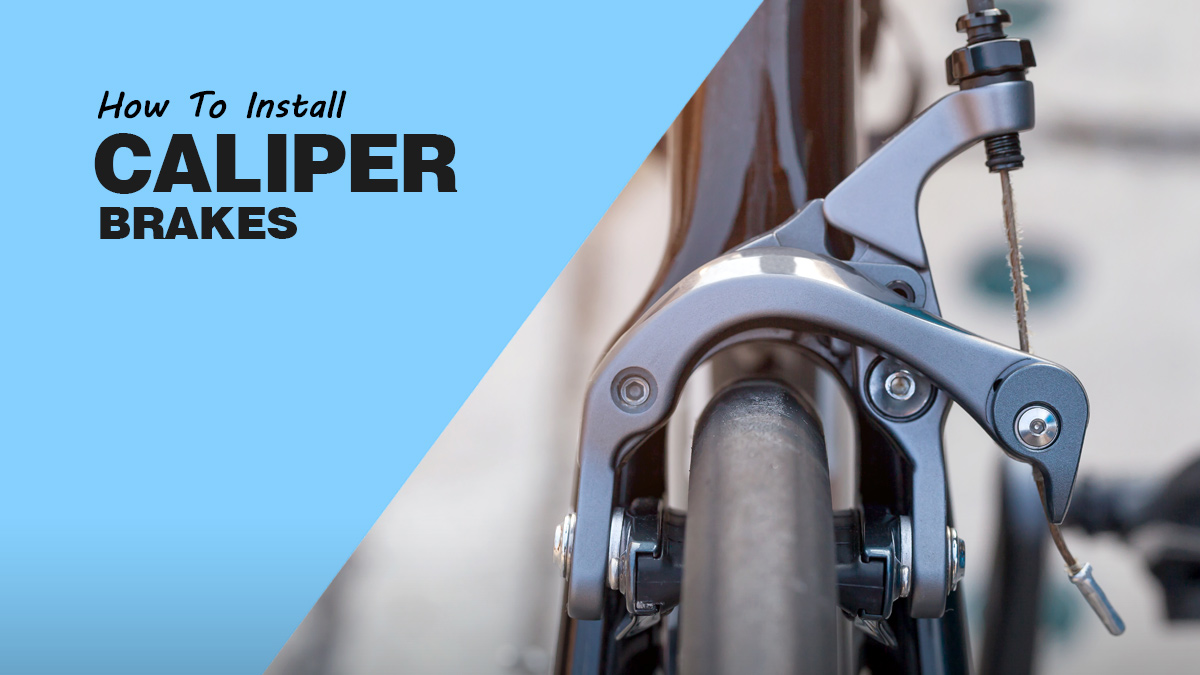
Master the art of brake installation! Explore our guide on how to install caliper brakes on a bike for step-by-step instructions.
3. The Brake Pad Has Worn-Out
The brake pad rubs against the rims which causes friction. With time, this friction can lead to the brake pads wearing down. When this happens your brake performance will reduce leading to a stuck brake. To identify if your brake pad is worn out, look at the thickness of your pad. This is a common problem you can face on mechanical, disc, and hydraulic disc brakes. The thickness should be:
- Mechanical Rim Brakes: 1-2 mm
- Hydraulic Disc Brakes: 2-4 mm
- Disc Brakes: 2-3 mm
4. The Rotor Is Contaminated
Like the brake pad, a rotor is also very prone to dust and other particles. These particles can contaminate the rotor which affects the performance. As a result, your brakes will not be able to release properly. If you hear noises while braking, you should check the surface of your rotor. Look for any discoloration or dust that might have accumulated there.
5. Brake Fluid Problems (Hydraulic Disc Brakes)
Hydraulic brakes use brake fluid for the transfer of pressure to generate the controlling mechanism required for braking. Air can easily infuse in the fluid if you are using worn-out brake pads. Air makes its way inside the fluid if you have a problem with your calipers or your piston. When this happens, the air bubbles can cause a leak which will affect your braking performance.
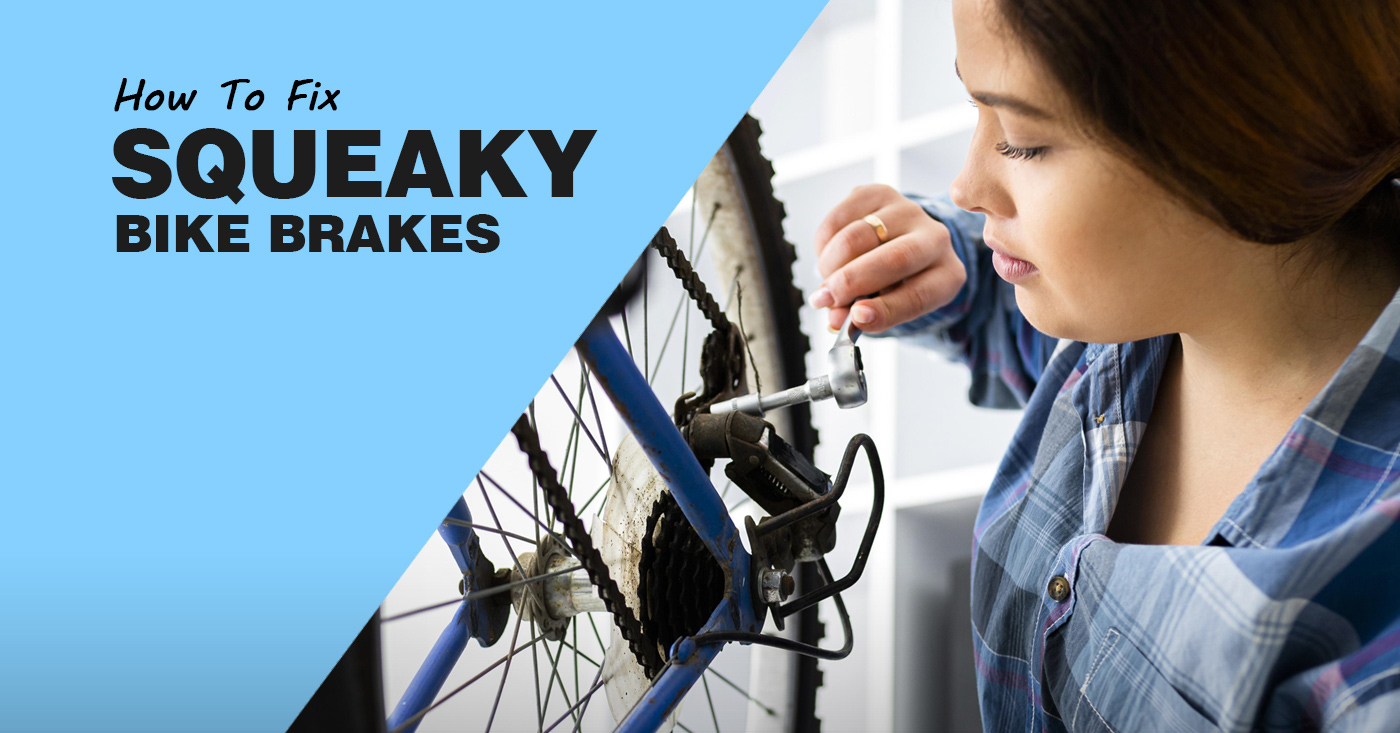
Silence the squeaks and ride smoothly! Explore our guide on fixing squeaky bike brakes for effective solutions.
6. The Spring Is Damaged Or Misaligned
Cantilever brakes have springs. These springs control the movement of the brokes. When these springs are damaged or they are misaligned, your brake performance will be affected. To identify a spring tension problem, you will have to inspect your brake arms. Release the brake lever and see if they return to their open position.
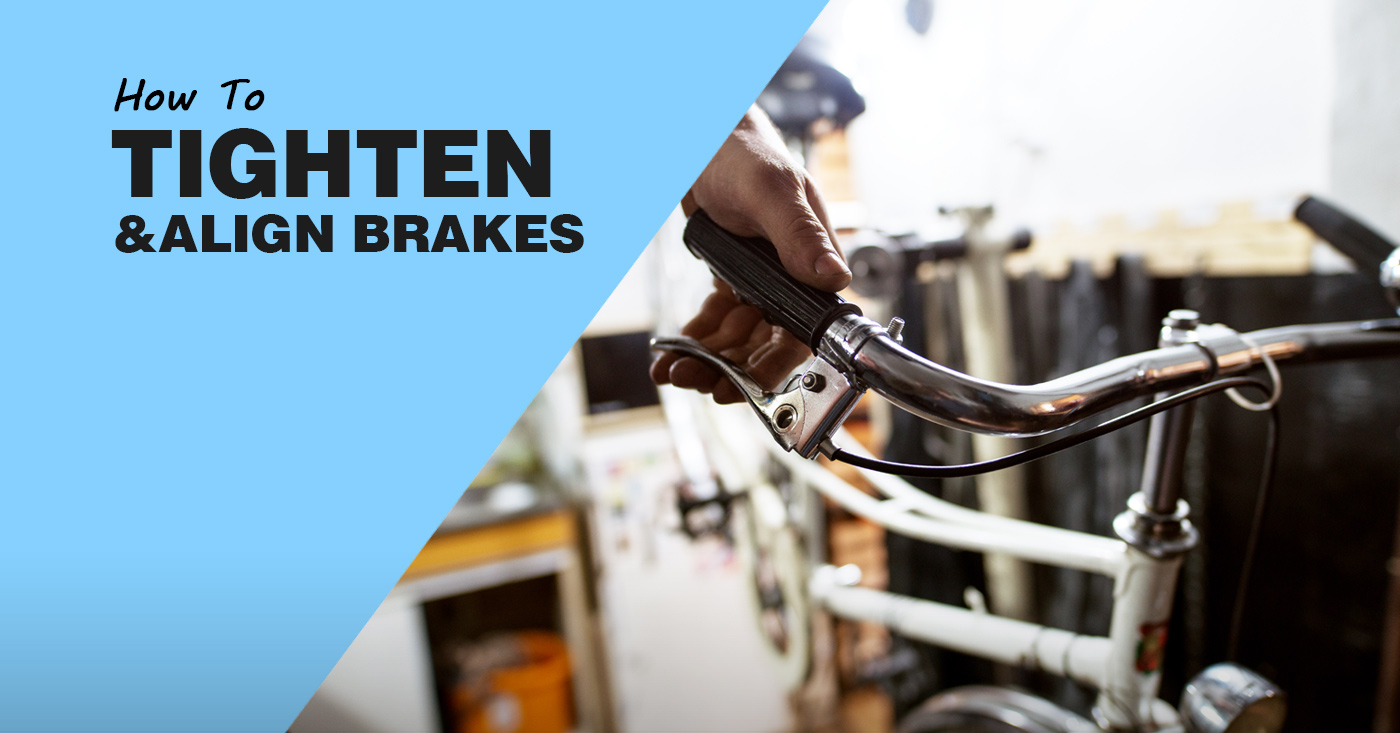
Are your bike brakes feeling loose or unresponsive? Our guide on how to tighten bike brakes can help. Learn how to adjust your brake cables and pads to get the perfect amount of stopping power.
7. Brake Pad Alignment
It is possible that the brake pad is not properly aligned. A misaligned brake pad will have uneven contact with the bike rim. This will lead to an improper brake release or your brake might not release at all. Keep a close eye on your rim. When you squeeze your brake lever, one of the pads will rub against the rim, and the other will not.
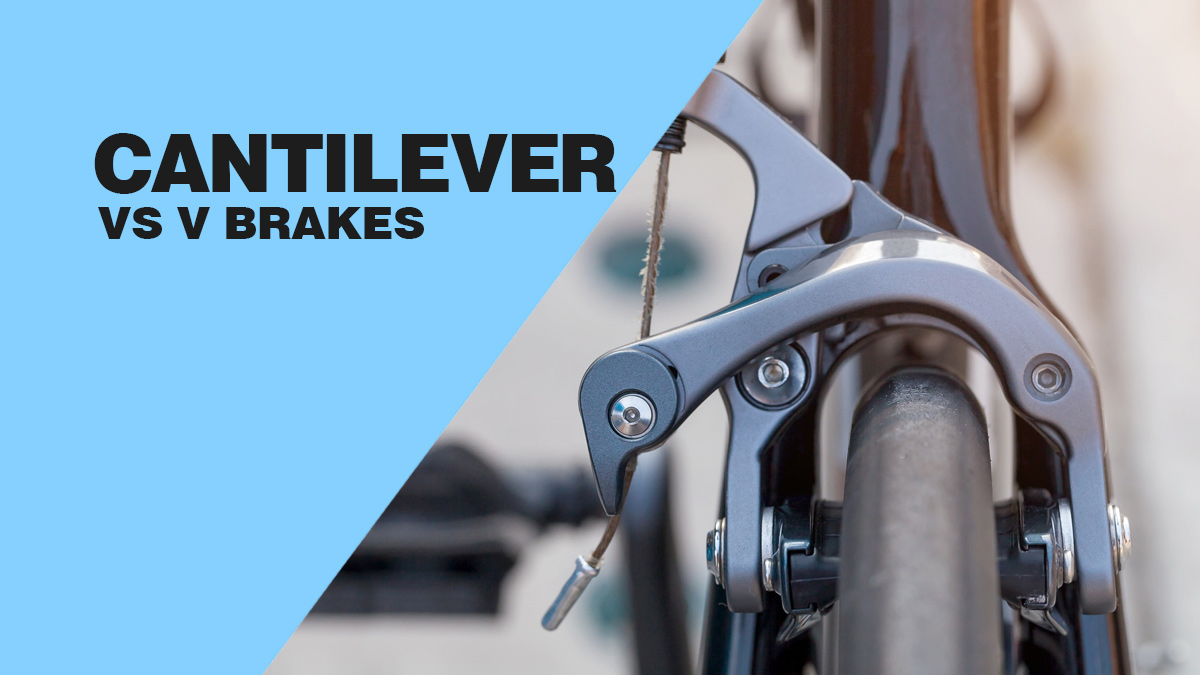
Explore our guide on cantilever brakes vs V brakes for insights. Understand the differences and make an informed decision for your bike’s braking system!
How To Fix A Brake That Won’t Release
It’s not very difficult to fix brakes that won’t release but it’s only possible if you have a systematic approach.
| Brake Type | Brake Problems | Solution |
|---|---|---|
| Caliper Brakes | Brake Cable Tension, Brake Pad Wear And Contamination |
|
| Disc Brakes | Brake Cable Tension, Brake Pad Wear, Rotor Contamination |
|
| Hydraulic Disc Brakes | Brake Pad Wear, Brake Fluid Issues |
|
| Cantilever Brakes | Brake Cable Tension, Spring Tension |
|
| V Brakes (Linear-Pull) | Brake Cable Tension, Brake Pad Alignment |
|
1. Adjust Cable Tension
First, check your cable tension. If it is high adjust the brake cable tension. It is important to have a well-adjusted cable. If it is loose, you will feel that your brakes are sluggish. If the cable is overly tight, your brakes will feel stiff. Try using a barrel adjuster or a cable anchor bolt near your caliper to fine-tune the tension. I do, and it makes tension adjustment easier.
2. Inspect The Brake Pads
The next step is to inspect your brake pads. Brake pads are prone to wear and tear because of the friction caused by the rim’s braking surface. They are also prone to dust and debris. You can know that your brake pads are excessively worn out if the thickness is less than 1-2mm. If see, you have to replace them.
Clean the rim braking surface so that the pads can engage easily. I normally use sandpaper to remove any contaminants that might be sticking there. You can use a cleaner or a mild abrasive.
3. Fix The Alignment
If you do not have this issue, you have to check the alignment of your brake arms and the calipers. This often happens when one brake pad is in better contact as compared to the other one. If your brake arms are not in parallel with the braking surface of the rim, you have to adjust the caliper-positioning.
Lose the mounting bolt and then realign your brake caliper. Once you have realigned it, tighten the bolt so that the position is secured.
Ensure precise braking performance! Learn how to tighten and align brakes on a bike.
4. Bleeding Your Brake System (Hydraulic Brakes)
If you have hydraulic brakes, you may have issues with the brake fluid. First, inspect the level. If you find that the level is low, it may be because there is a leak. You can bleed your brake system to make sure there are no air bubbles. Be very careful and follow the manufacturer’s instructions. I follow this method because it is very effective:
5. Lubricating The Cable (V-Brakes)
When you lubricate the brake cables, it makes sure that the friction is minimized. It also ensures that your brakes are functioning efficiently. You can use a suitable cable lubricant. I use Tri-flow because it is easily available in many bike shops and is affordable. Just make sure to shake the bottle nicely before you use it and wipe off if there is any excess.
6. Adjust The Spring Tension
Check your spring tension before every ride. In v-brakes, these springs are vital in controlling the movements of the brakes. If it is high or low, you will need to adjust it so you can get the right balance.
7. Inspect The Components
V-brakes have small components but they are very critical in achieving effective performance of the brakes. The most important of all is the noodle and the boot. The noodle is that curved metal piece that holds your cable. The rubber boot is located at your brake arms. They are more prone to damage.
Most of the time, there was a problem with my noodle or the boot and I did not know this in the start. I would spend hours watching videos, trying to know what was wrong with my brake until my friend suggested I inspect the noodle. That’s when I realized where the problem was. I replaced the noodle and my brake was working fine again.
8. Clean The Rim Surface (V-Brakes)
If the rim surface is not, your v-brakes will not perform. They require a clean surface for effective functioning. Clean the rim at intervals so that you can have reliable braking. I use surgical spirit (rubbing alcohol) and a rag to clean my rim surface.
Take a small spray bottle and spray the spirit onto your rim surface. Spray it on both sides and then gently wipe it with the rag. You can easily find the surgical spirit at pharmacies.
9. Tighten The Bolts And Fasteners
On a V-brake system, you will have bolts and fasteners. Bolts hold together the brake arms, posts, and cable anchor. Tighten these bolts securely. For caliper brakes, cantilever brakes, and disc brakes, there are specific bolts and fasteners that you have to inspect and tighten routinely.
These include mounting bolts, different connecting points in the brake system as well as the rotor bolts found on disc brakes.
Learn how to put front brakes on a bike with our step-by-step guide. Ensure proper installation and improve your biking experience!
10. Don’t Forget To Take A Test Drive
If you have fixed the problem with your bike brake. I recommend to test drive first before heading out for the day. One more thing, try to test drive in a safe environment. Check that your brake lever is smooth. You should also look at the brake pads. If they are making even contact with the rim when you engage the brake, you’re good to go.
FAQs
Why won’t my bike brake lever squeeze?
Your brake lever won’t release because you might have an improper cable tension. Another reason for this issue is brake pad wear, poor alignment, contamination, a mechanical issue, or a brake fluid problem for hydraulic brakes.
Can I use wd40 on seized brakes?
Yes but only using wd40 on seized brakes will not solve your problem. You have to identify the issue and then address it properly to make sure that your brakes work.
How Do You Unlock Bike Brakes?
Start by removing the wheels. Hold the two brake arms and squeeze them together. You will be squeezing at the brake pads or the brake arms. While you are squeezing, on the left side you will see a little piece of metal. Push it down with your finger or your free hand. It will slide down and release your brakes.
Can Old Brake Fluid Cause Brakes To Stick?
Yes. Old brake fluid can cause brakes to tick because once the fluid gets old, it loses the ability to hold in the moisture. Once this happens, the fluid can accumulate inside the bore of the brakes leading to sticking brakes.
What Happens When Brakes Get Stuck?
When bicycle brakes get stuck, the ability of your brakes to stop the bicycle effectively gets affected. You might not also be able to stop your bicycle because your brakes might not function once they get stuck.
Conclusion
A dysfunctional brake is a common bicycling problem you will come across. But don’t worry. I’ll tell you what, with regular bike maintenance, you can reduce the risk of having a failed brake while you are riding. It’s better to just nip it in the bud. I recommend inspecting your brakes before every ride. If you have tried everything and still have a problem, maybe it is time to hit up a professional and get help. Did you find a solution to your problem? Let me know in the comment section below! Happy Safe Riding!
Also Read
- How To Fix A Dropper Post? Common Problems And Solutions!
- Reasons Why Your Bike Won’t Shift Gears And How To Fix It
- Why Is Your Bike So Hard To Pedal? 11 Common Causes And Solutions
- 7 Reasons To Buy Mountain Bike Disc Brakes