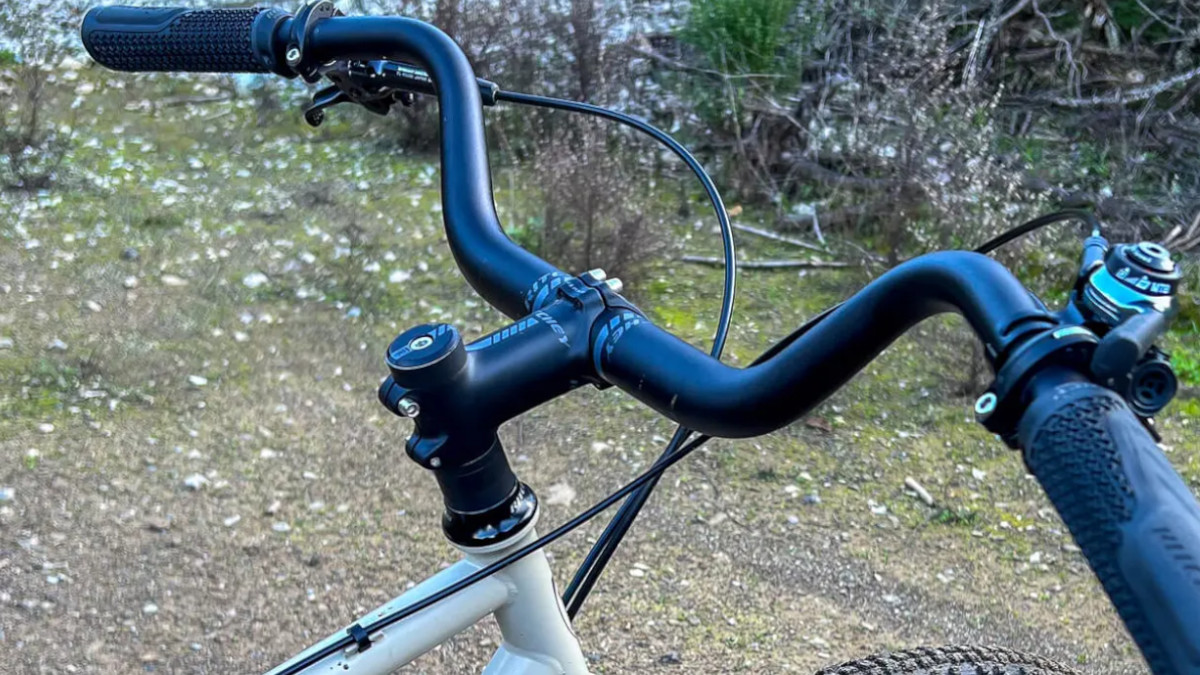
Handlebar grips build an important connection between you and your bicycle. It is one of the three touch points that you have on the bicycle. The better the grips, the better handling you will have because of the good grasp. What makes handlebar grips important? I thought you’d never ask!
You see, handle grips make sure that your grip on your bar is firm. They help in steering and because of their position, they also contribute to braking and changing gears. Want to hear something surprising? Handlebar grips also absorb vibrations! How cool is that?
With so many features, don’t you think it is important to rightly install them? Yes, exactly what I thought! So how about I show you how to install handlebar grips in easy steps? Let’s get going.
What Are The Tools Required
Some of the tools are optional.
- Mountain Bike Spray
- Long and Thin Screwdriver
- New Grips
- Non-Residual Agent
- Allen Key
- Allen Wrench
How to Install The Slip-On Grips
Installing the Slip-On grips is easy, you just have to follow the steps mentioned.
Step 1- Remove The Bar End Plug
In the first step, you have to remove the bar end plug. These bar end plugs are very important as they secure the handlebar grips and keep the moisture out. This way the handlebars become rust-proof.
Step 2- Place The Screwdriver Under Handlebar Grip
Now edge the screwdriver under the handlebar grip. I suggest that you use the flat-headed long screwdriver. Insert it between the grip and the handlebar. Now create a gap between the two.
Step 3- Spray Inside The Gap
Spray the inside of it. You can also use rubbing alcohol here. Just make sure that everything is fully cleaned. If you can’t find a spray then use an air compressor.
Step 4- Remove The Grip
Twist the grip and remove it. Don’t pull the grip. This requires a lot of friction, so don’t forget to twist.
Step 5- Spray The Grip
After you are done twisting the grip, you need to spray the inside again. Make sure that the spray reaches the inside of the grip even if you have to apply the lubricant. This whole process will make the grip easier to slide off.
Step 6- Remove The Grip
Twist again and keep on spraying. Do it continuously so the grip comes off easily.
Step 7- Spray The Handlebar
Spray the handlebar. I recommend using a non-residual agent. The lubricant will make sure that the handlebar does not have any kind of residue from the old grip and that you can install the new grip without excessive friction.
Step 8- Install The Grips
It is time to slide on the grips. You have to install these grips before the spray dies away!
Step 9- Let Them Set
Don’t move it. Don’t touch it. Just let it sit there.
Step 10- Re-Attach The Bar End Plugs
Now attach the bar end plugs again. Repeat the same whole process with the other side of the handlebar grip. Remember, the installation process isn’t hard, just remove the slip-on grips carefully.
Master the art of shifting gears like a pro with our step-by-step guide! Learn how to shift gears on your bike
How to Install The Lock-on Grips
Installing the lock-on grips is also easy if you follow the steps mentioned.
Step 1- Loosen The Collar Lock
Loosen the collar lock to replace it. You will need an Allen Key for this.
Step 2- Remove The Grip
Remove the grips. These grips come off easily as compared to the slip-on grips.
Step 4- Install The New Grips
Slide the new grips in. Sometimes these new grips can feel a little tight or loose. You can fix that by loosening or tightening the collar locks. Do test them out after installing. You can also use the expansion plug system here.
Step 5- Tighten The Locks
You are almost there! Just use the fallen wrench to tighten the locks again and check that everything is set. Enjoy your new grips!
Find your perfect mountain bike today and take on the trails like a pro! Check out our top picks for the best mountain bikes for women.
When is The Best Time to Change The Grips?
A mountain bike rider should have complete knowledge about their bike. Knowing when to install new ones makes a lot of difference while riding. Once your grips start shifting on the handlebars or when you feel that they don’t feel the same like they have lost their tackiness, that is when you should replace them.
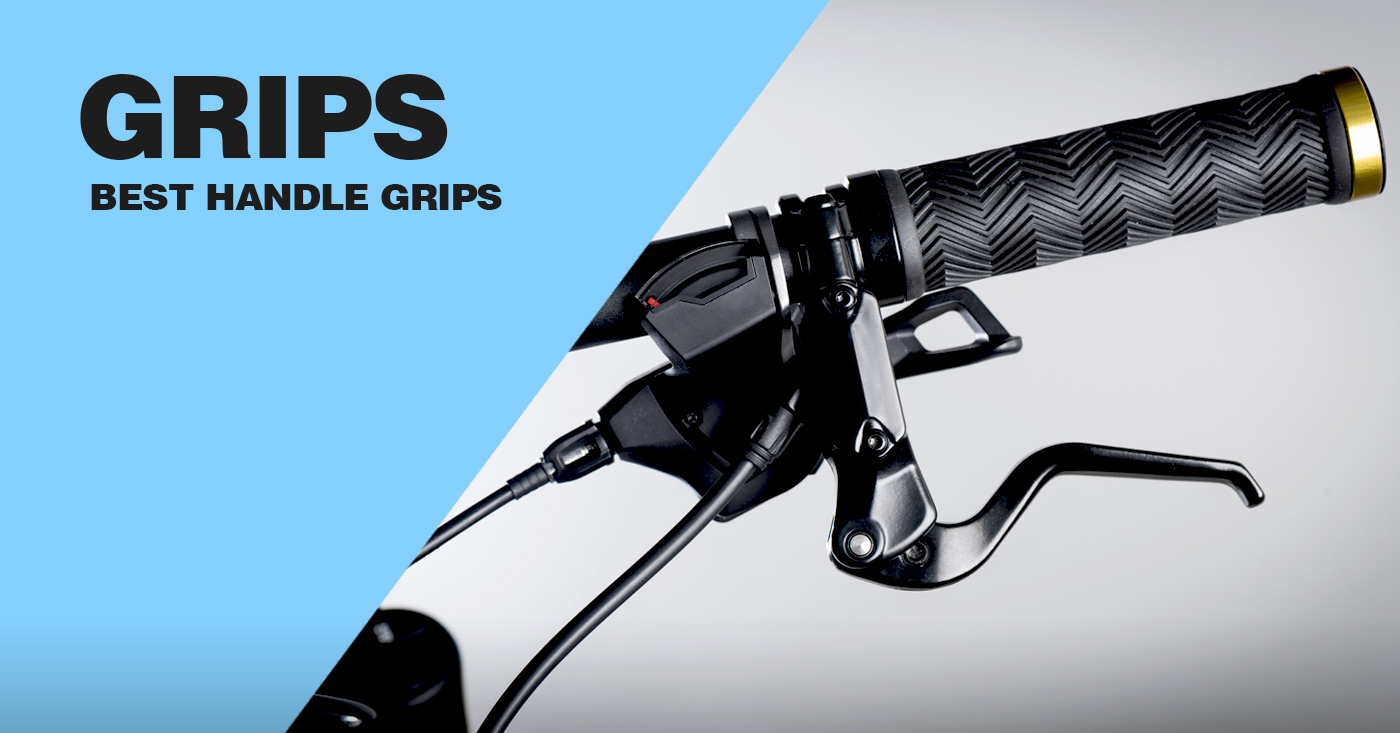
Looking for handlegrips? Read our guide on the Best Bike Handle Grips to explore your options!
The Different Types of Mountain Bike Handlebar Grips
There are mainly two types of mountain bike handlebar grips.
- Slip-on Grips
- Lock-on Grips
1. Slip-on Grips
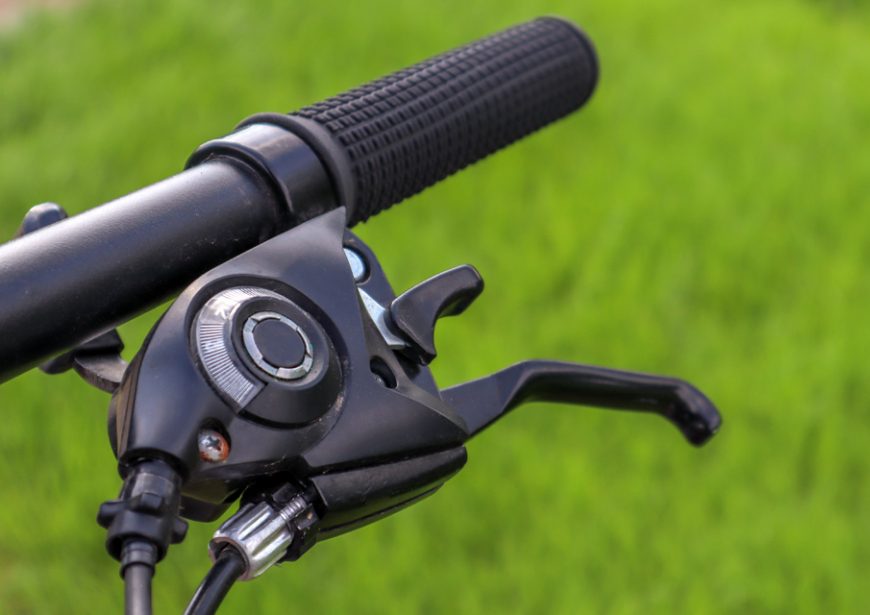
They are also known as push-on grips. These are very soft grips and are completely pliable. Slip-On Grips are made from either silicone or rubber. These grips have a smaller diameter as compared to the other types of grips because of a tighter fit.
Push-On grips do not slip easily. They are cheaper and lighter and don’t require any kind of tools for installing or removing them. But they are not adjustable. You have to calculate the diameter correctly to get the proper grips.
Advantages:
- Cheaper Option
- Lightweight
- Comfort Is Amazing
Disadvantages:
- Needs Lubricant For Installation
- Pushing Onto The Handlebars Is Difficult
2. Lock-on Grips
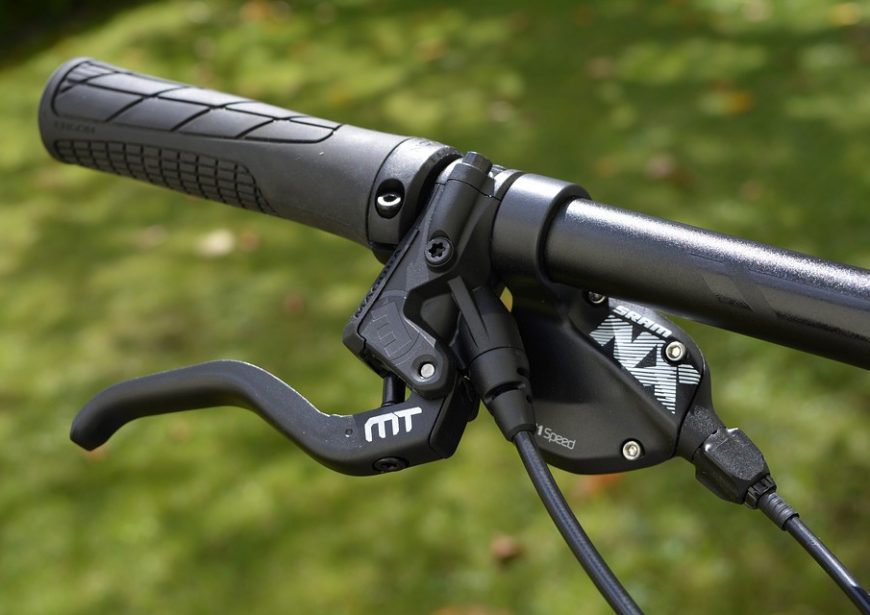
The Lock-On type of bike grip has a collar-locking mechanism that keeps the grip attached to the handlebar. You can check it around the inside end of the grip. The collars have clamps that are either attached to one end or both ends of the grips. This way it never slips.
These lock-on grips don’t need to be pushed onto the handlebar. You have to position them on the handlebar and then secure them by tightening the ring that is there. You will need an Allen Wrench to tighten them. But they are more expensive!
Advantages:
- Installation Process Is Very Easy
- Amazing Quality
Disadvantages:
- Allen Wrench Required For Installation
- Heavier Weight
FAQs
What Is A Slip On Grip?
A slip-on grip will easily slip on and off of your handlebars. This type of grip does not require any kind of adhesive, instead, they are made of a rubber material that fits over the handlebars perfectly.
Are Mountain Bike Handlebar Grips Universal?
No, mountain bike handlebar grips are no longer universal. Carefully assess different grips and their diameters before choosing one. Select the one that will provide you with more comfort.
Can I Reuse My Old Grips Or Do I Need To Buy New Ones?
It is possible to reuse your old grips but it is not recommended to do so. Old grips become worn out with the passage of time and fail to provide an adequate grip on the handlebars. This can be dangerous when you are going downhill. That is why it is always better to buy a new pair of grips.
Read more
Recap
Installing a mountain bike grip is also easy, you just have to have the right tools. The grips come in different diameters. You can also choose between soft and hard compounds, which is completely up to your preferences. Mountain Bikes are amazing but the accessories are what give them that unbeatable feeling. Handlebar Grips are there to make sure that the rider feels completely comfortable and confident while riding.
If you have any problems while installing the grips, reach out to me in the comments! Happy Riding!
Should you have any questions or require further clarification on the topic, please feel free to connect with our expert author Rhodes Perry by leaving a comment below. We value your engagement and are here to assist you.




2 thoughts on “How To Change Mountain Bike Handlebar Grips In Simple Steps!”
I have read instructions on how to install rubber handlebar grips to replace ones that have worn out after a long time of use with just four easy steps: First, remove the old rubber grips. then clean the WD-40 rod, you should use soap and water to remove the dust and residue on it. The next step is to wrap some plastic fasteners on the bike; they will create some friction to mount the bike grips and keep them in place. and finally, the hardest thing to do is push the New Grip onto the bar. Twist the handle as you press on the handlebars, aligning it with the contours of the bike. Be patient as you attach the handlebars to the bike little by little.
Once you know how to install rubber handlebar grips, it’s easy to stay comfortable while steering your bike. They even make your bike look nice and new.