I prefer aggressive riding and that’s why I take a particular interest in BMX Bikes. You know they are known for hardcore sports and aggressive riding. But the problem was not being able to customize the components. It was getting very hard to find a BMX that suited my style and preference. And that’s when I decided it’s time to build my own BMX bike.
Speaking from experience, the bike I built myself was better than the one I came across in the market. That’s because I spent hours searching for the right method and installed only good-quality components. It’s been years and my bike is still running. Now, Here’s the good part! I have shared the method down here in easy-to-follow steps along with everything that you’ll need to build a BMX of your own!
Are you ready to build a BMX of your own?
Components And Tools That You Will Need
Here is a checksheet for the components and tools that you will need for building a BMX bike.
| Component | Required Components |
|---|---|
| Main Body |
|
| Stem, Handlebars, and Seat |
|
| Crankset |
|
| Bearings and Axle |
|
| Pedals and Sprockets |
|
| Chain and Braking Structure |
|
| Optional Tools To Get |
|
| Tools Needed For Bike Assembly |
|
Learn all about the different parts of a bike with our comprehensive guide to bike anatomy.
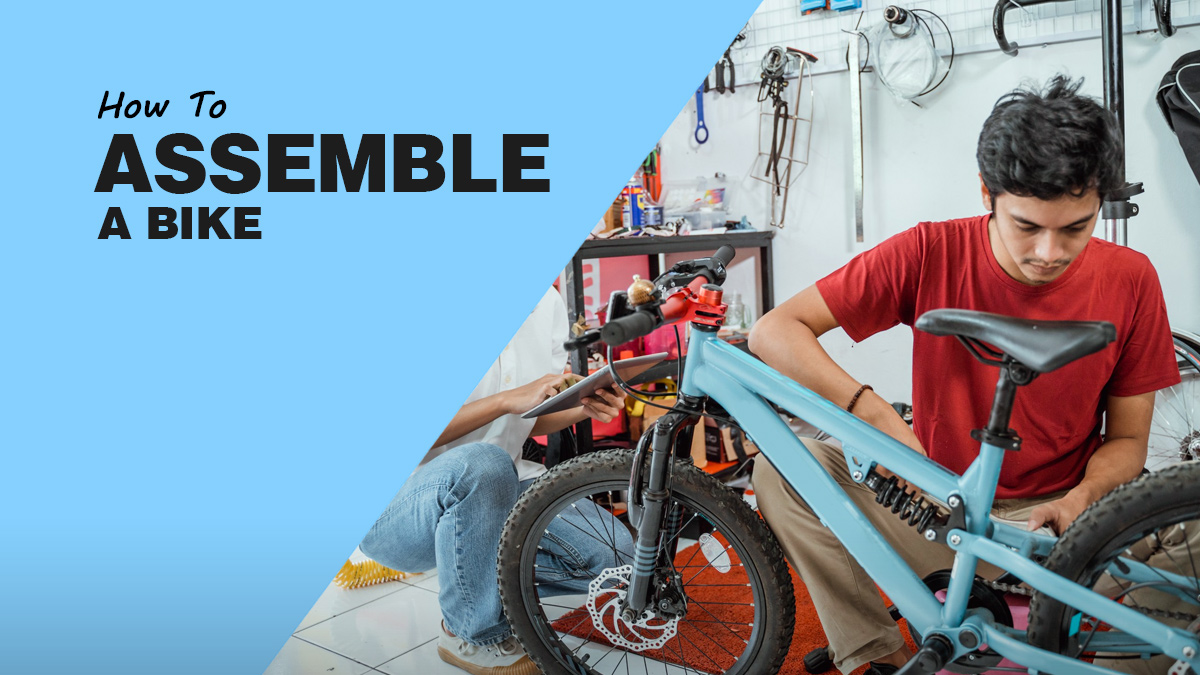
How To Build A BMX Bike

With a little bit of knowledge about bike assembly, experience, and confidence, you can build a BMX. That is I listed these steps that show how you can build your BMX Bike from scratch.
Pay attention to each step and take your time. There is no rush. Let’s start.
Step 1. Start By Building The Frame
Let’s start with the foundation of every bike- the overall construction, which includes the frame and fork. If you want a bike that will last you for a very long time, I recommend investing in a good quality frame. The choice of frame will depend on what kind of BMX you plan to build. Here are the types of BMX Bikes:
- All-Around Racers
- Freestyle
- Jumpers (Dirt Jumpers)
If you have some knowledge of bike building and assembly then you can start welding the frame tubes all by yourself. Or you can take the frame to a professional and let them do the fitting for you.
Frame Measurements
The frame measurements need to be according to your height otherwise the performance of the bike won’t be good enough.
| Rider Height | Tube Frame Size (Inches) |
| 4’9’’-5’2’’ | 18-19.5’’ |
| 5’2’’-5’5’’ | 20-20.5’’ |
| 5’6’’-6+ | 20.5’’-21’’ |
Frame Material
Another thing that you need to know about is the components of the bike frame. Frames are made of different materials but I recommend to do your research. Choose the frame material according to the nature of the BMX riding. You’ll find BMX frames in the following materials:
- Chromoly Steel
- Hi-Ten Steel
- Aluminum
- Carbon Fiber
Create your dream bike with our guide to building your own bike.
Step 2. Installing The Headset, Stem, and Fork Come Next!
Most of the frames that are available already have an integrated head tube (Measure the tube length accordingly), you just need to add a BMX headset to it.
Look For The Headset Race
The next thing that you need to look for is the headset race. Either the fork of the bike will have it or you will have to look in the headset box. What you are actually looking for here is the lower race. Before you install it, make sure to apply a little grease on the headset surface. this will make installation easier.
Install The Headset Bearing
Install the headset bearing now. Make sure that its seal is facing downwards, you don’t want a problem here afterward. Now apply the grease again but on the head tube’s bearing surface. Once done, slide the fork to the head tube’s bottom. Now, install the upper headset bearing, unlike the previous step, the rubber seal should be facing upwards.
Now Install The Space Ring
The bearing that we are looking for is the compression ring. Like the previous steps, apply grease here as well and install the dust cover above the bearing. This will make sure that the headset is tight enough.
Make Sure That The Fork Is Tight
Once done, make sure that the bike’s fork is tight enough. I recommend using the compression bolt for that. In order to keep the bike’s handlebar straight, you will have to tighten all the pinch balls.
Discover a new level of comfort! Learn about the butterfly handlebars with our informative guide.
Step 3. Now Install The Bottom Bracket and Crankset
The next step is to install the bottom bracket and crankset. To get started, flip the bike carefully so that it rests on the seat and handlebars.
Start With The Bottom Bracket
Let’s start with the bike’s bottom bracket first, the bottom bracket consists of the crankset, internal spacing, and two bearings.
Install The Spacer
The spacer will need to be installed through the bracket shell. Bracket shell is where the seat tube and down tube are attached. If you have a friend with you then they can make the whole process easier. Otherwise, you will have to keep one side of the spacer steady till you install the bearing on the other side of the shell. When one side is done, install the bearing on the other side too.
Move On To The Bike’s Crankset
Now comes the bike’s crankset. I advise that you choose a good-quality crankset because this is the component that attaches both the chain and pedals to the bike. A crankset doesn’t contain much, other than a sprocket and a spindle.
Explore our crank length calculator to find the ideal length for your cranks.
Attach The Spindle To The Right Side Of The Crank Arm
A spindle is that attaches the crank arms and sprocket, it is in the shape of a rod. The spindle needs to be attached to the right side of the crank arm. People get easily confused and attach the whole thing to the left side.
Make sure to push the spindle in, otherwise, the whole process will fail. Tighten the bolt. Slide a crank spacer ring on the top of the spindle, this will make sure that the spindle remains intact.
Insert Spindle Into The Bottom Bracket
Now you need to insert the spindle into the bottom bracket. It needs to go all the way to the end. Use a rubber mallet here. This will make the crank firm. It won’t get loose this way.
Ensure a perfect fit for your bike components! Explore our guide on measuring the bottom bracket for accurate sizing.
Install The Other Crank
You will need to install the other crank too, just follow the steps mentioned before. In the end, the cranks need to be facing upwards vertically and form a straight line. Both the cranks need to have the same amount of clearance between them. If that is not the case with you then you can use spacers to rectify the situation. You will need to use bolts to lock the cranks in place.
Now, you are done with the bottom bracket and crankset.
Step 4. Attach The Pedals To The Crank Arms
Now that the crankset has been installed, it is time to attach the pedals. Before you get started, apply some grease on the threads of the pedals. Attach the pedals to the crank arms by using a pedal wrench. Don’t be worried about which pedal to attach. They always have a Left and Right label on them.
For the right pedal, you will need to tighten it by moving the wrench clockwise, and for the left pedal, it needs to move anti-clockwise.
Step 5. Now Attach The Wheelset
Now we will install the front and rear wheels. They are installed in separate areas of the bike. The first thing that we need to make sure of is that the safety washers are active. That’s where the front front wheel will be attached.
Once you have installed the wheel, tighten each nut carefully. This makes sure that the wheels don’t get crooked. Using pegs will make the whole installation process easier. The rear wheel will be installed in the bike’s frame.
Explore our guide on road bike wheels for top recommendations. Find the perfect wheels and enhance your performance on the open road!

Step 6. Install The Bike’s Chain
The back sprocket comes in handy here.
- Wrap the chain around it first.
- After wrapping the chain around the rear sprocket, we need to wrap it around the front sprocket.
- Now carefully bring both ends of the chain together.
- Remember each master link needs to be connected to an end of the chain. For example, with each plate, two pins of the master link will be attached.
- Using a flat-head screwdriver, you need to snap the clip to the right place after sliding the clip over the plate.
- The pegs also need to be installed but make sure that they aren’t too tight.
Explore our guide on tightening a bike chain for step-by-step instructions. Learn the essential techniques and keep your bike chain in optimal condition!
Step 7. Install The Brakes and Levers
The levers will be installed on the handlebars. Just slide them in. The position of the levers will depend on you. I advise to place them in a position that is comfortable to use. Experiment with different positions and once you find the right one, just tighten the levers.
Install The Brake Arms
Before you install brake arms, apply the grease on the mounts of the brakes. This will make installation very easy. Now slide the brake arms and springs to the brake mount.
Install The Brake Cables
The next part is to install the brake cables. The cables need to be inserted into the lever. Make sure that the barrel adjuster is left on the brake lever. The brake cable needs to go to the brake arms of the bike but through the top of the crossbar, wheel, and the fork’s front. Don’t make the cable too tight or too loose.
Elevate your biking safety with precision braking! Dive into our step-by-step guide on how to tighten bike brakes.
Attach The Cable With The Brake Arms
Now that the cable is attached, cut the extended part of the cable by pulling it with a wire cutter. The cable needs to be attached to the brake arms now. Once it is attached, tighten it. The spring tension also needs to be adjusted. Loosen the spring bolt first and then adjust the tension. It needs to be balanced.
Test The Brakes
Test the brakes. Apply a whole lot of pressure on them. Take a small test ride to check the brakes of the bike.
Step 8. Adjust The Brake Pad
The last part is to adjust the brake pads. For that, you will need to loosen them first. The brake pads need to be parallel with the rim. When they are parallel, just tighten the pads. Make sure that the brake pads don’t touch the rim.
There, you have successfully built a BMX Bike. Make sure to give it a test ride!
Why Build A Custom BMX Bike?

Building a BMX bike is a serious challenge, and the end results are very satisfactory since you will be making the bike out of love.
Being a bike rider, there are many responsibilities that we need to take care of. This includes bike maintenance and assembly. Using a normal BMX Bike that you got from the store gets outdated just in a few months. If you are a seasoned rider, getting a new bike whenever this happens is not practical That is why I recommend building a custom BMX from the ground up if your needs vary from time to time.
FAQs
Is it cheaper to build a BMX?
It depends on the materials that you choose to build a BMX bike. If you choose entry-level components, the cost will be low. But going for high-end components can sometimes exceed the cost of a pre-built BMX.
Is BMX cheaper than MTB?
Yes, BMX bikes are generally cheaper than MTB.
Is a BMX better without brakes?
No, brakes are placed for the safety of the rider. So, it is not recommended to get a BMX without brakes
What is BMX full form?
Bicycle Motocross is the full form of BMX.
Recap
While there is not much difference of cost in building a BMX bike and buying one, the option to customize does enhance the ride experience. Sometimes getting a complete bike doesn’t do the job.
So if you want a BMX Bike but with your preferred features, instead of something generic, You know what to do! Just follow these simple steps and build it! If you still have problems or questions then do reach out to me in the comments below!
Also Read
- Best BMX Bikes For Kids – Review And Buying Guide
- The Best BMX Brands: Mastering Standards In Creativity And Resilience
- 7 Things You Need To Know About Cheap BMX Bikes
- BMX Racing Bikes Vs. BMX Trick Bikes – What Is The Best Choice?
- 8 Things That Make BMX Bikes The Perfect Trick Bikes