Bike Chain Waxing Guide: This guide was refreshed on May 27, 2026 with a stronger answer-first section, a practical decision table, and related Icebike links so riders can diagnose the issue faster.
Waxing Works Best When the Chain Is Truly Clean First
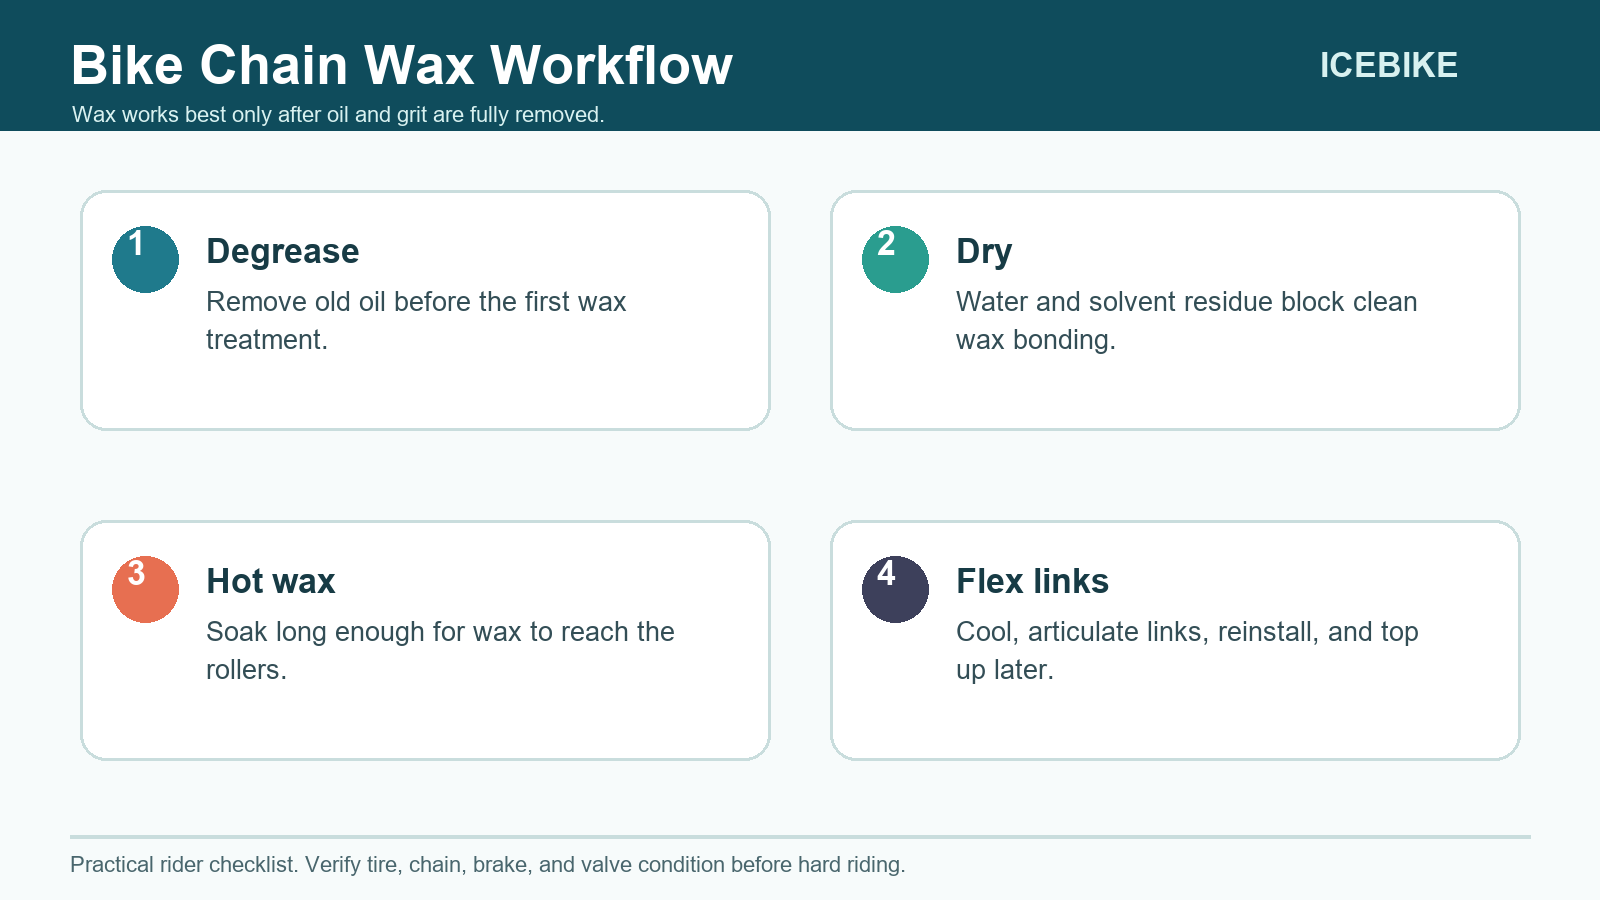
Chain wax can run clean and quiet, but it is unforgiving of poor prep. Old oil and grit block wax from bonding to the rollers, so the chain has to be thoroughly degreased and dry before the first hot-wax treatment.
| Step | Why it matters | Common mistake |
|---|---|---|
| Deep clean | Removes oil so wax can bond | Waxing a chain that still smells oily. |
| Melt and soak | Gets wax into the rollers | Rushing the soak or overheating wax. |
| Cool and articulate links | Restores free movement | Installing stiff links without flexing them. |
| Rewax/top up | Keeps protection consistent | Waiting until the chain squeaks badly. |
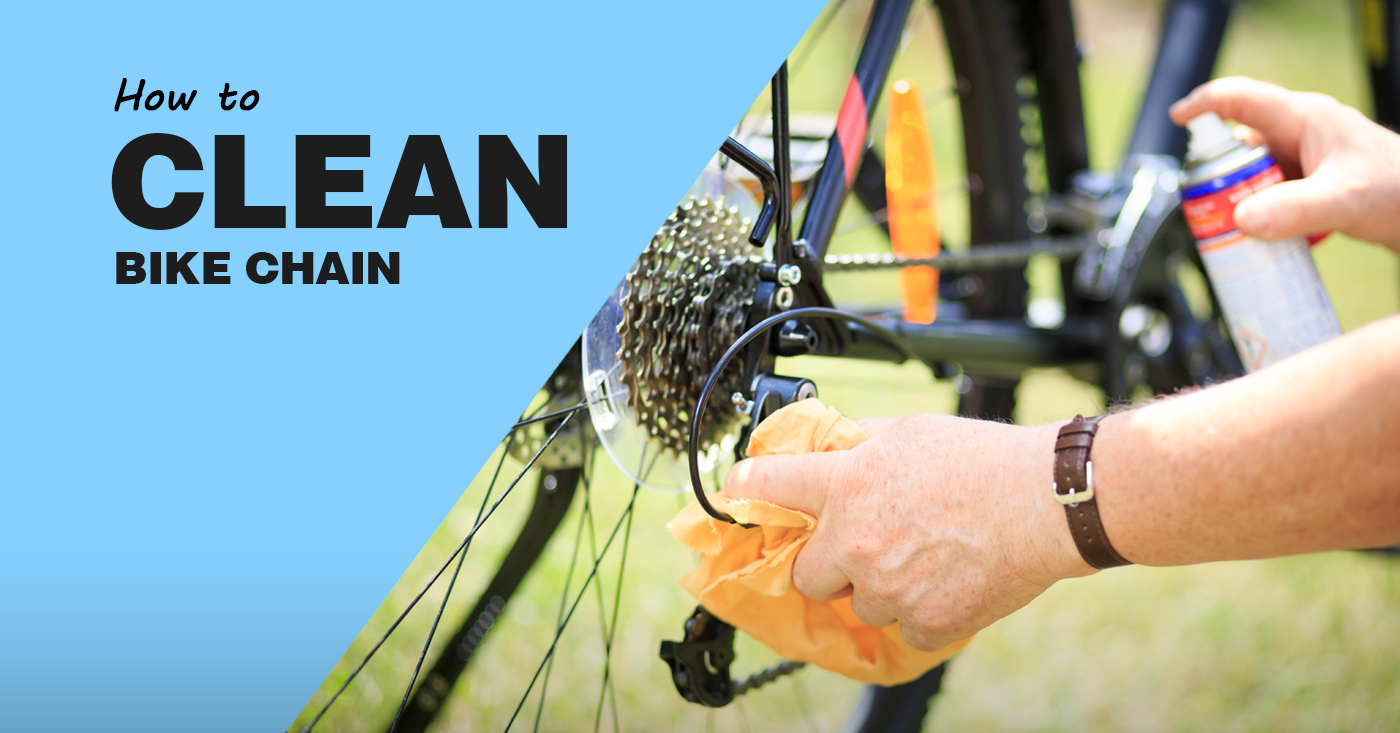
Before waxing, read how to clean a bike chain. For other lubrication choices, compare chain lube types and chain lube alternatives.
To keep your bike running, it is important to keep the chain in good shape. I cannot stress this enough! Waxing your bicycle chain may seem like a small step but it has many benefits. It helps your bike Run Smoothly, Reduces Wear And Tear, And Keeps It From Getting Rusty Or Corroded. It’s an easy process that will only take a few minutes of your time and will help your bike function well for years to come. In this article, we’ll show you how to apply chain wax the right way to keep it running smoothly so don’t miss out on this essential knowledge for any biking enthusiast!
Tools Required For Chain Waxing

Having the right tools at your disposal is important to make chain waxing easy. You will need an array of items, such as lubricants, brushes, gloves, safety glasses, waxes, and degreasers.
1. Slow Cooker
You’ll need a slow cooker for melting the wax as you cannot melt the wax in a rice cooker, and it is very important to remember this. However, you don’t have to stress about buying anything fancy as you can use a small crock-pot too.
2. Swisher Tool
Swisher is a tool used to hold the chain in the slow cooker. Alternatively, you can use an open-ended steel hanger or cable ties.
3. Chain Link Pliers
Chain link pliers, like Park Tool’s, that can take off and put on quick links. These pliers are specially designed to assist in breaking the chain, which is necessary for cleaning.
How To Wax A Bike Chain
Let’s break down the steps that you need to follow.

1. Begin By Removing Your Bike’s Chain
First, you will need to remove your bike’s chain by using the pliers that we mentioned earlier. It is a good idea to place all the chain links in a box to make sure that you don’t lose any one of them.
2. Now Clean The Chain
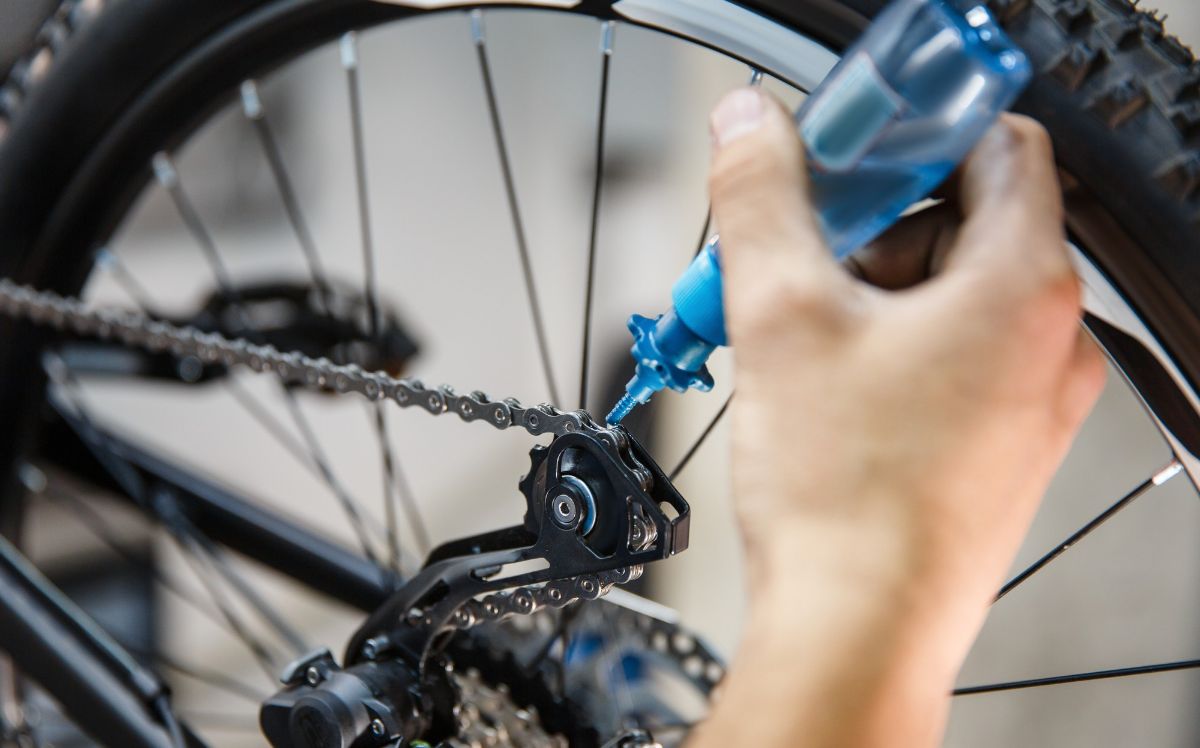
Before you start waxing, you need to make sure that your chain is clean and does not have any external debris, dirt, or dust. Even if you are waxing your new chain, it is important to remember that it will have factory grease on it which you need to remove to wax your chain.
To clean your old chain, you can put it in boiled water. This will remove the old wax. Then clean and dry it with a cloth to make sure that there are no particles left on it and that it is completely dry before putting on the new wax.
3. Start Heating Up Your Cooker
It will take some time for the wax, so one way to be efficient can be to switch on the cooker before you take off the chain. It will save some time as by the time you are done cleaning, the wax will also be ready for use.
4. Prepare The Chain Before Dipping The Chain Into Hot Wax
Before dipping the chain into the hot wax, you should hang it using a metal hanger or a Swisher tool. The Swisher tool is a better option as it makes it easier to hang the chain so that you can easily put it in the slow cooker.
After the wax is melted and is ready to use, dip the chain completely into it and leave it in for at least an hour, or even overnight.
5. Remove The Chain From The Cooker
After keeping your chain in the cooker for at least an hour, slowly take it and shake it so the wax drops drip down slowly. Keep in mind to shake it gently so that the chain links don’t fall apart. Then hang it somewhere to let it cool down. Do not touch it with your bare hands.
After the chain has cooled down, remove the freshly waxed chain from the swisher tool and straighten it out. Don’t worry if the chain is hard because that’s normal.
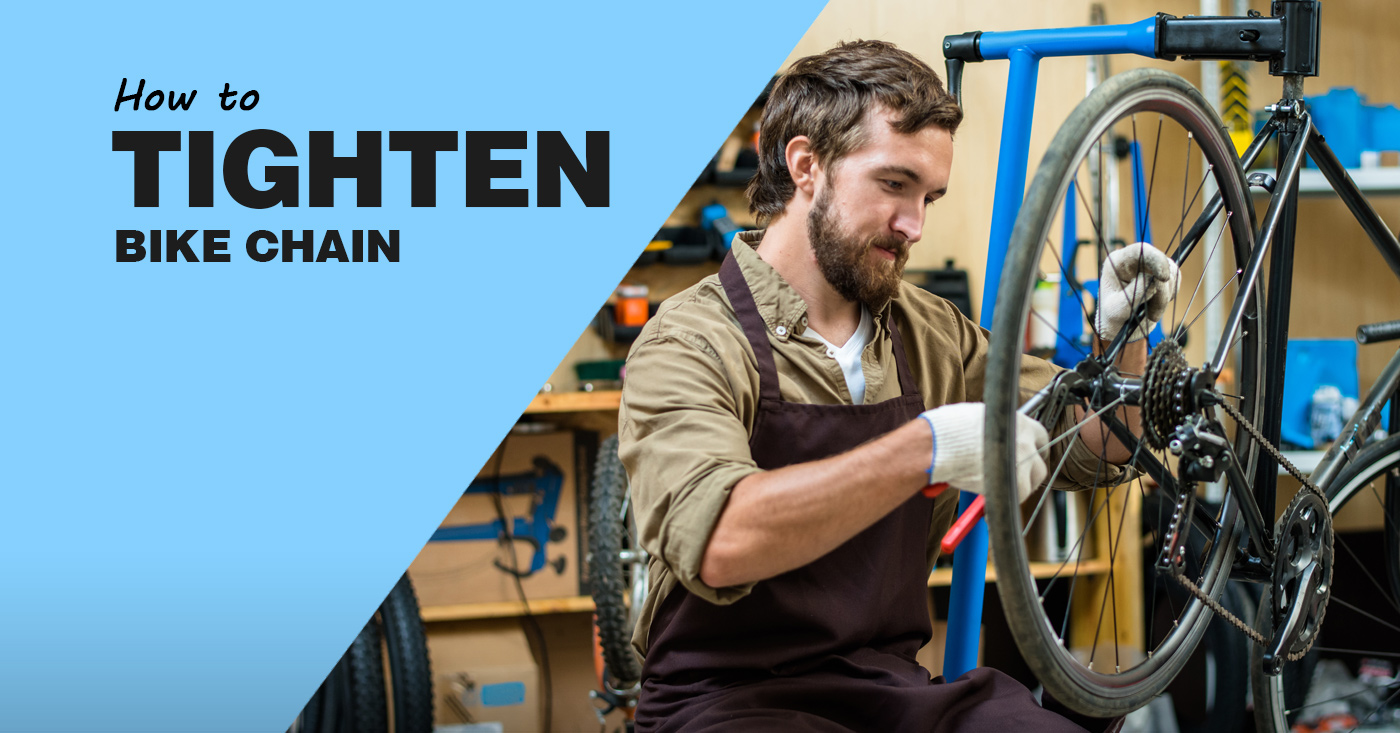
6. Now Re-Install It
The next step is to make sure that you install the chain in the right direction. After that, you have to break the wax bond on your chain. To do this, lift the back wheel, and for 30 seconds at least, you need to manually advance the pedals to break in the wax. Another way to break the wax bond is by running it up and down on a pipe before you install the chain.
7. Take A Test Ride
Your bike is now as good as new and ready to ride. The chain might feel stiff at first, but it will loosen up over time. Don’t shift too many gears for the first few rides or at least until your chain loosens up
How I Wax My Chain- Icebike Edition

At Icebike, I believe that hot dip chain waxing is one of the most effective bike maintenance techniques. With this method, you can go up to 25,000 kilometers before needing to change the cassette. By then, it is pretty much the time to upgrade your whole bike so it’s not much of a hassle. You can use paraffin wax or any other type of wax that works for you.
The most challenging part of waxing for me is cleaning the chain thoroughly before starting the waxing process. This process is an important one and it took me about 2 hours. Step one was 15 minutes long during which I dipped my chain in the bath at 65 degrees Celsius. To make sure that the chain was thoroughly clean I dipped it in the ceramic cleaner too. I had to repeat this process twice, but that depends on your chain’s quality. I did this with a 30-minute interval so it serves as an ultrasonic wash. The third step was to dip the chain in methylated spirits or mineral spirits to remove any previous cleaners.
Once the chain was clean, I used a dryer to dry it thoroughly. You can use any cloth or a towel to make sure your chain is dry. It’s essential to apply a wax coating as soon as possible to prevent rust since a clean chain is more prone to rusting.
I used Silka’s Secret Chain blend wax, which comes in a packed palette format but once you heat it it liquefies. It took some time for the wax to reach the right temperature, so I hung it on a metal hanger until it was ready to be dipped in the wax. When I dipped the chain into the melted wax and agitated it, bubbles appeared on the surface. That is how you know you have correctly impregnated the chain. After removing the chain, I placed it in another bucket to collect any wax drops for recycling for re-dips.
Many riders use multiple chains, making it cost-effective to re-wax using recycled wax. For virgin chains, it’s best to use virgin wax. I prefer to brush my chain with PTFE and Molybdenum as an additional step.
What Wax Can You Use?
Here are a few options for you to check out other than the one that I used:
Types of Waxes for Bike Chains
| Type | Description |
|---|---|
| Molten Speed Wax | Molten wax used for bike chain maintenance. It lubricates, protects, and extends the lifespan of the chain by reducing wear and friction. Also, it prevents grime and dust buildup. |
| Hot Wax | A lubricant made from natural waxes like paraffin, carnauba, or beeswax. It’s melted and applied to the chain, reducing wear, friction, and keeping the chain clean, dry, and efficient. |
| Melted Wax | A unique chain lubricant for bicycles made by melting a special wax mixture and coating the chain with liquid wax. Provides long-lasting lubrication and is waterproof, ideal for rainy weather. |
| Paraffin Wax | Commonly used to lubricate bicycle chains, paraffin wax reduces friction and wear. Applied directly to the chain, it forms a thin protective layer, resulting in quieter and smoother rides. |
Benefits of Chain Waxing
Waxing the chain can help you save money in the long term and reduce the energy required to pedal by decreasing friction.

1. It Will Increase Your Bicycle’s Efficiency
Waxing your bike chain will make it run more smoothly and efficiently, allowing you to ride with less effort and also make your riding more speed and time efficient.
2. There Will Be Reduced Wear And Tear
Another benefit of regularly waxing your bike chain is that it can lessen the amount of wear and tear on the chain. Which eventually results in saving money as the chain won’t need to be replaced as often.
3. Improved Lubrication Means Less Friction
Waxing your bike chain will enhance the lubrication between the chain and the sprocket, which in turn will reduce friction which will keep your bike operating smoothly.
4. Easier Regular Cleaning
Bicycle chains that have been waxed are less likely to attract dirt and debris, making regular cleaning easy. Keep your bike looking great and tidy with this helpful technique!
Also Read:
Conclusion
Waxing a bike chain involves wiping it down with denatured alcohol, applying a wax-based drip lube, and then rubbing it into the chain links with another cloth. I suggest using wax as a lubricant for your bike chain. If you use the appropriate kind of wax and apply it regularly, you will extend the life of your bike chain and improve its performance.
It is an easy investment as bicycle chains can be easily waxed using a few inexpensive items and a few minutes of your time. What I have learned from experience is that to maintain your bike operating smoothly, all it takes is a little time to check the chain.