Bike riders have a lot of adventures. And if you are a person who loves to record moments then you are going to like a GoPro. GoPro is a small camera that you can mount on your helmet to record your rides. Ever wondered how cyclists record while they are riding? Well, they use gadgets like a GoPro! That’s how!
GoPro makes it easier for you to share your adventures with others. Now, you may be thinking how do you mount a GoPro to the helmet? That’s a very good question! Let me show you how exactly you can mount a GoPro to your helmet.
How To Attach GoPro On Bike Helmets?
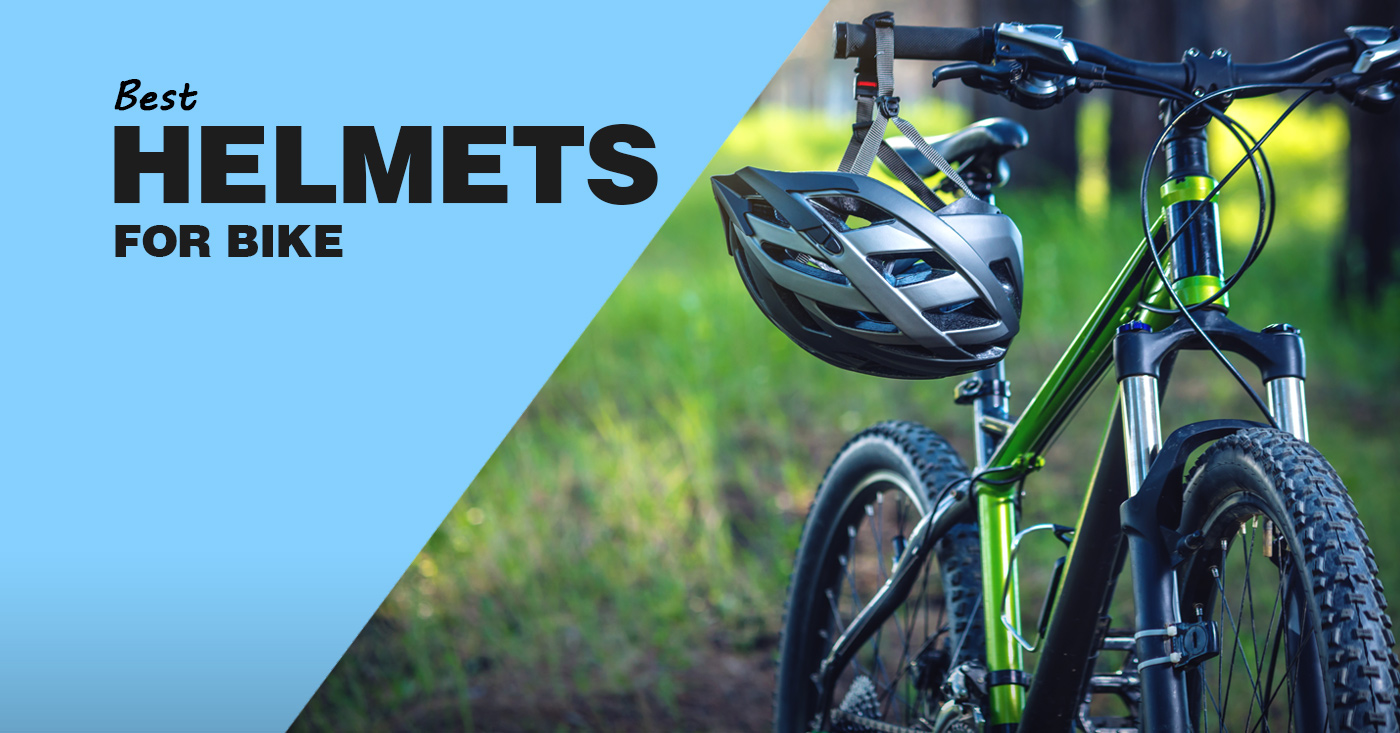
With the bike helmets, you are aiming for a POV perspective. You want to capture the footage like you are experiencing it. This is a great way to record every kind of footage but you have to know about the speed of the footage. It will be slower than what is being recorded.
This is because of the perspective of the footage, not the speed. I think that this is the only downfall of using GoPro on bike helmets.
Attaching The GoPro
First, you will have to clean the helmet and dry it. You can wipe the area with a clean wet cloth and let it dry for 30-60 minutes. I recommend using a GoPro adhesive mount to attach the camera. It will make sure that your camera sticks properly.
Before you apply the adhesive, heat it up and then leave it preferably overnight. You need to look for a flat area to mount the camera. The modern bike helmets have a dedicated area for GoPro cameras. The area where you will mount should have the most surface contact with the helmet, don’t forget that. Now attach it to your helmet and stick the GoPro camera.
Once you have applied the GoPro, leave it there for exactly 12 hours. Now that the mount has been successfully installed, you can place the GoPro there and enjoy the ride!
Other Areas To Mount Your GoPro
If you don’t want to mount your GoPro on your helmet, no worries. There are plenty of other places that you can mount it. Check them out:
- Handlebar
- Seats
- Wheel Skewer
- Chest Mount
1. Attaching GoPro To Your Bike’s Handlebars
Handlebar mounts are very popular. The GoPro mount is one of the decent handlebar mounts that I got to try. To use these mounts:
- You have to get the correct-sized rubber shim.
- After you attach the mount just make sure that it is clamped right.
- Once attached, turn on image stabilization on your GoPro.
2. Attaching GoPro To Your Bike’s Saddle
This type of GoPro mount will be attached under the bike saddle and on the rail bars. Get a metal mount if you want to try it this way.
For installing this mount:
- Before you install, clean the rail bars. You can use a wet cloth.
- You can even use some Loctite on the rail bar screws. It will make sure that they don’t get loose.
The results from this mount will be completely different, the footage will be upside down but you can always edit that and make some adjustments of your own.
3. Attaching GoPro To Your Bike’s Wheel Skewer
GoPro mounts are useful because they can be attached almost everywhere. The wheel skewer position offers a very dynamic pose and camera. Using it is also very easy, here is how you set it up.
- The GoPro adhesive mount is going to replace the nut that is at the end of the wheel skewer.
- This will then slightly stick out from the wheel’s side.
- The dynamic capabilities of this position are attractive.
Should You Use GoPro Mounts?
That’s a very good question. With different GoPro mounts, you can record your adventures from different curves. It can help you record your riding footage from different angles. How about you try syncing all your cameras? It will help you keep recordings on the same page. You can even make a great video this way!
Protect your head from the sun and stay cool while cycling. Check out our guide on the purpose of cycling caps and get yours today
Go Pro Remote and Apps Compatibility
You can control GoPro cameras with apps and they also offer remote support. The Apple Watch App is a great accessory if you want to use the GoPro cameras. You can capture great footage with the Apple app.
Other than that, we have the GoPro Remo. You can mount this easily on your bars and start and stop the footage whenever you want.
Keep track of your cycling performance with bike computers. Check out our list to find some amazing options.
4 Best GoPro Accessories
These accessories for the GoPro device act as a compliment and can enhance the overall experience. Here are a few that I have tried myself and they also have good reviews!
1. Neewer 50-In-1 Action Camera Accessory Kit
Price: MSRP $39.99
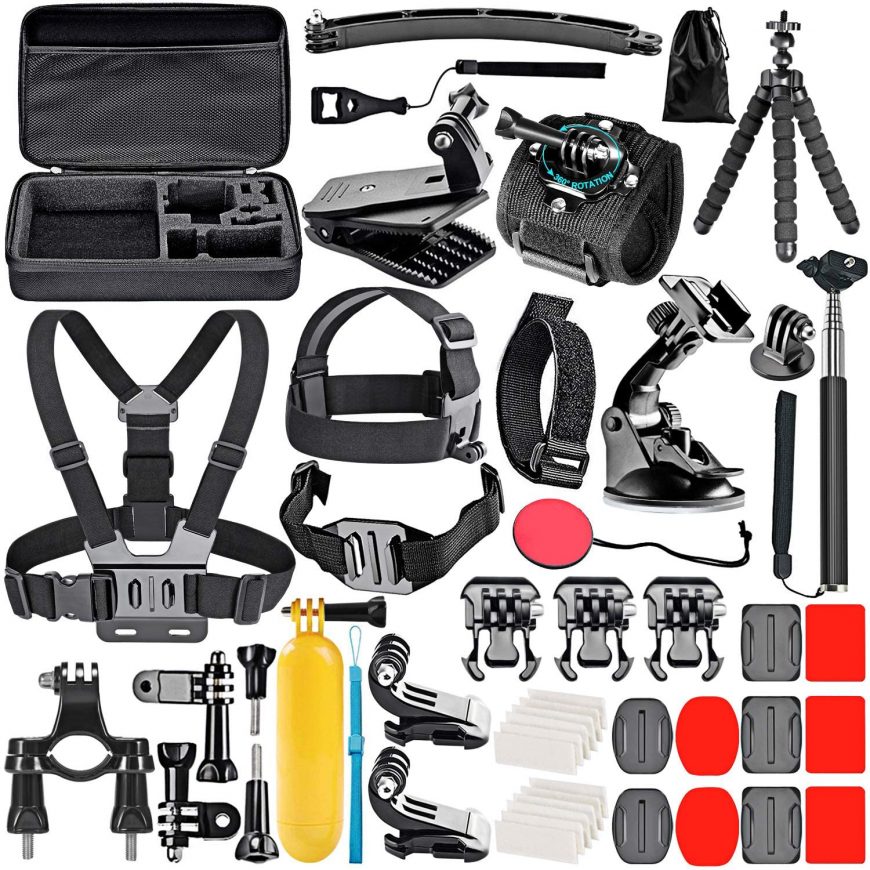
If you want to use the original GoPro, it does not come with its exclusive accessory kit. But with the Neewer 50-In-1 Action Camera Accessory Kit, there are plenty of mounts that you can use. The Kit offers different kinds of mounts for different situations. Some of the options that I used were a helmet strap mount and a chest mount. There is also a vented helmet adjustable strap in the kit that you can use!
I like this kit because it isn’t just for the bike. You can also for a motorbike and ski. If you like snowboarding, you can use the kit for a variety of different positions.
Advantages
- It comes in varied options
- Compatible with most GoPro cameras
- It is affordable
Disadvantages:
- It contains an empty list
2. SanDisk Extreme microSD Card
Price: MSRP $20.89
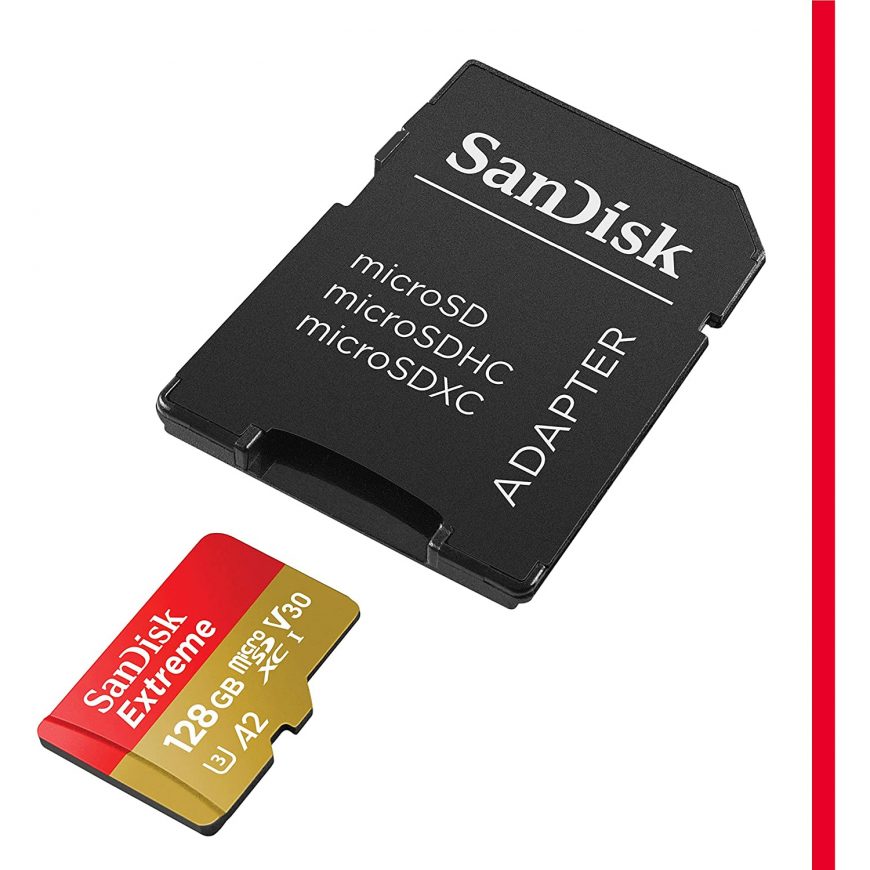
No matter what kind of GoPro camera you have, you are going to need a microSD card to store all your footage. If you have been using the Hero10 and Hero9 cameras, then you know that they can capture 5K video.
There are other great cameras too like the Hero8 Black and Hero7 Black. Apart from capturing the normal 4K video they also capture a 360-degree 6K video. If you want to try that out for yourself then you will need more than the 32 or 64 GB SD card.
That is why I recommend going for the 256 GB variant of the SanDisk Extreme microSD card. This will make sure that you capture all of your footage. If you can, try getting two cards, one will act as a backup. When you are buying the card, make sure that they are UHS Class 3. This means that they can write 4K and 6K data at a very high rate.
Advantages:
- They have a fast writing speed
- Large storage capacity
- It is affordable
Disadvantages:
- You may have to buy two cards
3. Amazon Basics Carrying Case
Price: MSRP $14.97
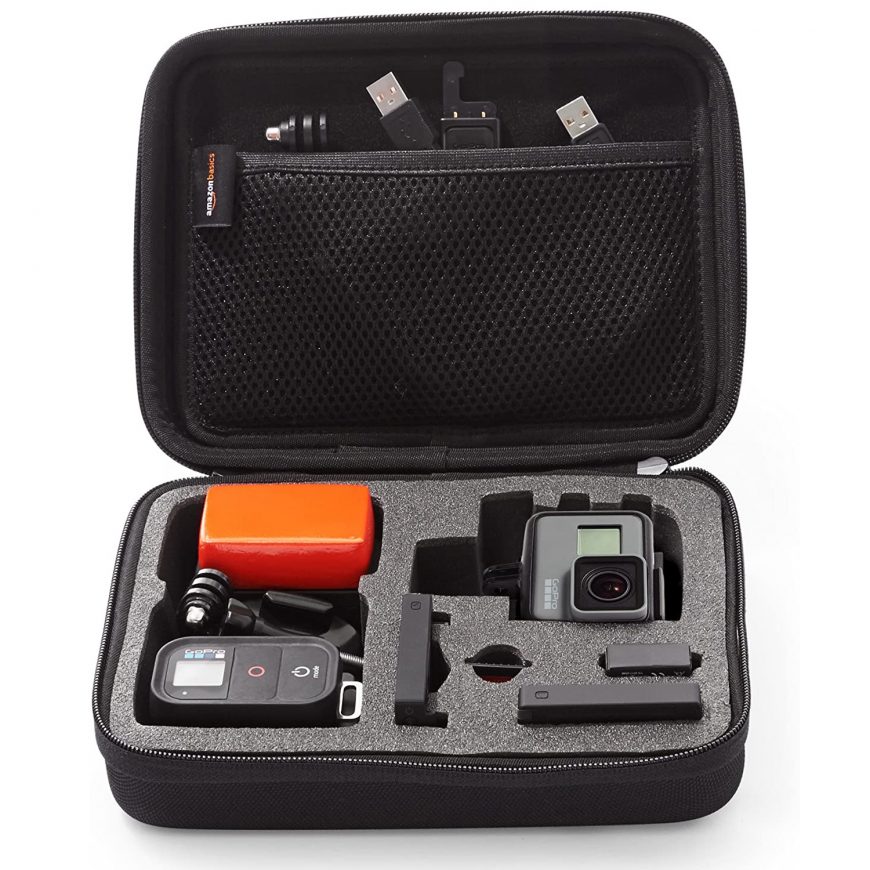
Sometimes it gets really heavy carrying the camera like that. With the AmazonBasics carrying case, you would be able to carry not one but two GoPro cameras, mounts, remotes, and cables.
This whole carrying case is an inexpensive option. This case is both suited for casual and professional riders. I recommend that you go for the smaller sizes if you are just starting on this adventure.
Advantages:
- Extra storage space
- It is affordable
Disadvantages:
- The normal sizes are bulky
4. Kupton Tempered Glass Lens and Screen Protector
Price: MSRP $19
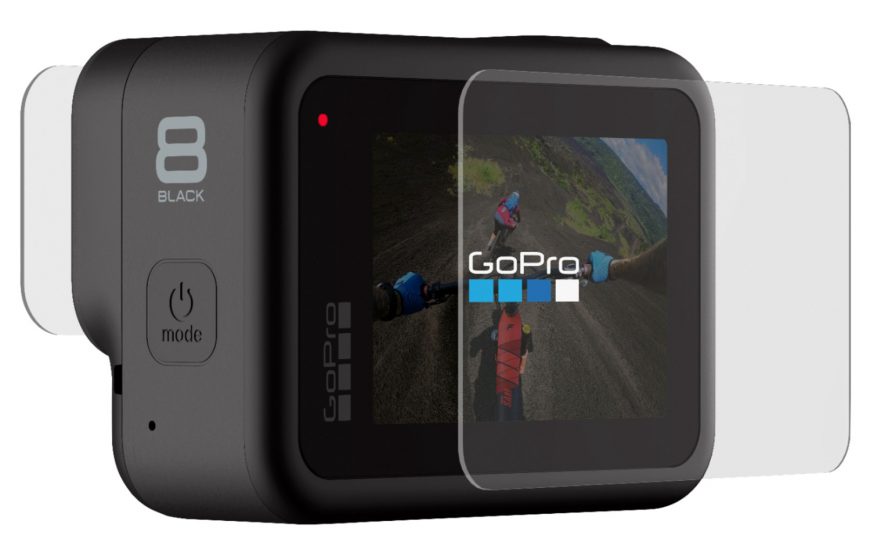
GoPro redesigned their Hero8 camera and they took out the option of the removable lens.
The cost of installing that kind of lens was high, almost the cost of a whole new camera. The better option here is the Kupton Tempered Glass Lens and Screen Protector. This can be easily applied to the lens of the camera. It is very similar to what we do to our phones.
Advantages:
- It is easy to use
Disadvantages:
- You will have to get two separate lens packs
Protect your hands and improve your grip with our range of cycling gloves. Choose from a variety of options and get yours today!
FAQs
Question 1: How Do I Use My GoPro While Cycling?
Using the GoPro camera is very easy, just use different mounts for different camera positions. You can follow the methods that I used in my guide.
Question 2: Can I Use GoPro on any helmet?
You have to make sure that the area where you will attach the mount for the camera is flat, otherwise, the GoPro camera will just fall off. A similar sports helmet can do the trick here.
Question 3: Is GoPro good for cycling?
GoPro is amazing for cycling if you want to capture the footage and record all of your adventures.
Recap
With GoPro, you can record all of your wild adventures and share them with the rest of the world. And with the different mounting positions, you can get exciting footage from different angles. The accessories are just an add-on that makes the whole process easier.
So, now that you know where and how you can mount your GoPro camera, what do you think? Where will you mount yours? Let me know in the comment section below!
Also Read
- How To Do A Wheelie On A Bike- Expert Tips And Tricks
- Best Bike Baskets: Find Top Brands Reviewed And Ranked
- The Best Bike Bell Review And Buying Guide
Should you have any questions or require further clarification on the topic, please feel free to connect with our expert author Rhodes Perry by leaving a comment below. We value your engagement and are here to assist you.


