Vintage bicycles have been an interesting subject for collectors and bicycle enthusiasts. And rightly so because these bicycles are the forefathers of the bicycles as we know them today. High-wheel bikes, safety bicycles, balloon-tire bicycles, and Vintage bikes from the 19th century (before World War II) have been the center of attention of many collectors.
The main challenge, after acquiring a vintage bike, is to restore it. What if I told you I know of a method that you can use to restore vintage bicycles without damaging the components? It’s a tested method that I have tried myself!
Wait! I will show you exactly what you need to know but you need some tools to begin!
Tools Needed For Restoration
Here are the tools that you will need:
- Lots of pliers and side cutters
- Different types of hammers
- A Hex Allen key
- Different screwdrivers
- A chemical paint remover (NitroMors)
- Toothbrush or paintbrush
- Dried and wet rags
- Spray Paint (Different Colors)
- Masking tape
- Protective mask
- An Anti-rust primer
- Grease
- Wire brush
- Lubricating fluid
- A wrench set
- A spanner set
- Bike stand
- Chain-link tool
- Crank-pulling tool
- Some wet wipes
- New wheels
- Free-wheel
- Gear cables
- Brake cables
- Handlebar tape
- Bike’s original decals
- Brake pads
- Rim tape
- Inner tubes
I know, I know, they are a lot of tools but you are going to need them! I recommend that you get a friend to help you with the process. An extra hand might come in handy!

Steps To Restore A Vintage Bike
Step 1: Acquire A Vintage Bike
The first step is getting an old bike to reconstruct. You can go for any kind of vintage bike. I would advise you to go for a bike that fits you the most. You can decide where you are going to get your “Frankenstein” from depending on how much budget you have
I suggest that you start with a leisure bike like a beach cruiser. They are easy to restore and you would have fun using them as well. Look around for garage sales in the neighborhood. You will definitely find something worthwhile there. I got an old racing bike, but cruisers are easier to work with.
Make a smart investment in your cycling journey! Explore the ultimate guide to buying a used road bike.
Step 2: Disassemble Your Vintage Bike
Now disassemble the bike properly so that the restoration can begin. The removal process is pretty straightforward. You need to unscrew some bolts and the part will come out.

How To Remove The Bike Parts Like A Professional
Remove the crank arms of the bike. A crank-puller is the perfect tool for this job. You will also need a large spanner to help you get the crankarms off the axle. Just apply some force and all will be good. You could have problems with the stem of the bike. This is the component that connects the front forks of the bike with the handlebars.
Keep a Record of Everything
I advise that you take pictures of everything. This is to keep a record of everything that you do. It will be helpful if you get stuck while putting things back together.
Step 3: Remove The Old Paint
When the bike is fully disassembled, inspect it thoroughly. This step will require a lot of patience.

The toughest part here is removing the old paint off the bike. You will need a primer for that. The primer will be directly applied to the bare metal for quality adhesion. You will need two items:
- Chemical Paint Strippers
- Abrasives
People make a common mistake here and go with wet and dry paper. This does not work for long. The best thing that works, in this case, is the Aluminium Oxide Paper. A coarse grade of the Al Ox paper will make the work a whole lot easier. When it comes to a chemical paint stripper, I suggest that you use NitroMors, they will help you remove the paint easily.
Embark on affordable gravel adventures! Explore our guide to the best gravel bikes under $500.
Step 4: Now Remove The Rust
Most of the rust that you will see in your old bike is easily removable. Use the wet and dry paper to remove all the rust that you can. This process would go a lot quicker if the paper is shallow. Work the rust all over the frame.
There are going to be some areas on the bike that will be hard to reach. This is where you will have to use Hammerite Kurust. If you can’t get that then there are pretty good alternatives that you can use too. The liquid is like milk and works well against rust. When the Kurust has done its work, the area will turn black. That is how you will know that the agent worked.
Step 5: Time To Prime The Metalwork
You have to suspend the bike’s frame and forks using wires from a tree or a large stand. I hung my bike against the branches of a tree.
Now remove the parts where you don’t want the primer or the paint and put them aside. Wear safety gloves, and clean the frame and forks of the bike with paper dipped in white spirits. This will remove any kind of grease and dust so that you can paint it later on!
When the spirits have evaporated, use the primer. Shake it well before you use it. When you are done with the coating, cover the frame and the fork with a sheet and move them to the garage. Keep them covered for 2 days! Do not remove the sheets before 2 days!
Smooth out your cycling experience! Discover why your bike is hard to pedal in our concise guide.
Step 6: Let’s Paint The Bike’s Frame And Fork
You need to hang the frame and forks from a location and get your gloves on. First, moisten the frame and forks so that you can easily spray paint over them. Use good quality wet and dry paper. Gently use the paper so that you don’t get the primer off. Now use a paper towel and remove any dust.
Start spray painting slowly and carefully. Painting quickly leaves a lot of room for error because the paint does not settle in properly.
How Many Coatings Are Enough?
In most cases, 4-5 coatings are more than enough. In between each coating, have a waiting time of 15 minutes so that the paint settles properly. When you are done, move the frame and forks to the garage and wait two weeks.
Two weeks is best for the paint to be absorbed fully.

Step 7: Cleaning Other Components
All the other components, apart from the frame and fork, like the chain of the bike, take out all of those components and repeat what we did.
The first process would be to remove their paint, wash them, grease them, and in the end, paint them. Using warm water to wash the components is a really good idea. Use a kitchen sponge if necessary.
Step 8: Restore/Replace Cranks and Bottom Bracket
The cranks and bottom bracket are the most vulnerable parts of a bike and they can easily get damaged. If they do get damaged, then it is wise to get them replaced instead of repairing them because that rarely works out!
In the case where the cranks and the bottom bracket are not damaged, you have to clean them and re-attach them on the bike. You will need a toothbrush and some spirit to start the initial cleanse. Make sure that all the parts like bearings and axles are covered in spirits, this will eliminate the old grease.
When all the components have been cleaned, it is time to lubricate them, do that properly, and let them sit there for a while.
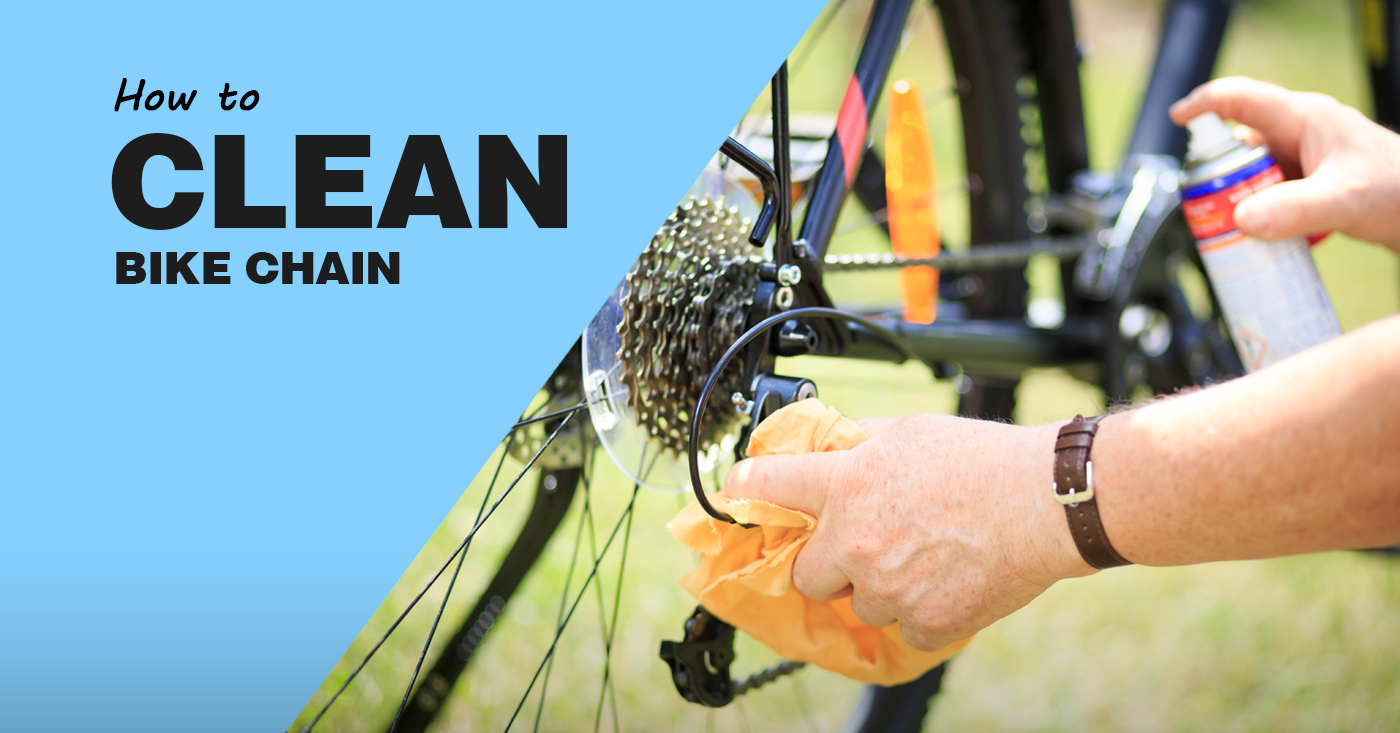
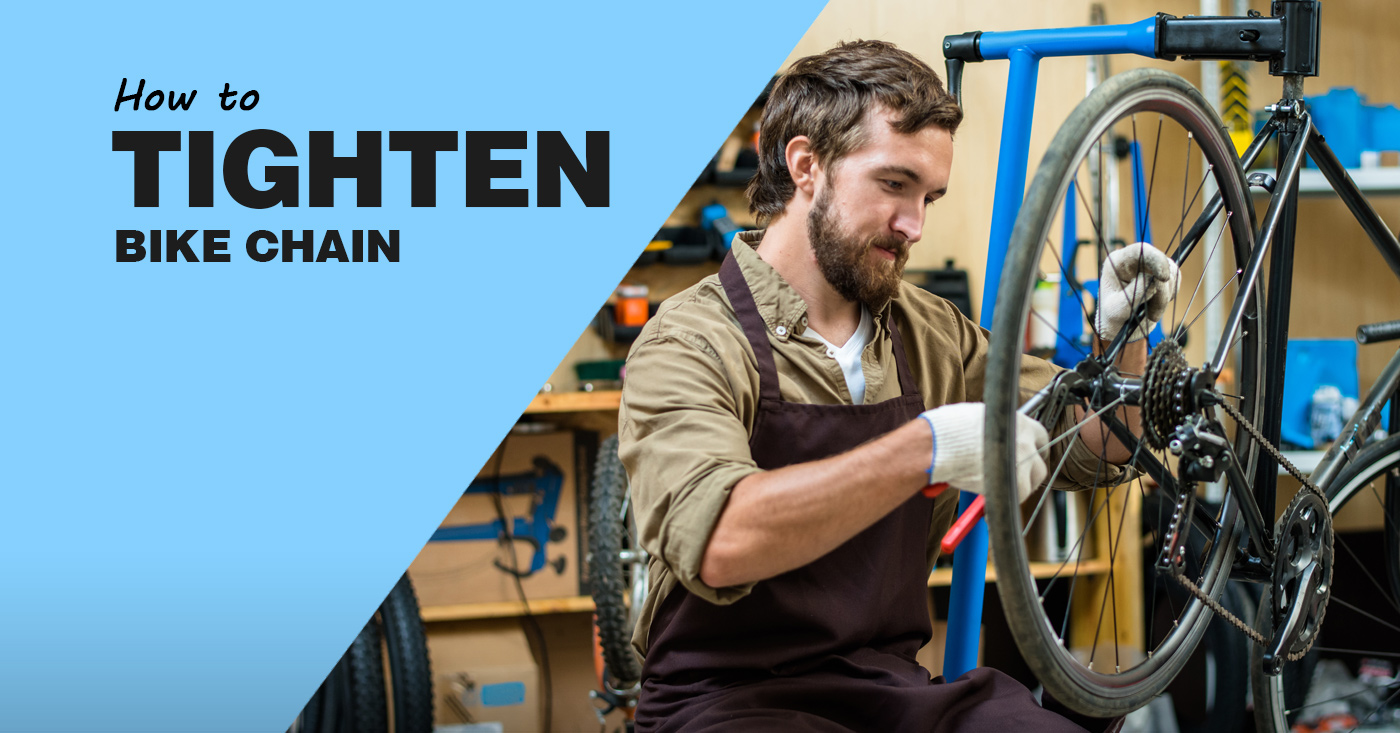
Step 9: Re-Installing The Bike’s Chain
First, you need to make sure that the bike’s sprockets and both the derailleurs are installed properly. The chain that you will purchase might come fully lubricated so that makes the whole process easier. What you need to do here is fit the chain around the sprocket. You can check the length of the chain but there will be a need to cut it short.
For this, you will need a chain tool. With this tool, you can easily remove the link by pushing the pin against the chain’s pin. If there is extra grease on the chain, make sure that you remove it before re-installing!

Explore our comprehensive bike size chart to ensure an ideal match for your cycling journey.
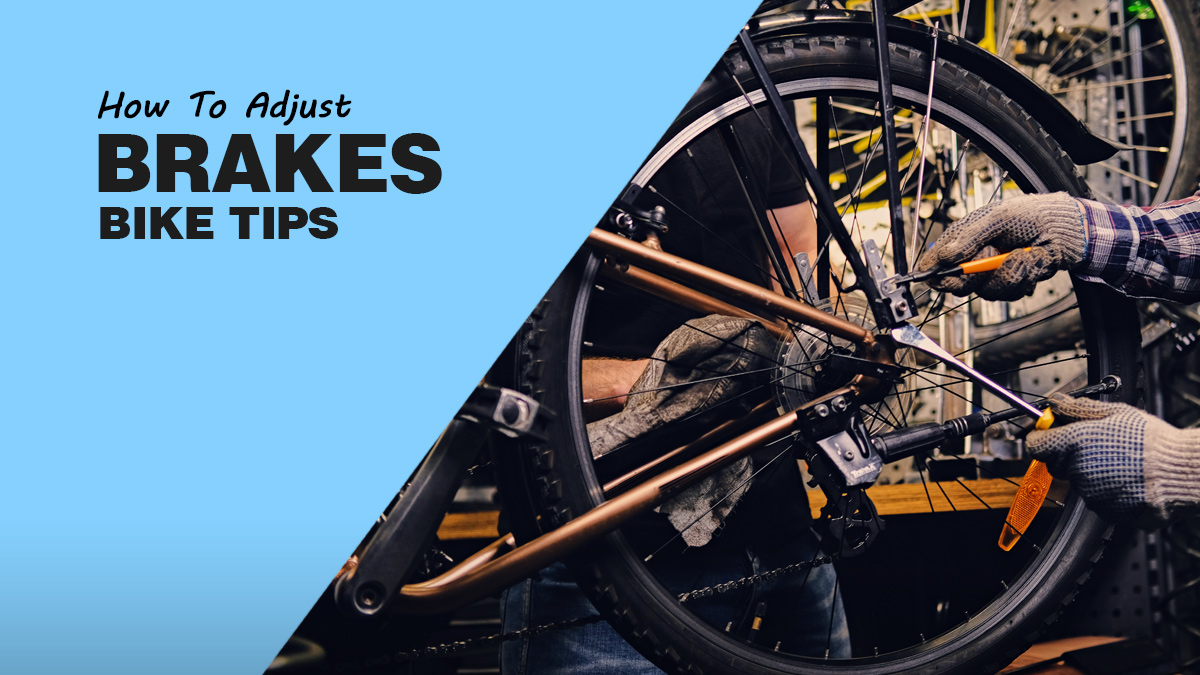
Step 10: Install The Brakes
If your vintage bike has been cared for, you won’t need to replace the brakes and cables. As the brake pads will need to be replaced, find the type and size that go well with your bike. When it comes to the brake cables, don’t make loops that are too large, that could become buggy and you won’t even look well.
You will need to adjust the position of the brakes, especially through the brake calipers. Make sure that the brakes are actually at a good point and then work from there.
Step 11: Now Install The Gear Cables
In the next part, we will install the gear cables. If you have seen how old bikes work then you know what is “Index-Less” Shifting. This is a case of that. Here, gear levers are actually held in different positions because of friction.
For the final touches, you will have to calibrate the derailleurs. Make sure that you can access all the gears and that everything is working properly.
Step 12:
For the last step, you need to apply handlebar tape and customize the bike visually! You can get handlebar tape in all sorts of designs and colors. I have experienced that foamy tapes allow for the best grip. As for the decals and customization, you can do that according to your needs and preferences!
There you go, you have successfully restored your vintage bike!
Explore the groundbreaking Triangle-Wheeled Bike that shatters cycling norms. Click here to witness innovation and revolutionize your biking experience!
Tips For Restoring A Vintage Bike
- When dealing with an old bike, be cautious and attentive to various factors.
- Different types, makes, and models may present challenges in the restoration process.
- Some models may be challenging or impossible to restore properly, so careful consideration is essential.
- Bare metal can often be penetrated and fixed, but other components pose difficulties.
- Thorough research before starting the project can help prevent obstacles.
- Have a friend accompany you during the restoration process.
- Finding suitable replacements for brake pads can be particularly challenging.
- Locating brake pads that work well with old bikes is a rare occurrence.
- This type of restoration differs from typical bike repairs so it will require extra precaution.
- In some cases, complete replacement of bike parts may be necessary, especially due to rust and damage over the years.
Vintage Bike Restoration- What Do You Get From It?
You must be wondering, what do I really get from restoring a vintage bike? Well, a vintage bicycle is like an old painting. There is a lot of value in it but in order to understand it more, you have to restore it and bring it back to its original form
When you restore an old bike, you get to enjoy the following things:
- You save a lot of money
- You understand your bike better, and your techniques
- You can personalize the bike
- The motivation is off the charts

Embrace the hipster vibe with our guide on why fixie bikes are the ultimate hipster bikes.
FAQs
What is considered a vintage bicycle?
Bicycles produced from 1920 to 1990 can be considered vintage bicycles.
What is an old name for a bicycle?
Velocipede, hobby-horse, Draisine, and Running machine are some of the oldest names for a bicycle.
What is the oldest bicycle?
Swiftwalker, invented by Karl von Drais is the oldest bicycle.
Who is the father of bicycle?
Karl von Drais is popularly known as the father of bicycle.
What is the oldest bicycle brand?
Edoardo Bianchi S.p.A is the oldest bicycle brand.
Recap
Restoring a vintage bike does take some time and dedication. You just need to have the right tools and patience. After going through this guide. I hope you can now restore your vintage bike. If you have any confusion, reach out to me in the comment section. We can figure it out together!
Also Read
- How To Choose The Right Bike Work Stand For Your Bike Repair Needs
- How To Do A Wheelie On A Bike- Expert Tips And Tricks

1 thought on “How To Restore A Vintage Bike In 12 Simple Steps!”
Dunelt
Early model.
Tools. Good find.
Not much on repair manuel.
The chain gear! Took the longest amount of time.
A pully system, that was fun.