
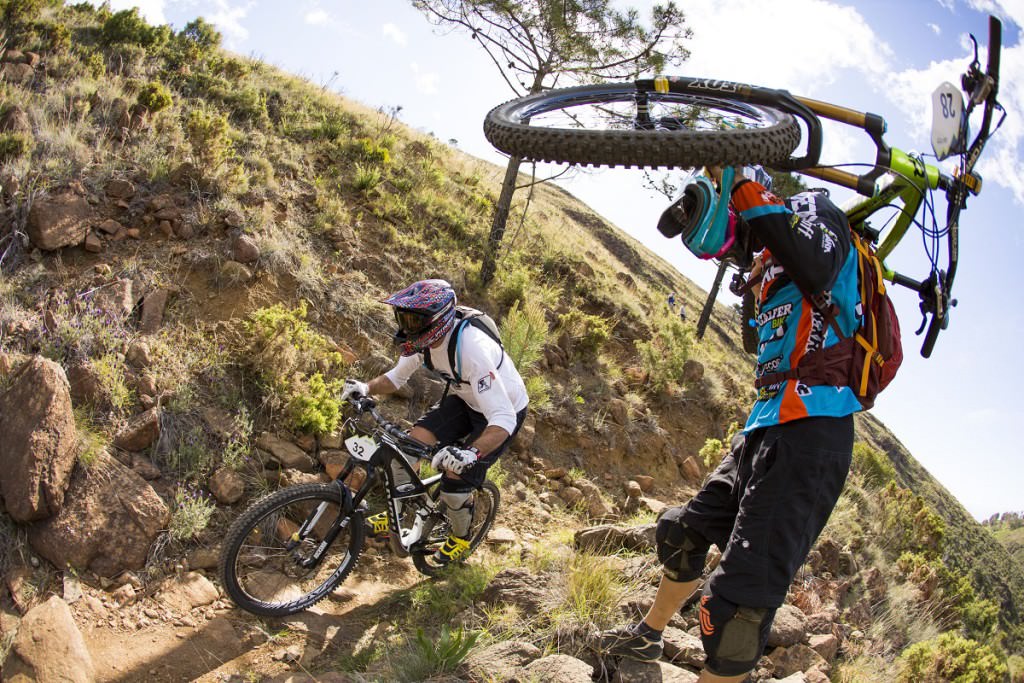
Every rider I have talked to has reiterated one thing; the tire and wheel you ride depend entirely on what type of riding you will be doing. Now I am almost certain there is an overlap in effectiveness and only at the highest level of racing does the perfect tread, casing, weight, and wheel material combination come into play.
That is not to say that these things won’t help the average rider but when it comes to doing some weekend riding do you want to shell out $1,200 for a Mavic or DT Swiss carbon wheelset? Just like with car tires, mountain bike tire compounds of different tread patterns, casing thread counts, and tire materials. Even the best mountain bike tire has its strengths and weaknesses depending on the terrain.
Are you riding in the dense forests and muddy trails of the Pacific Northwest or on the sandy rocky trails of the desert? Are you riding on snow or ice? Sure this might seem like a logical thought but you need to carry it through to completion.
Your local bike shop employees will likely know the area better than anyone else and what kind of tires you need, so with specific questions start there first.
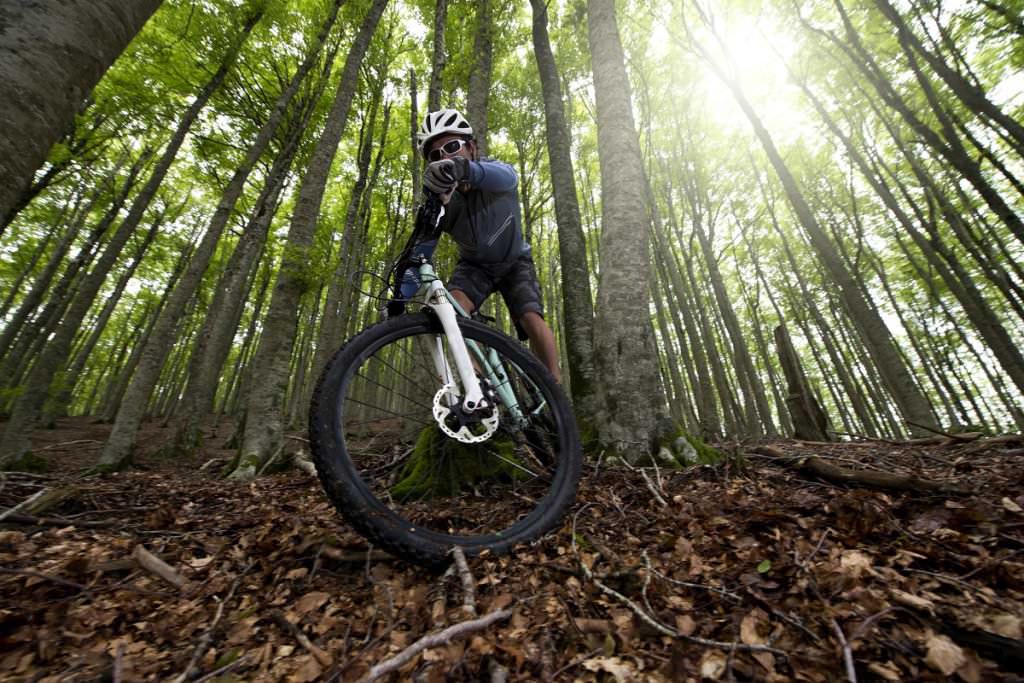
How to Select the Best Mountain Bike Tires and Rims
1. Consider The Tire Anatomy
Let’s start with tire anatomy first. Tires are made up of an outer tread, usually, a polyurethane or rubber compound, and its hardness is measured on a durometer scale. The harder the material usually means it is less responsive but will last longer. In comparison, softer material will be pretty supple and conform to the trail but may not last as long.
One rider interviewed said not to worry about tire weight, it may be heavier going uphill but it makes the downhill that much more fun. This may be the best feature on downhill tires. Underneath the tread there may be a second layer of polyurethane or rubber and then comes the threaded casing. The casing is made of microfiber fabric material that is stitched together to provide the tire with shape and stiffness.
Of course, the materials used have changed over time and are still experimented with today. Different casing materials can affect the quality of the ride.
Finally, sewn into the bottom of the casing is the bead material. Some tires use a wire bead which is a tightly wound metal cable that does not bend and acts as a very stiff yet seamless connector between your rim and your tire. Other bead materials include Aramid (commonly known by the brand Kevlar) and more and more carbon fiber is being used.
The last two materials are more expensive and you don’t lose anything in terms of strength with the bead. They are also lighter which in terms of climbing or racing can help with the overall weight of the bike.
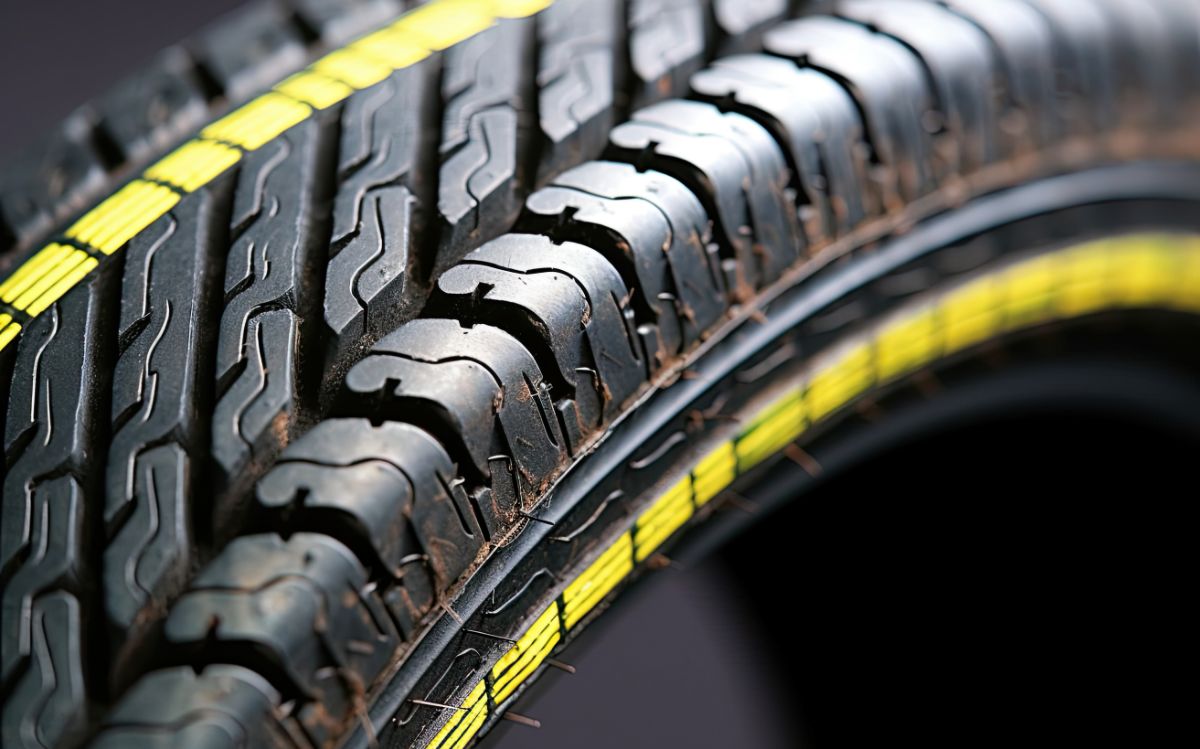
2. Check The Tread Patterns
What tire companies don’t tell you is that tire tread patterns are just experiments getting better with each iteration. I think they want you to believe that some science and computer simulations are part of the process of designing a tread that is specific for a certain environment.
Don’t get me wrong, they have some designs that work and help you take corners faster or do good with changing trail material but for the most part, this is something every rider kind of figures out for themselves and you will start to have preferences once you get out there.
Clear differences exist between wider touring tires, the newer 29+ models, downhill, and cross-country riding. The type of tread will determine how well you can dig into the trail or how a heavy load feels when you are coming down the other side of a tall mountain pass.
If you are going to be riding some trail, some road, or well-worn logging or forest roads I recommend Schwalbe’s Big Apple. If you are going to be crushing some slick downhill try Maxxis Minion DHF. It is a little heavier but comes with great reviews.

3. Consider The Sizing
You also have a choice of what size of tire you want to ride. In the late 1980s when mountain biking came into the popular imagination, most bikes used 26” tires.
Now the 26” tire (with a Schrader valve) is the most common tire size all over the world and thus easier to replace in remote regions of the world. It is a popular tire size for touring bikes, smaller mountain bikes, and mountain bikes from the early 2000s.
Now that the 29” tire has taken over the mountain biking world, it is used in everything from endurance races to downhill. The common thought is that it just rolls better. There is also the 27.5” which is another option. It is an intermediary and in some cases works better for medium-sized riders but can be a little harder to replace.
They allow for greater suspension travel than 29ers and thus might be a better downhill option. They are also generating quite a buzz in the omni-terra or fat bike category with multiple companies building a 650b (same thing) model frame.
4. Check The Tire Width
Tire width is also something you have to consider. On the low end some tires have a width of 1.75” and on the broader end tires go all the way to 4.0+”.
The first thing to think about when it comes to mountain bike tire width is how much clearance you have with your bike. Just to state the obvious, without the tire clearance your tires will be rubbing on the stays and that is not good. Just in case someone completely new to biking decides to order some tires online.
I know some riders who like to ride with a wider tire up front to give them a little more control in cornering and responsiveness to their handlebar movements. Really if you have the clearance, nothing stops you from running 3.0 in the front and 2.0 in the rear wheel, but you would have to consider the added weight and if that is any benefit to you.
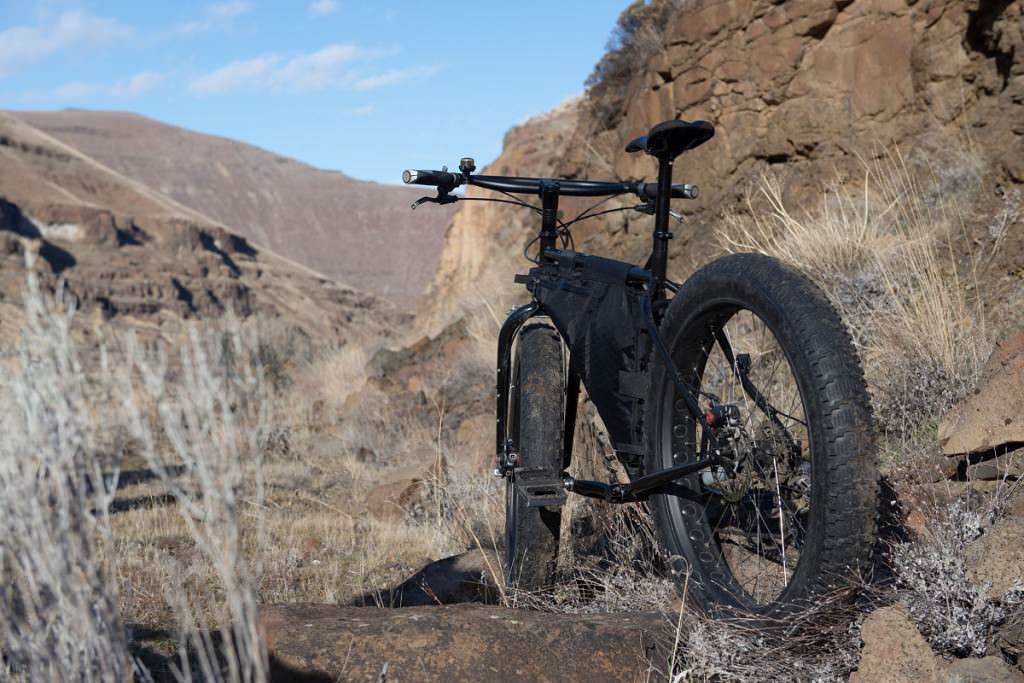
With the increasing popularity of fat bikes, I figured I would mention a few things. Fatbike or omni terra are terms reserved for bikes with tire width measured in the 4.0” and higher range.
Tires in this range can roll over virtually anything without the fear of bottoming out or bouncing off of a hard surface. Good for sand, and snow, and with studs even ice is no match. With such low pressures, these tires hug the ground and give you amazing stability.
Anything in between 3.0 and 4.0 is now being called a 29+. Tires in this range are becoming very popular in bikepacking which is where the rider does off-road touring. The pneumatic tires (what we call tires with air in them) are an amazing shock absorber that riders can grab a less maintenance-intensive steel rigid frame and not have to worry about mechanical issues with suspension in remote places.
They are versatile enough to get good speed on bumpy forest roads and do single track without giving the rider a sore butt or fear of slippage. Regardless of tire width, there will still be many different types of tread patterns and once again it will be up to you to determine which one works best for the type of riding you will be doing.

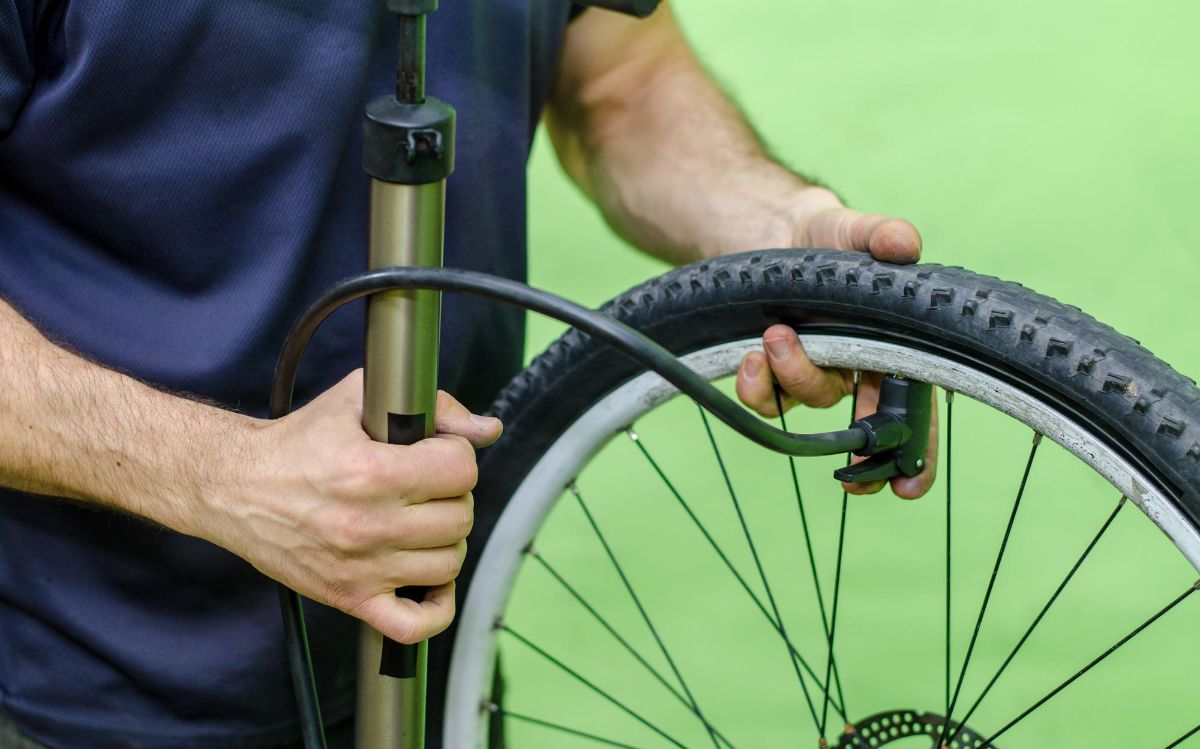
5. Consider If You Want To Go Tubeless
Also if you are ever planning on trying tubeless, just go ahead and get yourself a tubeless-ready tire in the beginning. It will save you some hassle later on down the road.
Tubeless tires are run with an air-tight seal between the tire and the rim so you don’t need a tube. It is better for puncture resistance, lighter because you have no tube, and you can run lower pressures which makes the tire hug the ground more.
An overwhelming majority recommends Tubeless for trail riding so I think it is worth checking out.

6. Try Different Brands
There are many different brands out there and each one says that they are the best the cheapest or the lightest. Although you may be intrigued by one brand more than others I have been told countless times that brand loyalty is not a pit you want to fall into.
All of the companies are using the same compounds and casing thread counts. All of the companies have similar tread patterns and sizes. It is like buying generic vs. brand name when it comes to pharmaceuticals; if you find a deal with a tire you like and it is comparable to a brand name tire you generally buy, go for it.
Here is a tire weight guide put together on Google Docs by members of an online community. It is free to use and contribute to.
Members of this community bought tires of different make and models and compared their measured weight to their advertised weight. This chart will not include a price or rubber hardness just weight if that is a major factor for you in your decision.
It is also a pretty comprehensive list of the tires out on the market today. Ok so now that I spent most of the article talking about tires, let’s talk about things that cost even more money.

Understanding The Wheel Anatomy
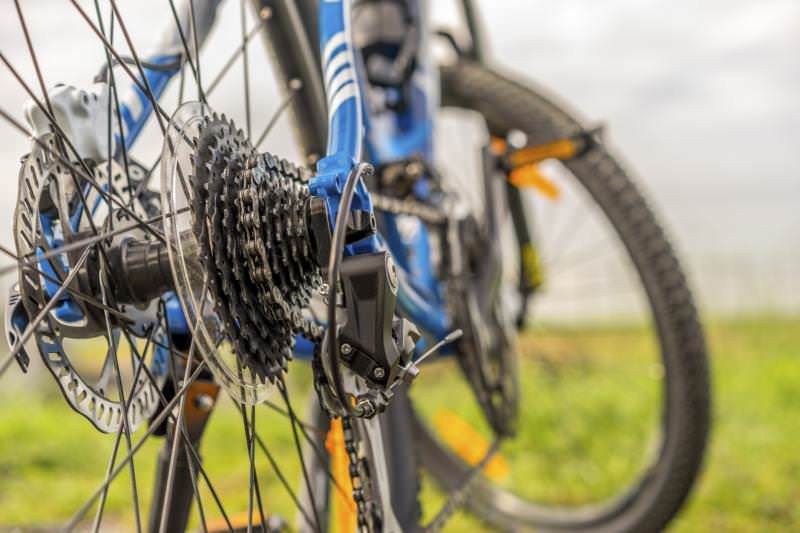
Wheels are made with a hub that contains the bearings that allow the wheel to rotate around a fixed axel. Next, spokes and nipples act as a longer version of a bolt and nut assembly.
Spokes are drawn through holes in the hub and laced into a pattern specific to the rider’s needs. The nipple is placed into position on the rim and tightened down over the head of the spoke pulling the rim into tension and allowing the wheel to support the forces of the ride.
Hubs
Hubs are almost always aluminum. There are some outliers out there like stainless steel or maybe even titanium but the industry standard is still aluminum because it is soft enough to work with and shape yet rigid enough when put under tension in the wheel and light enough so your wheels don’t weigh 30 lbs each.
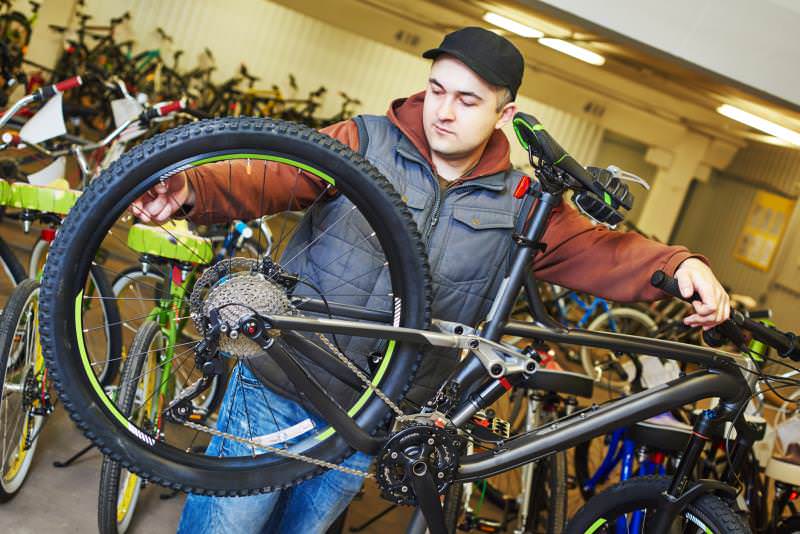
The buying point with hubs is how good the bearings are and what sort of drive mechanism they use in the freehub body. Your local bike shop can’t point you in the right direction.
Spokes and Nipples
Spoke and nipple material is also almost always aluminum because of the advantages I mentioned with hubs however carbon fiber and titanium are coming into their own as well.
They offer different advantages, mainly saving you weight, if that is something you are considering. Spokes can be bladed or regular; single-butted, double-butted, or triple-butted. Bladed means that the middle section of the spoke is flat to decrease wind resistance.
Most spokes are round all the way around. Single butted means the spoke is the same thickness throughout, double butted means it is double the thickness in the center as it is on either end, and you can imagine what triple butted means.
Forging the spokes in this way adds strength once the spoke is under tension.
Lacing
The lacing pattern is also key to how much force the wheel can withstand. A typical pattern is a 32-hole triple cross pattern. This means there will be 32 spokes in the wheel and each spoke will cross 3 others on its way to meeting the nipple seated in the rim.
There are double cross patterns with fewer spokes, single cross patterns with even fewer, and radial patterns in which the spokes do not cross any other spokes on their travel to the rim.
There are advantages to each pattern, mainly how much weight you can save or the added strength with each successive spoke. Mountain bike wheels tend to have a higher spoke count due to the magnified forces these wheels take every time they hit the trail.

Rims
Rims were almost exclusively made with aluminum up until the late 90s and early 2000s when carbon fiber came into its own. Carbon fiber is light, and responsive, but rigid enough to support the bike. It is also very expensive.
Aluminum is light, very rigid, and very cheap in comparison. If you are going to spend money on good wheels I suggest putting your money into good hubs if you have to choose between them and the rim. A carbon fiber wheelset is only going to be a big advantage in a race scenario. But of course, if I had the money and wanted a seemingly effortless ride every time, of course, I would get carbon fiber.
FAQs
How Do You Match A Bike Tire To A Rim?
Your rim width should be between 32% to 70% of your tire width. For example, the recommended rim width range for a tire width of 25mm is between 8mm and 17.5mm.
Are Wider Tires Better For Mountain Bikes?
Wider tires provide more traction and control on the trail. They can also provide a smoother ride by absorbing more shock and vibration from the trail. But ultimately, the choice of tire’s width depends on the rider’s preferences, riding style, and the terrain they plan to ride on.
What Should I Consider When Selecting A Mountain Bike Tire Compound?
It is important to consider the durability and wear characteristics of the compound, as well as its rolling resistance and grip. A lower rolling resistance means a better speed.
Conclusion
Choosing the right tire and wheel combination for your bike also depends on the type of riding you will be doing and the terrain you will be encountering. While there are many options available, it is important to consider factors such as tire anatomy, tread patterns, sizing, and width. Consulting with your local bike shop and experimenting with different options will help you find the ideal tire and wheel combination for your riding style and terrain.
In closing, it comes down to testing it out. Ask around, find out what works in your area, make friends, go riding, and repeat. Many of these tire manufacturers also make hubs and rims. The best in the business are DT Swiss, Mavic, Paul, Phil Wood, and King Cycle Group. Each one can be pricey but worth the buy if you are looking to get out of buying Bontrager, Specialized, Shimano, or Sram.
Also Read
- How To Install Hybrid Tires On A Mountain Bike: Can You Actually Use Them?
- How To Install Motor On A Mountain Bike: Experience The Thrill Of Motorized Mountain Biking
- Why Do Bike Tires Keep Losing Air? Everything You Need To Know About Pressure Loss

1 thought on “How to Select the Best Mountain Bike Tires and Rims”
Hello,I check your new stuff named “How to Select the Best Mountain Bike Tires and Rims” daily.Your writing style is witty, keep up the good work! And you can look our website about love spells.