What is meant by truing a bike wheel? I am glad you asked. Well, when there is some wobbling in your wheel spokes, you have to adjust the tension of your spokes. This process is known as truing. It’s important because it helps keep your wheel straight as well as reduce any vibrations.
To true your bike wheel, you can go for Lateral Truing, Radical Truing, Dish Centering, Adjusting The Spoke Tension.
How To True Your Bike Wheel
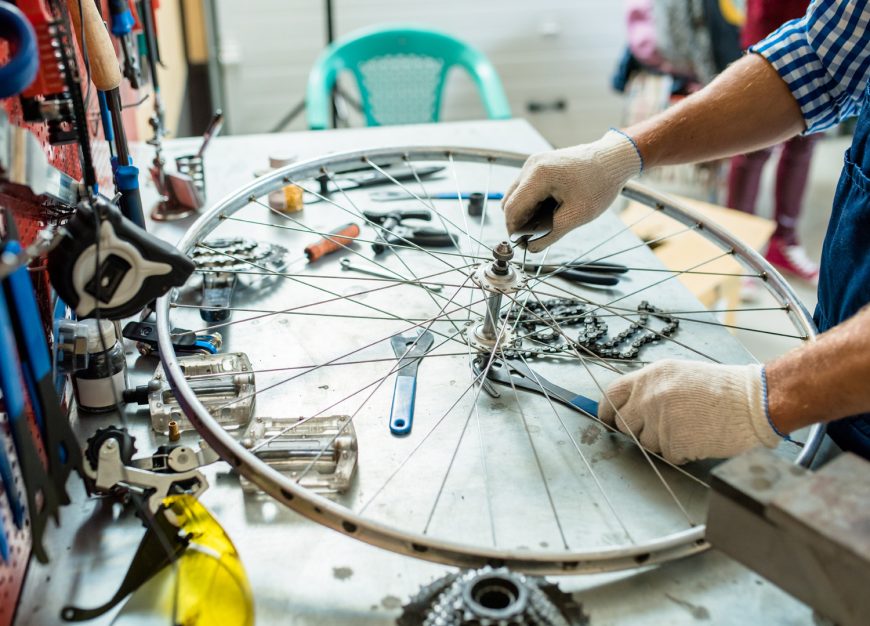
There are certain tools that you will need for proper truing.
- Truing Stand
- Spoke Wrench (Different Sizes)
- Dried Rags
- Bladed Spokes (A Great Example: BSH-4)
- Light Lubricants
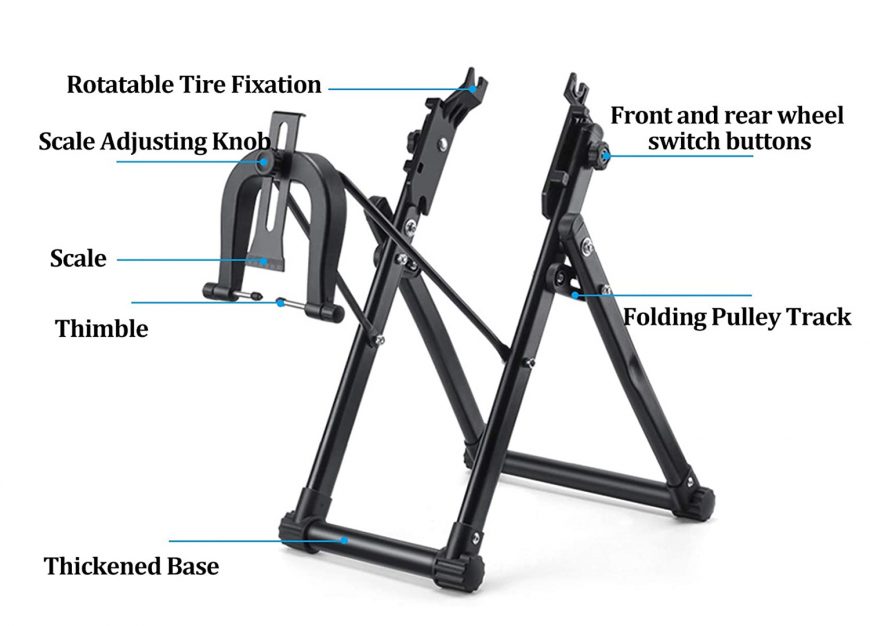
The Bike’s Wheel and Truing Process
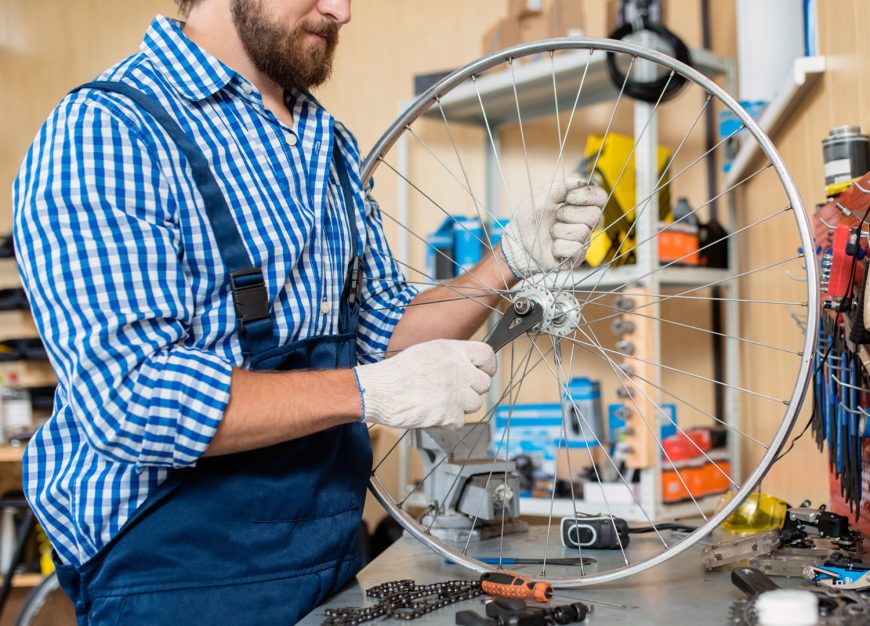
Bicycle wheels are either hoops or rims that come with a set of spokes, that is connected to the bike’s hub. The wheel’s spokes are responsible for pulling the rim from both the left and right sides, making them balanced.
Wheel truing is when you re-adjust the tension of the spokes using a spoke wrench so that the roundness or straightness of the wheel is improved. When that is improved, the wheel spins perfectly and you get to enjoy that amazing performance.
Professionals say that it is all about the lateral alignment, fix that and everything will be fixed! To true your bike’s wheel, you will need to make the following arrangements.
| Step | Action | Details |
|---|---|---|
| 1 | Fixture the Wheel Properly | Use a truing stand for stability; if unavailable, secure the wheel on the bike for support. |
| 2 | Track the Deviations When They Occur | Employ a stationary indicator to monitor radial and lateral deviations; truing stands often have built-in indicators. |
| 3 | Experiment with the Stand | Practice using the truing stand to master the tracking process efficiently. |
| 4 | Adjust Tension Accordingly | Use a spoke wrench to increase or decrease tension by turning spoke nipples; note the counterintuitive clockwise/counter-clockwise motion when using a stand. |
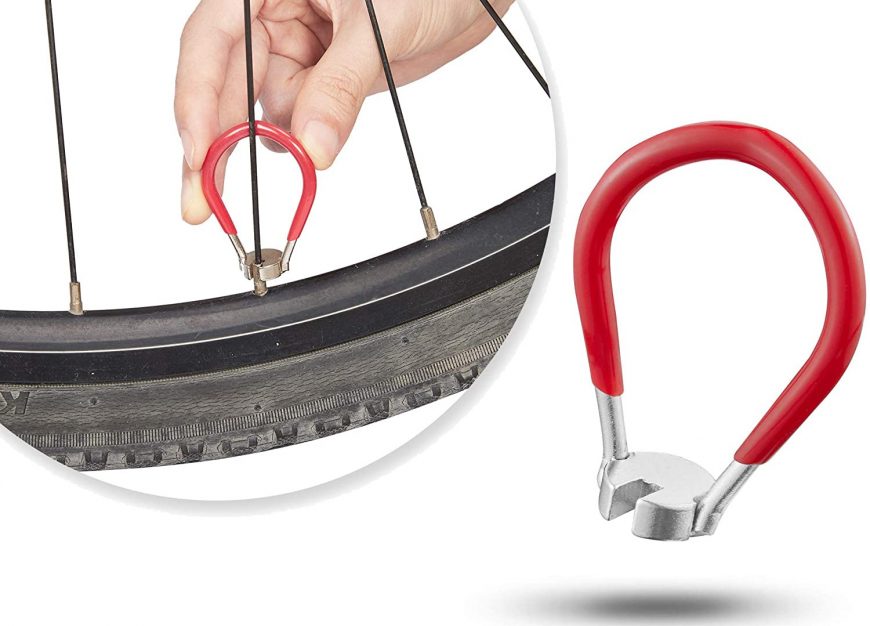
Tip: Get the Pocket Bicycle Spoke Wrench
How To Perform Lateral Truing?
Let’s start the main guide with lateral truing. You will have to a truing stand.
Step 1: Start By Locating The Deviation
To get started, you need to spin the wheel and bring it close to the indicator. You need to see where the indicator is most close to the rim. Move the indicator slowly now, until it comes in contact with the rim. There has to be minimal contact between the two.
You need to stop where the rim touches the indicator, and for that, you have to slow down the rim. This whole area of contact is known as the deviation. It is also known as the most severe lateral deviation. This is what we need to fix!
This deviation can be on either side of the rim and that won’t matter because we will fix both sides eventually. The left side spokes will work as the right side ones. Remember, of true wheel is not a very hard problem to fix, you will just need a lot of time and patience.
Step 2: Examine That Deviation Carefully
You need to know exactly where to make the corrections so examination is the key. Start by looking for the spoke which is the nearest to the deviation, this happens when the indicator touches over a long area.
Tightening spokes is the recommended action here because the spokes loosen up on their own over time. When you are about to tighten them, give them a good little squeeze, this will show their location on the indicator.
Step 3: Fixing The Deviation
The process will start when the selected spoke’s nipple turns and tightens accordingly. The level of truing is going to vary so you need to be careful, nipples are delicate so keep that in mind. 90 degrees is a good start and then you can go from there.
180 degrees is best for a lateral true deviation and if it is a minor deviation then 45 degrees would do the trick. Experiment here and see whatever works out for you! Even make use of the wheel truing stand if you can.
You can check the adjustments that you made by moving the wheel back and forth. Spin the wheel, and move the indicator to find the next deviation, if there is any. If a deviation occurs then start the whole process again. If you have made enough corrections on one side of the rim (A Good Example is 3) you can move to the other side. Keep on repeating until all the deviations are fixed! Even if it is just the left side, make sure all of it is back to the original form. Doing so will enhance the ride experience!
When Should You Stop?
You need to push the brake pad soon enough, stop when this happens. In terms of the lateral deviation, the minimum that you should go for is lessening it by 0.5 millimeters. Some people would go for more but you can experiment here. Remember, the small increments make the biggest changes.
You need to adjust the indicator in such a way that there is light contact between the rim. There should be zero distance between the indicator and the rim. If there are any spoke problems then take care of the loose ones first.
How To Perform Radial Truing?
Once your bike has gone through the lateral truing process, it would be wise to also conduct the radial truing. You have to be careful with any serious errors.
Step 1: Start By Locating The Deviation
Some people say that you should start with a low spot but that’s wrong. The best way to start is by locating a high spot and working from there. You need to move the caliper arm until there is little contact with the spinning arm. You can back away from the indicator if you are doubtful! Some people use a repair stand for this but I don’t recommend that.
Step 2: Examine That Deviation Carefully
You need to examine this deviation by isolating it first. Pull the rim back and forth around this area. You need to know where the deviation starts and ends.
Step 3: Fixing The Deviation
We can start fixing this radial deviation through the rim, just move it towards the hub. The first step is to tighten an equal number of spokes from both angles. If there is any need for simulation, you can squeeze both the left and right sides of the spoke at the same time, which will give you an overview of the situation.
The spokes that came in contact with the high spot need to be given a half turn carefully. You need to verify that the high spot was lessened and that the rim is not rubbing against the hub. Repeat the process until all the deviations are fixed.
When You Should Stop?
We get this question many times: How much radial truing is enough? This question is the same as lateral truing only with some additions.
To begin, Radial trucking should be lessened by 1 millimeter at the bare minimum. It can be less than that, but you get the idea. Adjusting the indicator is the next step. Spin the wheel so that the indicator barely touches the rim. As before, there should be zero distance between the rim and the indicator.
Wheel Truing Types
There are four main aspects of truing, if you fail at them then seek a professional mechanic!
- Lateral Truing
- Radical Truing
- Dish Centering
- Adjusting The Spoke Tension
| Type | Description | Procedure |
|---|---|---|
| Lateral Truing | Fixing a wobbly wheel; addressing lateral deviation, essential for bikes with rim brakes. | Start by fixing lateral trueness. |
| Radial Truing | Adjusting the up-and-down movement (radial trueness) of the wheel during rotation. | Correct any inaccuracies in the roundness of the wheel’s outer edge. |
| Dish Centering | Aligning both wheels in the center and to each other using a dishing tool. | Consider seeking professional help if unsure about the procedure. |
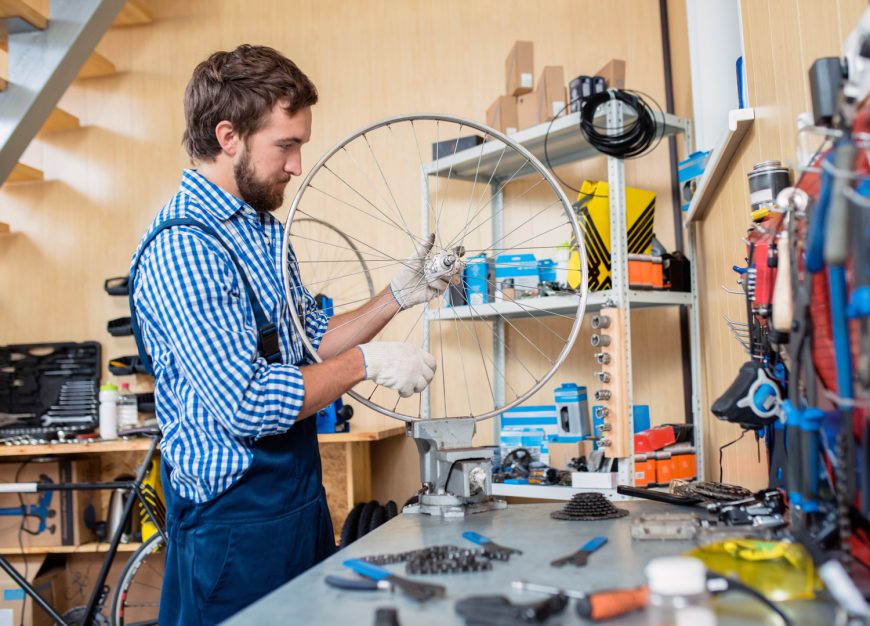
How Do You Adjust The Spoke Tension?
Wheel spokes have different levels of tightness that can be adjusted. You can tighten them according to your own needs and what you want from your bike. If the spoke tension heavily varies then they will not stay straight for long, that is why you need to tighten and balance them.
Re true them until they have achieved that perfect balance, they shouldn’t be too tight or too loose. Using a Park Tool, you can measure the spoke tension.
All of these aspects will answer this question for you: How to true a bike wheel?
How To De-Stress Your Wheel?
Truing and adjusting the spoke nipples has its major drawback and that can be fixed by “De-Stressing”. This process allows the spokes to unwind and be fixed. The best way to do it is to take your bike for a ride, nothing beats that, trust me!
There will be some popping noises, be ready for that, although it is nothing out of the ordinary.
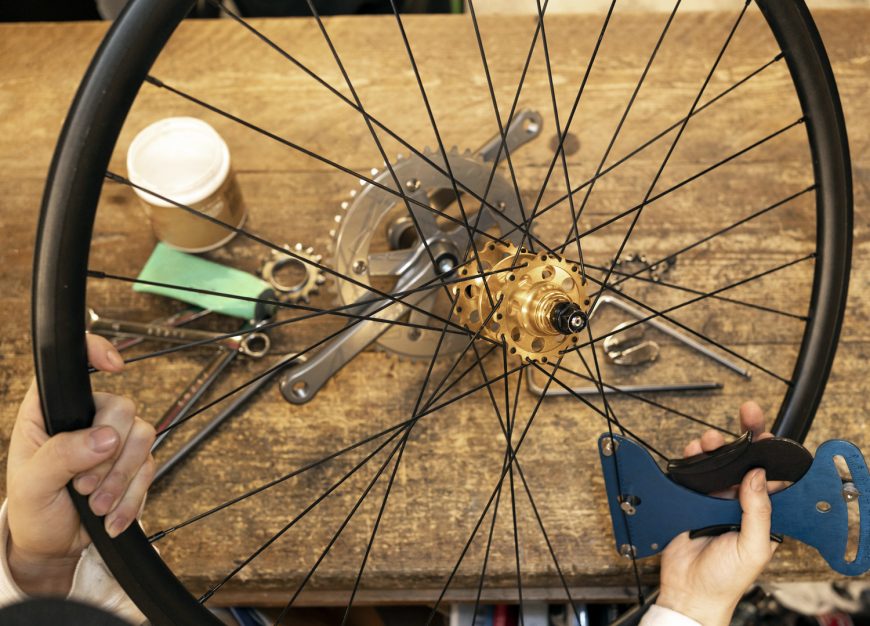
Limitations To Wheel Truing
If you think that every kind of wheel can be trued then you are mistaken, some can be repaired while some have to be completely replaced.
What prevents a wheel from becoming true, these are those factors:
- Rim Damage: If your rims get damaged from impacts or other sorts of collisions then it may be very hard to true them.
- Damaged/Corroded Nipples: Corroded spoke nipples also prevent the truing process. It is recommended that you lubricate them frequently.
- Damaged Spokes: Spokes get mangled over time, that is a natural process. If there are 3 broken spokes, then you should get a new wheel.
Read More Bike Maintenance Tips:
- How To Tighten A Bike Chain
- How To Tune Up A Bike
- How to Remove Rust From Bike
- How To Clean Bike Chain
- How To Tighten Bike Brakes
- How To Use And Shift Bike Gears
Recap
Wheel Truing is necessary if you want to enjoy the best performance from your bike. Every kind of rider needs to learn this if they don’t want to pay a visit to their professional mechanics too often.
Bike Maintenance is necessary, people want endless memories with their favorite bikes and that is what you will get if you take care of them properly. Hopefully, this guide will make the truing process a little bit or a lot easier than before. Happy Cycling!
Should you have any questions or require further clarification on the topic, please feel free to connect with our expert author Luke Ameen by leaving a comment below. We value your engagement and are here to assist you.





1 thought on “How To True A Bike Wheel With 2 Different Methods!”
Take your zip tie and secure it to one of the bike’s frame members so that it’s just barely touching the edge of the rim as the wheel spins.