A good bike safety checklist is short enough to use before every ride: tires, brakes, chain, wheels, lights, helmet, fit, and route. The goal is not a full tune-up. The goal is catching the problems that can turn a normal ride into a crash, flat, missed stop, or stranded walk home.
The Two-Minute Pre-Ride Check
Use this before commuting, riding with kids, or heading out after the bike has been sitting. If anything fails, fix it before riding in traffic. The League of American Bicyclists’ basic bike check uses the same practical idea: check the parts most likely to affect control before you roll away.
| Check | What to do | Stop riding if |
|---|---|---|
| Tires | Squeeze or gauge-check pressure; inspect cuts | Tire is flat, bulging, or deeply cut |
| Brakes | Squeeze both levers and roll-test | Lever hits bar or bike does not stop |
| Wheels | Spin and check quick release/thru axle | Wheel wobbles badly or axle is loose |
| Chain | Look for rust, dry squeak, or skipping | Chain skips under normal pedaling |
| Lights | Turn on front and rear lights | Riding near traffic in low visibility |
| Helmet | Level fit, snug strap, no crash damage | Helmet is cracked or loose |
Tires And Pressure
Tires are the fastest safety check because they carry every braking and steering decision. Use the pressure range on the tire sidewall, then tune with Icebike’s bike tire pressure calculator. A tire that feels soft by hand deserves a gauge check, especially before commuting with bags or a child seat.
If air disappears overnight or every few days, use Icebike’s guide to bike tire pressure loss before blaming the pump.
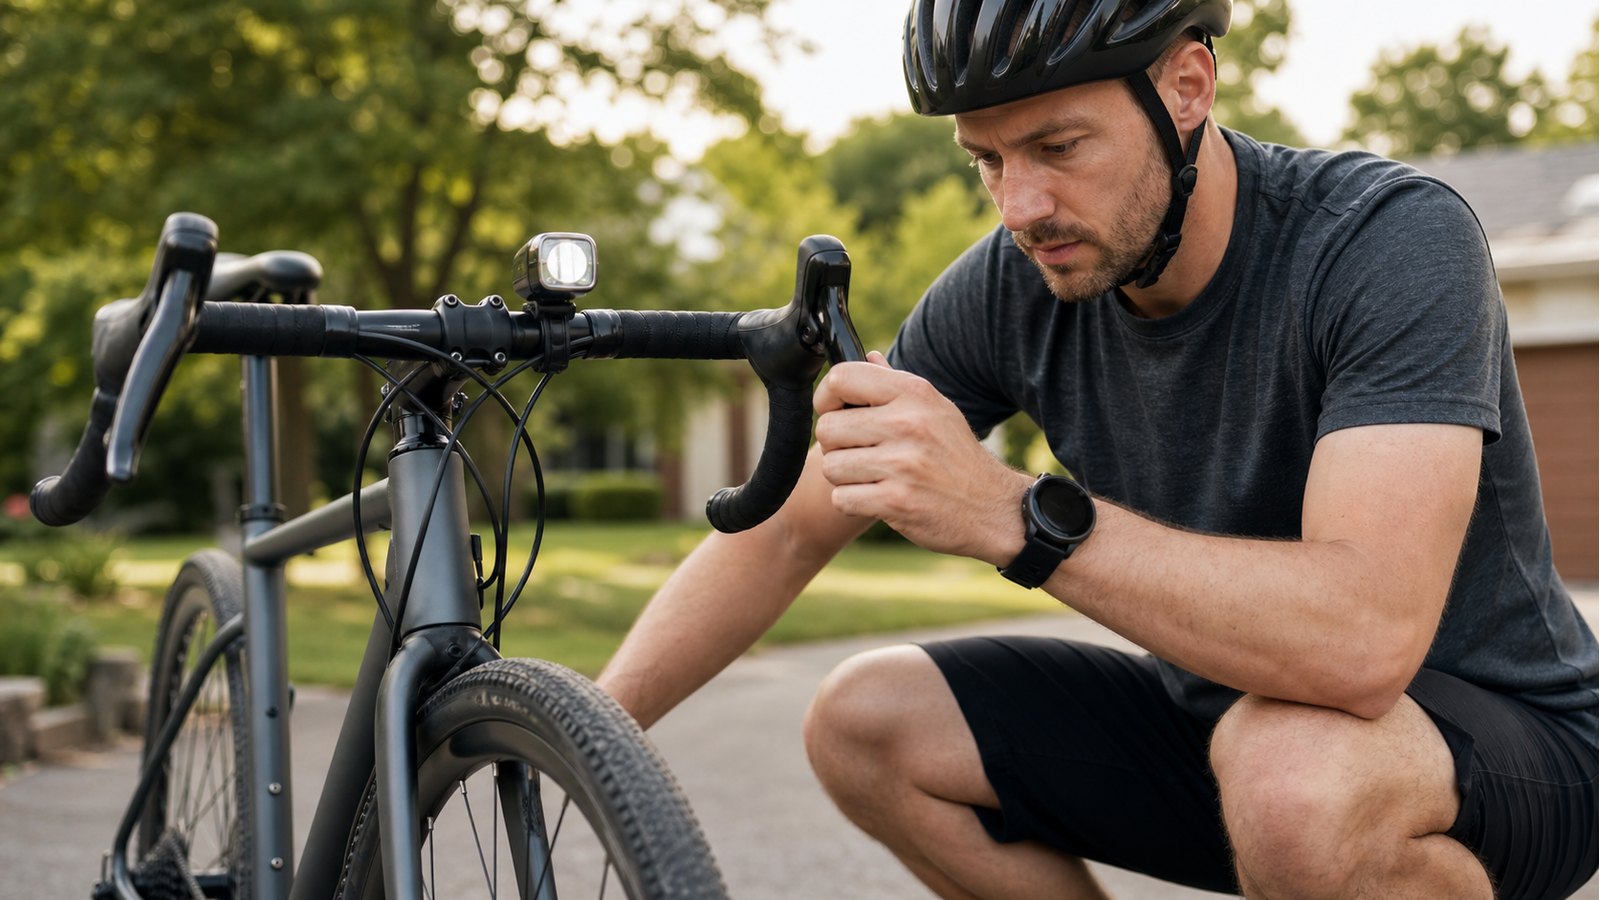
Brakes And Controls
Brake levers should move smoothly and stop before they touch the handlebar. Pads should contact the rim or rotor cleanly. If the bike squeals but still stops, inspect contamination and pad alignment. If the bike does not stop confidently, do not ride it in traffic.
For recurring noise, use Icebike’s bike brakes squeak guide. For cable tension problems, the tighten bike brakes guide is the better next step.
Helmet, Visibility, And Fit
A helmet should sit level, low on the forehead, and snug enough that it moves with your head. Straps should form a clean V around the ears. Replace a helmet after a crash or if the shell or foam is cracked.
Visibility is part of safety, not decoration. NHTSA bicycle guidance emphasizes predictable, visible riding. Use lights in low light, rain, fog, dawn, dusk, and heavy traffic. Bright clothing helps, but lights and reflective moving details are easier for drivers to notice.
Kids And New Riders
For kids, check saddle height, brake reach, helmet fit, and whether the child can stop without panic. A bike that is too large is a safety problem, even if the child will “grow into it.” Use Icebike’s kids bike size chart before sizing up.
New adult riders should use a simple route first: low traffic, predictable surface, and enough room to practice braking and turns.
When The Bike Needs A Shop
Stop and ask a mechanic when the wheel wobbles, the brakes feel weak after adjustment, the headset knocks, the chain skips under load, the tire sidewall is torn, or the bike was involved in a crash. A checklist catches problems; it does not replace a repair stand and proper inspection.
Stop-Ride Safety Rules
A checklist is only useful if it tells you when to stop. Many riders notice a problem and keep going because the ride is short. Do not do that with stopping, steering, wheel attachment, tire casing, or helmet damage. Those are not comfort issues; they are crash risks.

| Problem found | Ride decision | Why |
|---|---|---|
| Brake lever touches handlebar | Do not ride in traffic | Stopping power is unreliable |
| Wheel axle or quick release loose | Do not ride | Wheel security is critical |
| Tire sidewall bulge or exposed casing | Do not ride | Tire can fail under load |
| Helmet cracked or crash-damaged | Replace before riding | Foam may not protect properly |
| Chain skips under load | Avoid traffic/hills; repair | Sudden skip can cause a fall |
| Light failure in poor visibility | Fix or change route | Drivers may not see you |
NHTSA’s pre-ride check centers on air, brakes, chain, wheel security, and helmet fit because those are the fast checks that prevent riding an unsafe bike. The League of American Bicyclists’ basic bike check follows the same practical spirit: air, brakes, chain/cranks/cassette, quick releases, and a short test.
The Full Five-Minute Check For Weekly Riders
Use this version once a week, before a long ride, after transporting the bike on a rack, or after a hard curb hit. It is longer than the two-minute version but still short enough to repeat.
| Area | Check | Pass sign |
|---|---|---|
| Tires | Pressure, tread, sidewalls, embedded glass | Holds air and casing looks sound |
| Wheels | Axles tight, rims true enough, no broken spokes | Wheel spins without major wobble |
| Brakes | Pads aligned, levers firm, no frayed cables | Bike stops before lever bottoms out |
| Drivetrain | Chain lubed, shifts cleanly, no skipping | Smooth pedaling under light load |
| Cockpit | Stem, bars, grips, bell, controls | Nothing twists unexpectedly |
| Visibility | Front/rear lights, reflectors, charged batteries | Visible for the actual conditions |
| Fit | Saddle, reach, helmet, brake access | Rider can stop and steer calmly |
If something fails, fix that item before adding speed, traffic, children, cargo, or hills.
Safety Checklist By Rider Type
The same bike can be safe for one ride and risky for another. A quiet path ride has different consequences than school drop-off, e-bike commuting, or night traffic. Match the checklist to the ride.
| Rider or ride | Extra checks | Common miss |
|---|---|---|
| Daily commuter | Lights, lock, flat kit, route, weather | Dead rear light hidden by bag |
| Parent with child | Helmet fit, child seat/trailer mount, stopping distance | Loose attachment point |
| Kid rider | Brake reach, saddle height, helmet, ability to stop | Bike bought too large |
| E-bike rider | Battery, assist mode, tire pressure, cargo security | Rear tire underinflated |
| Weekend path rider | Water, phone, tire repair, exit points | No plan for a flat |
| Night rider | Two lights, reflective motion, route choice | Relying only on dark clothing reflectors |
Use Icebike’s kids bike size chart before moving a child to a bigger bike. A larger bike is not safer if the child cannot stop and steer confidently.
Route Safety Is Part Of The Checklist
A mechanically safe bike can still be a bad choice for the route and weather. Before riding, ask whether today’s route matches the rider’s skill, traffic speed, light, and surface. NHTSA notes that riders should plan routes with less traffic and slower speeds when riding on the road.
| Route condition | Better choice |
|---|---|
| Fast traffic with no shoulder | Use a slower parallel street or path |
| Wet leaves or painted surfaces | Slow down and avoid hard cornering |
| School or kid ride | Use a route with fewer crossings |
| New commuter route | Test it on a low-pressure day first |
| Poor visibility | Use lights or skip the road section |
This route layer is what makes the checklist more useful than a garage-only inspection.
What To Carry For A Safer Ride
Carrying the right small items turns a minor problem into a delay instead of a stranded rider. Keep the kit matched to the ride length. A short neighborhood ride does not need touring gear, but a commuter should not leave without lights and flat repair.
| Ride length | Carry |
|---|---|
| Neighborhood loop | Phone, ID, water if needed |
| Commute | Lights, lock, tube or patch, tire lever, mini pump, ID |
| Family ride | Snacks, water, child layer, basic flat kit |
| Longer weekend ride | Multi-tool, tube, pump, water, route plan, backup light |
If the bike repeatedly fails the same checklist item, treat it as a repair problem, not a reminder problem.
Printable-Style Checklist For The Garage Door
If you want one version to memorize, use this before the bike leaves the garage, hallway, or rack. It is short enough for a normal rider and complete enough to catch the problems that matter most.
| Say it | Check it |
|---|---|
| Air | Tire pressure, sidewall, tread, valve |
| Brakes | Both levers, pads, stopping test |
| Chain | Lubed, not skipping, shifts enough for the route |
| Wheels | Axles tight, wheels spin, no major wobble |
| Contact points | Bars, saddle, pedals, grips secure |
| Visibility | Lights, reflectors, clothing for the conditions |
| Rider | Helmet, fit, route, weather, phone/ID |
Put the stop-ride rules above this checklist if it is for a family bike area. Riders need to know not only what to check, but which failures end the ride.
After A Crash Or Hard Impact
A bike can look fine after a crash and still be unsafe. After any crash, curb strike, roof-rack incident, or hard pothole hit, inspect more than the obvious scratch. Check the helmet, bars, stem, wheels, tires, brakes, frame, fork, and drivetrain before riding again. If the helmet hit the ground, replace it according to the helmet maker’s crash guidance.
| Impact clue | Inspect closely |
|---|---|
| Wheel hit a pothole | Rim, spokes, tire sidewall, brake rub |
| Bike fell on the derailleur side | Shifting, derailleur hanger, chain |
| Rider hit head | Helmet shell and foam; replace if damaged |
| Bars twisted | Stem, headset, brake/shift housing |
| Brake changed feel | Cable, hose, pad, rotor/rim alignment |
A checklist should become stricter after an impact. That is when hidden damage is most likely.