
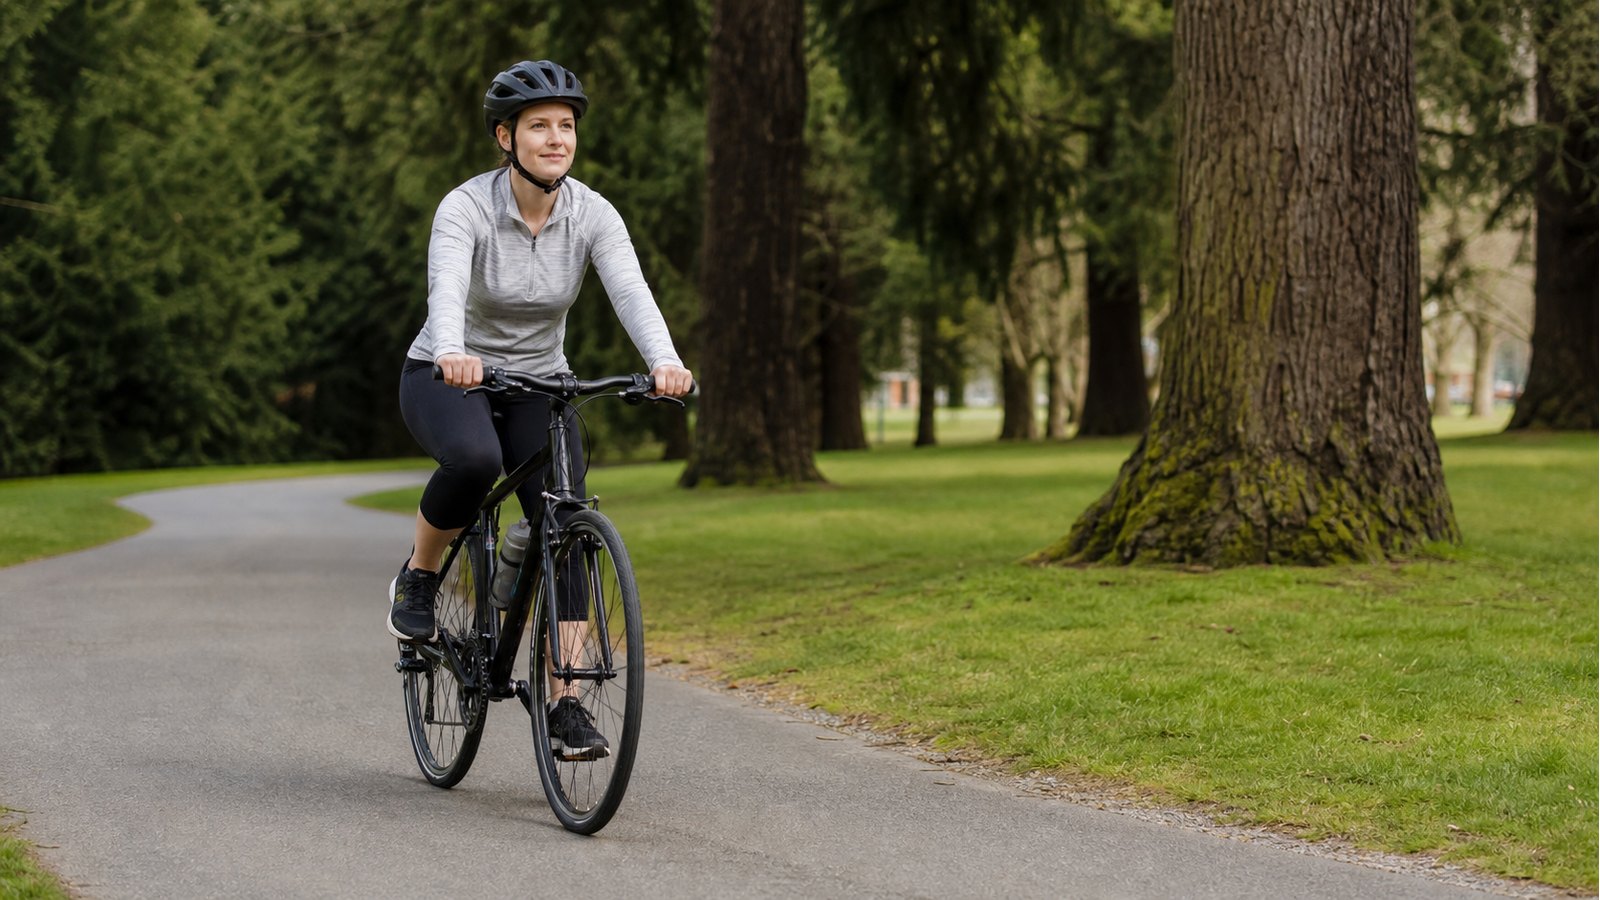
A good beginner cycling plan starts with short, repeatable rides rather than long weekend hero rides. Aim for three rides per week, keep most rides easy enough to talk, and build time gradually. The first goal is confidence: starting, stopping, shifting, cornering, checking traffic, and finishing without soreness that ruins the next ride.
Before Week 1: Set The Bike Up
Spend one session on setup before treating anything as training. Check tire pressure, saddle height, brakes, helmet fit, and route choice. If the bike feels too tall, too stretched, or hard to stop, fix that first. Fitness comes later; basic control comes first.
Use Icebike’s bike size chart if the bike feels wrong, and the bike tire pressure calculator if the tires feel slow or harsh.
Four-Week Beginner Cycling Schedule
This plan is for new riders, returning riders, and people who want a simple base before commuting or longer weekend rides.
| Week | Ride 1 | Ride 2 | Ride 3 | Skill focus |
|---|---|---|---|---|
| 1 | 15 minutes easy | 20 minutes easy | 20 minutes easy | Braking, starting, looking behind |
| 2 | 20 minutes easy | 25 minutes easy | 30 minutes easy | Smooth shifting and steady cadence |
| 3 | 25 minutes easy | 30 minutes with small hill | 35 minutes easy | Cornering and route awareness |
| 4 | 30 minutes easy | 35 minutes steady | 45 minutes easy | Pacing and recovery |
Keep the easy rides easy. If you cannot speak in full sentences, back off. The Centers for Disease Control and Prevention describes moderate aerobic activity as effort that raises breathing and heart rate while still allowing conversation; that is the right zone for most beginner rides.
What To Practice On Each Ride
Every ride should include a small skill goal. Practice braking before intersections, shifting before hills, scanning behind without swerving, and choosing a predictable line through corners. These skills matter more than speed because they make the next ride less stressful.
If gears are confusing, start on flat ground and shift one click at a time. Avoid hard pedaling while shifting. If the bike refuses to shift cleanly, use Icebike’s why your bike will not shift gears repair guide rather than forcing it.
How Hard Should Beginner Rides Feel?
Most rides should feel like a 3 or 4 out of 10. You should finish thinking you could ride a little longer. Once per week, a short hill or slightly brisk section is fine, but do not turn every ride into a test. Sore knees, numb hands, and sharp pain are signs to stop and adjust the bike or route.
For knee discomfort, start with saddle height, cadence, and ride length before assuming you need harder training.
Add Commuting Slowly
Do not make your first commute the first time you ride the route. Test it on a low-pressure day. Note traffic pinch points, rough pavement, signal timing, and where you can stop safely. Carry lights, a flat kit, water, and a lock if the bike will be parked.
If commuting is the goal, pair this plan with Icebike’s how to start bicycle commuting guide.
When To Move Beyond The Plan
After four weeks, add time before adding intensity. A practical next step is two 30-45 minute rides plus one longer ride each week. If your goal is fitness, keep building gradually. If your goal is errands or commuting, repeat the plan using real routes and cargo.
Six-Week Beginner Cycling Plan
Four weeks can start the habit, but six weeks gives beginners more room to build confidence without turning every ride into a test. Keep three rides per week. Most rides should be easy enough that you can speak in full sentences. The CDC adult physical activity guidance supports building moderate aerobic activity consistently, and cycling fits that pattern when the workload is repeatable.
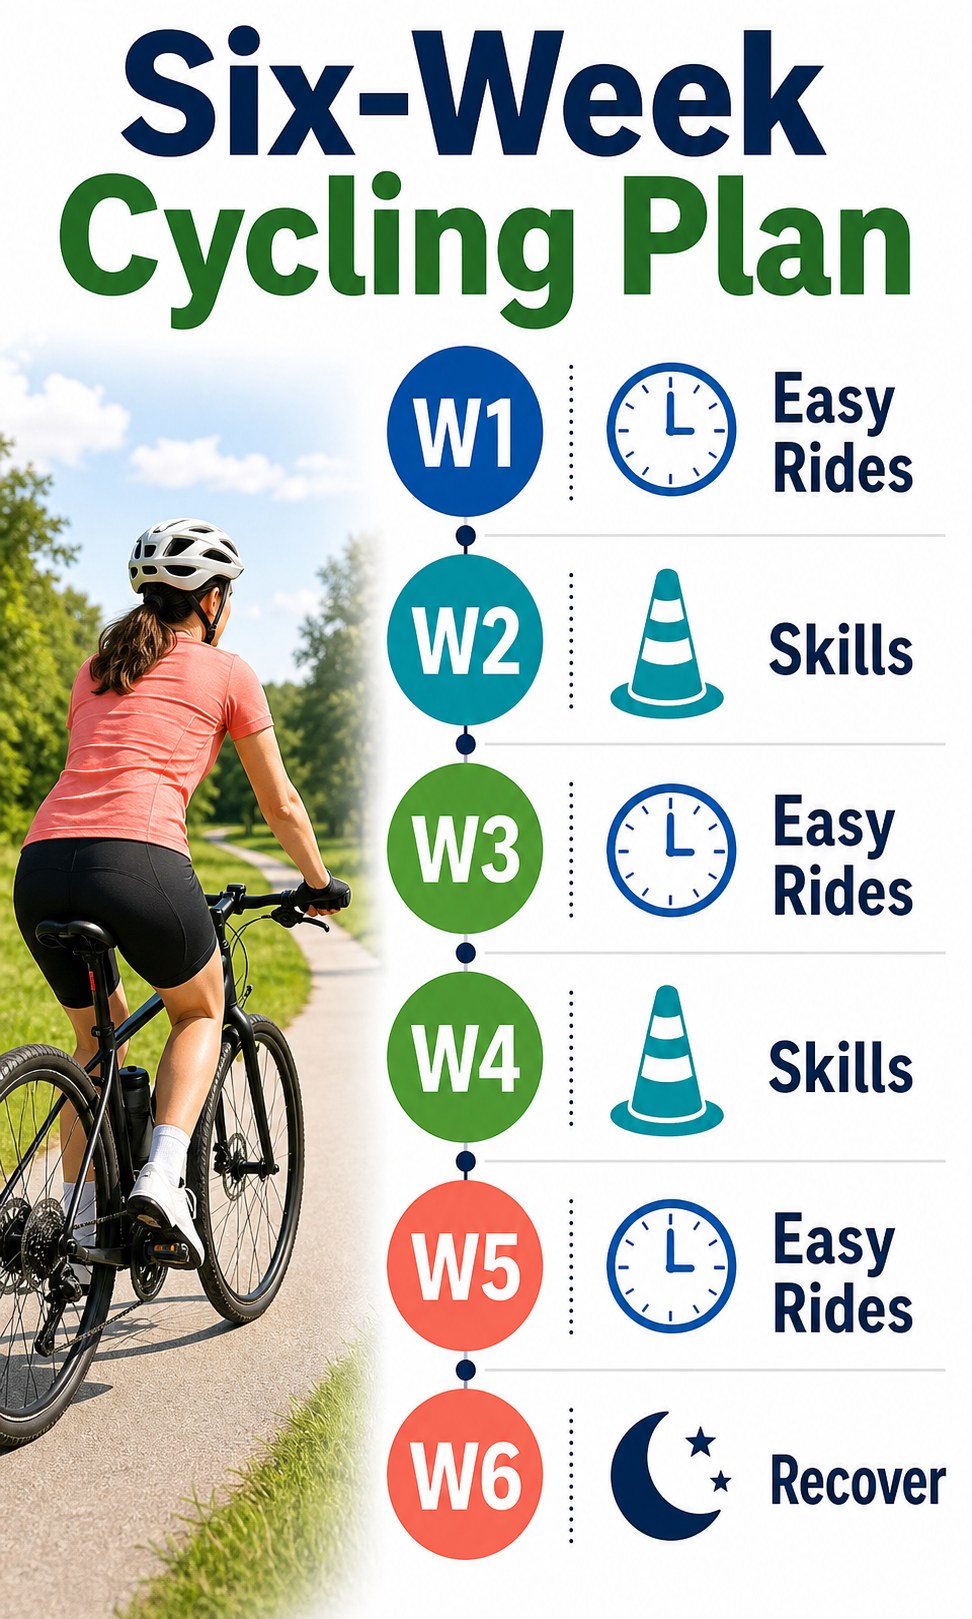
| Week | Ride 1 | Ride 2 | Ride 3 | Skill focus |
|---|---|---|---|---|
| 1 | 15 min easy | 20 min easy | 20 min easy | Starting, stopping, looking behind |
| 2 | 20 min easy | 25 min easy | 30 min easy | Smooth shifting and steady cadence |
| 3 | 25 min easy | 30 min with a small hill | 35 min easy | Cornering and route awareness |
| 4 | 30 min easy | 35 min steady | 45 min easy | Pacing and recovery |
| 5 | 30 min easy | 40 min easy | 50-60 min easy | Holding a comfortable rhythm |
| 6 | 35 min easy | 45 min with short steady sections | 60 min easy | Planning the next routine |
If Week 2 still feels hard, repeat it. A repeated week is not failure; it is how a new rider avoids turning soreness into quitting.
Weekly Skill Builder
Fitness is only part of beginner cycling. Confidence comes from small handling skills that make the bike feel predictable. Practice one skill per ride in a quiet place before using it in traffic.
| Skill | Practice | Why it helps |
|---|---|---|
| Straight-line riding | Ride beside a painted line without drifting | Helps on paths and shoulders |
| Looking behind | Glance back while holding line | Prepares for lane changes |
| Braking | Stop at a chosen crack or line | Builds intersection control |
| Shifting | Shift before a gentle hill | Protects knees and keeps momentum |
| Cornering | Slow before the turn, look through it | Prevents panic braking |
| Starting uphill | Practice on a mild slope | Reduces traffic stress |
If the bike will not shift properly, do not force the plan around a mechanical problem. Use Icebike’s why your bike will not shift gears before adding longer rides.
Effort, Recovery, And Pain Rules
Beginners often fail because they make the plan too hard too soon. Use a simple effort scale. Most rides belong at 3-4 out of 10. A short steady section can reach 5 out of 10 after the habit feels stable. Hard intervals are not needed for this plan.
| Signal | What it means | What to do |
|---|---|---|
| Breathing faster but can talk | Good beginner effort | Continue |
| Cannot speak a full sentence | Too hard for most rides | Slow down |
| Knee pain during or after rides | Fit, cadence, or workload issue | Stop increasing time |
| Hand numbness | Fit, grip, or front pressure issue | Check setup |
| Dreading every ride | Plan is too aggressive | Repeat an easier week |
The best beginner plan leaves you ready to ride again. If soreness lasts more than a day or pain sharpens, reduce time and check fit.
Bike Setup Before The Plan Gets Longer
Small setup problems become bigger as rides get longer. Before Week 3, check saddle height, brake reach, tire pressure, helmet fit, and whether the bike size is reasonable. A poor fit can make a beginner think cycling is the problem when the real issue is reach, saddle height, or low tires.
| Setup item | Check | Helpful Icebike tool |
|---|---|---|
| Bike size | You can stop, steer, and reach controls | Bike size chart |
| Tire pressure | Bike rolls without harshness or drag | Bike tire pressure calculator |
| Saddle | Knees slightly bent at bottom of pedal stroke | Recheck after first week |
| Brakes | Levers easy to reach and stop cleanly | Fix before traffic |
| Helmet | Level, snug, straps fastened | Replace after crash damage |
This setup check is one of the value points missing from many training-plan pages. A schedule is not useful if the bike itself is fighting the rider.
Turning This Into A Commute Or Fitness Habit
After six weeks, choose one direction instead of trying everything at once. If commuting is the goal, test the route on a low-pressure day, then ride one direction first if possible. If fitness is the goal, add 5-10 minutes to one ride per week before adding intensity. If confidence is the goal, keep the same ride length and practice traffic, signaling, and route choice.
| Goal after six weeks | Next step |
|---|---|
| Commute by bike | Ride the route on a weekend, then try one workday |
| Build fitness | Keep three rides and extend the longest ride gradually |
| Ride with family | Add easy group rides and stopping practice |
| Lose fear of traffic | Use quiet streets, classes, and predictable routes |
| Prepare for winter | Add lights, layers, and shorter cold-weather rides |
Pair this plan with Icebike’s how to start bicycle commuting when transportation is the goal. The plan should become normal life, not a one-month challenge that disappears.
Beginner Plan Variations
Use the same six-week framework, but adjust the rides to the rider. A returning athlete may add time faster. A nervous new rider may repeat weeks. A commuter may practice the route before adding distance. A rider on a hilly route may need shorter rides than the table suggests.
| Rider type | Best adjustment |
|---|---|
| Nervous new rider | Repeat Week 1 until starts and stops feel calm |
| Returning rider | Add 10 minutes to one ride, not every ride |
| Hilly neighborhood | Keep rides shorter and shift early |
| Commuter goal | Replace one weekly ride with route practice |
| Family rider | Add stopping, signaling, and group spacing practice |
The schedule is a scaffold, not a test. If it helps you ride consistently, it is working.
What To Track Without Making Cycling Complicated
Beginners do not need a training dashboard, but a tiny log helps. Track ride time, effort, route, weather, and one note about comfort or confidence. That is enough to reveal patterns: low tires, too much traffic, a saddle problem, or a ride that is always too hard after a long workday.
| Log item | Why it helps |
|---|---|
| Minutes ridden | Shows gradual progress |
| Effort 1-10 | Prevents every ride becoming hard |
| Route | Helps find safer, calmer roads |
| Comfort note | Catches fit problems early |
| One skill practiced | Keeps confidence improving |
After six weeks, the best metric is simple: you know which ride you can repeat next week.