Winter cycling techniques update: This guide/tool page was refreshed on May 26, 2026 with a clearer decision section, practical checks, and stronger internal links while preserving the original article and tool below.
Winter Cycling Techniques: Ride Smoothly Before Riding Faster
Winter cycling technique is mostly about reducing sudden inputs. Brake earlier, steer gently, keep the bike more upright, scan for changing surfaces, and choose routes where a mistake does not put you into traffic or far from help.
| Surface | Technique priority | Big mistake |
|---|---|---|
| Black ice | Stay upright and avoid sudden braking | Turning sharply while braking. |
| Packed snow | Keep momentum steady | Overcorrecting every small slide. |
| Slush | Pick clean lines and protect drivetrain | Charging through hidden ruts. |
| Frozen ruts | Relax grip and look ahead | Fighting the front wheel too late. |
For the full winter setup, use winter cycling in ice and snow, winter tires, and the wind chill chart.
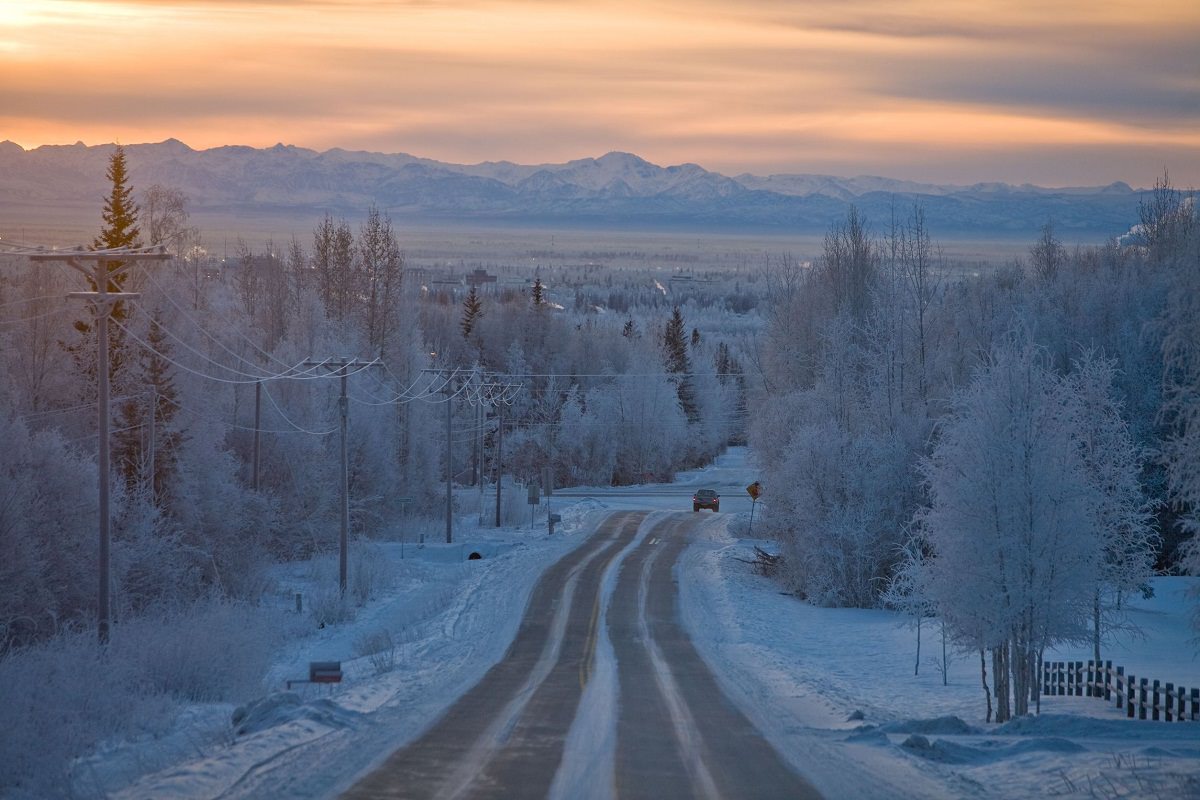
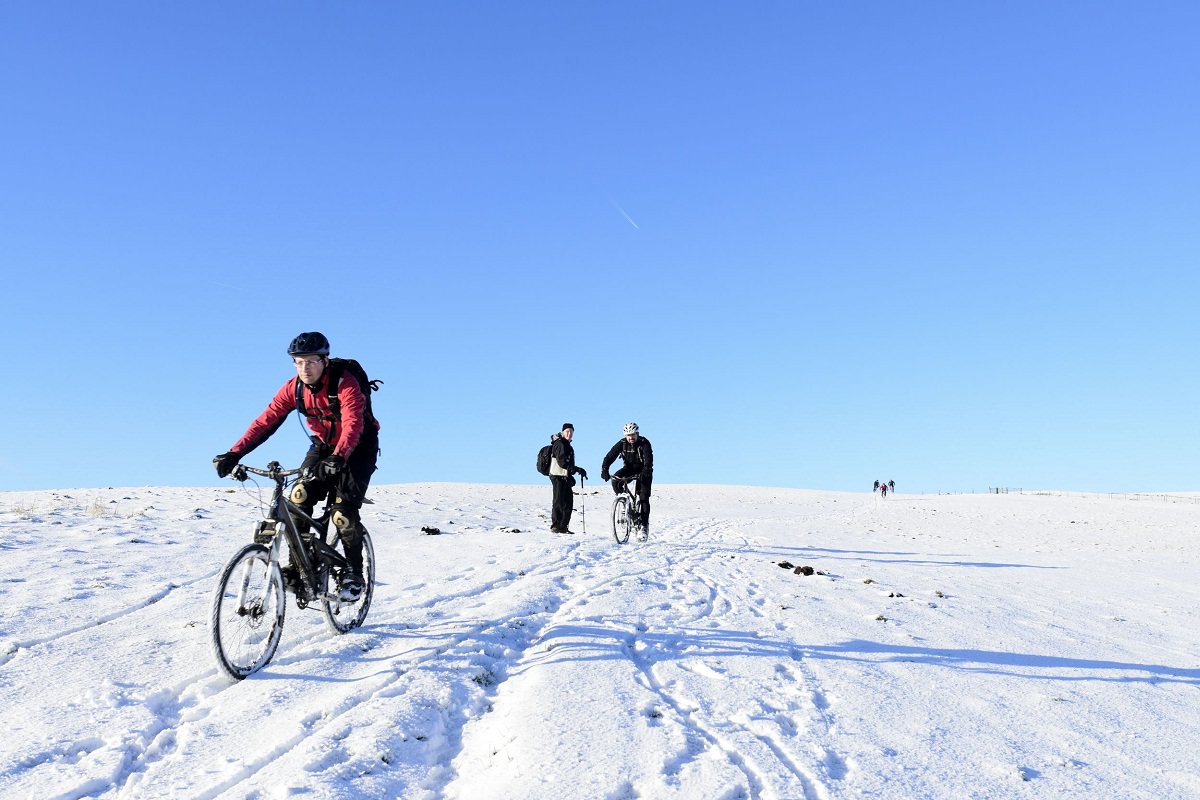
There are certain winter riding techniques that seem to be useful in many varieties of snow and ice. If you are new to ice biking you may find the collected experiences of dozens of other ice bikers from all over the world used in the first year. These winter cycling tips were garnered from the mailing list topics.
Ways To Enjoy A Winter Ride
During the winter months, many of us choose not to ride our bikes for safety concerns. Well, there is no need to skip your favorite sport anymore. By applying these few techniques, you can safely enjoy a bike ride in all winter conditions. Get your winter cycling gear ready and hop on to that winter bike but first go through all of this article to make sure you know everything there is to know.
After implementing the following techniques, You will see your bike handling skills improve remarkably during a winter of riding. It will help you get over the “tensed up” rigid riding that so often afflicts new winter cyclists. Learn to plan your stops, to judge and select the path of most traction.
1. Black Ice
Black Ice, that thin layer of ice covering roads, perhaps only in a shadowed area, can be one of the most insidious winter risks to deal with. You can be riding along on bare pavement one minute and sliding down the road the next.
Black Ice is named so because it takes on the color of the underlying pavement. It is very thin, and often gives the impression of having some surface irregularity. Therefore, it appears to supply some traction. These looks can be deceiving because as soon as you apply brakes (or make significant turning movements) you start to slide.
Turns
Turns on Black Ice are best accomplished by keeping the bike as upright as possible. This involves offsetting your upper body to the side (toward the direction you want to turn) while at the same time keeping the bike upright.
The principal reason to keep the bike upright is that a leaning bike puts lateral forces on the tire at the contact patch. The contact patch (where the rubber meets the ice) is that preciously small area providing all the traction. Black Ice frequently does not supply enough traction to counteract this lateral force, the tire slips out from under you, and down you go.
Braking
Braking on Black Ice will cause a slight melting of the surface layer of the ice, producing a very thin layer of water. Water on ice is a lot more slippery than just ice.
Braking must be done with great care, mainly with the back brake. The front brake of a bicycle supplies more braking power than the back brake. The more it works, the more weight is transferred to the front wheel, and the more the braking force is applied to the contact patch.
The problem in winter is that you will quickly break traction with the front wheel. Once you do, your chances of remaining upright are minimal. Reserve the limited traction of the front wheel solely for steering. Try to brake with the back wheel. Transfer weight rearward, (stick your butt out behind the seat), to keep as much weight over the braking tire.
As long as you can steer you have a good chance of remaining upright. This is why, if you only have one studded tire it belongs on the front. It is also why you want to avoid braking with the front wheel on black ice. Even with a locked-up rear brake, and the rear wheel skidding, as long as you stay off the front brake, you can steer all the way down icy hills too slippery to walk.
In Black Ice conditions this grit becomes “glued down” by the same ice that is covering the road. It’s like riding on sandpaper. There is far more traction in the girt than on the Black Ice itself.
Similarly, when there is some snow around, the snow will provide more traction than the ice. Even light snow directly on top of Black Ice may provide better traction than just the Black Ice. This is because snow is angular, and the angular particles catch and bind on one another, your tires, and the ice below.
Once melting starts, snow can add to the slipperiness of the underlying ice, so occasional tests with the rear brake give you a good idea of the traction below.
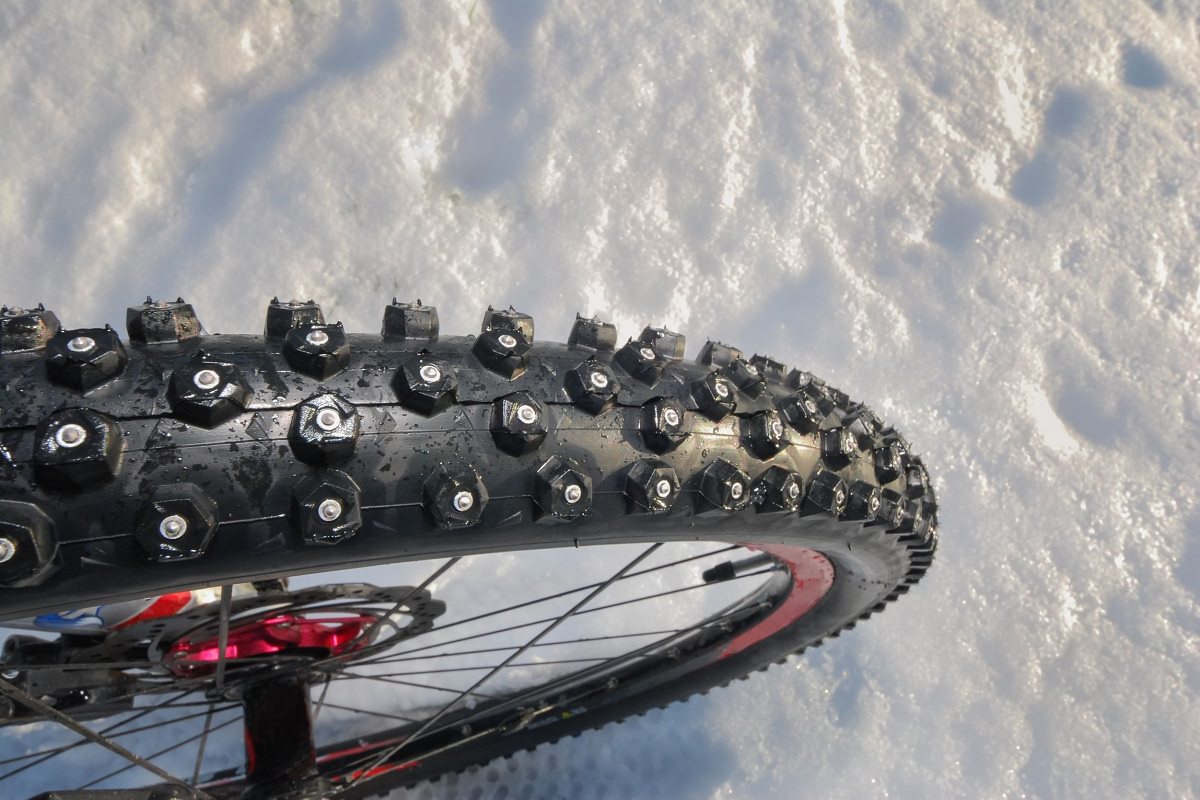
Studs
Studded tires are great on Black Ice because they are largely wasted in deep snow.
Studs provide amazing traction in black ice, and the more studs the better. In fact, you can get downright cocky with the amount of traction you get, and that’s when you find out that all good things have limitations. You still need to be careful with turns and braking. But you can slightly use the front brake.
Techniques
As mentioned above, look for traction, stay off the front brake, and wear your studs.
Test Black Ice conditions when going straight, by slowly applying the rear brake untill you get a feel for how slippery it is. As soon as the back wheel skids, let up on the brake. It’s best to do this early in the ride, so you will have an idea of how long it will take you to stop. Watch hills and sharp corners, slow down, and drag the foot that is on the inside of the turn. DO NOT BRAKE in the TURN. Your back wheel will spin out if you do.
Finally, watch it when you come to a stop. Bike tires, with or without studs, always seem to have more traction than shoes.
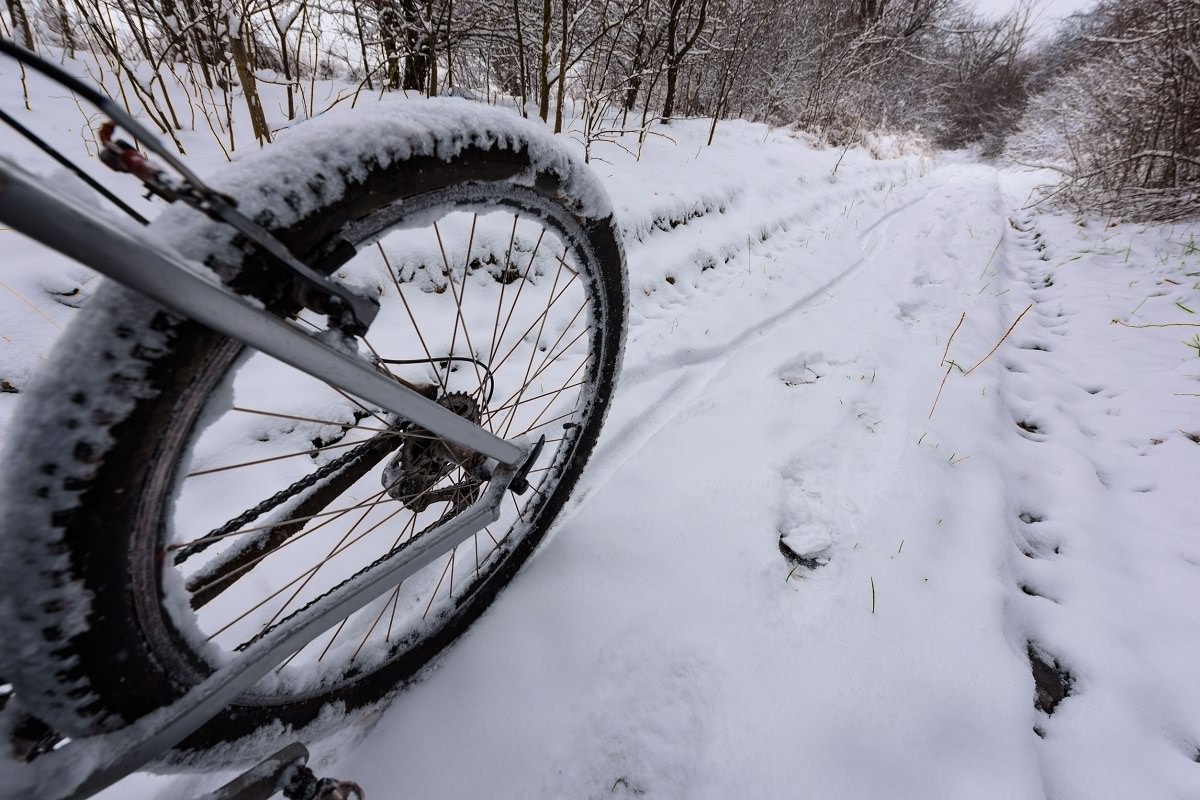
2. Fresh Snow
New fallen snow presents problems for cyclists due to the extra effort needed to get through it. Six inches of really light powder is tiring and slow, but you can go for long distances. It’ worse than riding against a good stiff wind. Even a foot of powder is manageable as long as you get there first before someone else makes a mess of it.
Then too, there are the risks you don’t see. Ruts in the underlying surface can provide a wheel diversion when you least expect it. The only consolation is that snow is softer to land on than ice.
Make a New Track
You will find it much easier to travel in totally undisturbed snow than to follow car tracks or even another bike. If you are the first vehicle along the route your biggest problem is the extra effort needed to push through the snow. If you are following others you also have to contend with their ruts and the front wheel diversions these cause.
Surface Hints of Hidden Problems
On open roadways, watch for small bumps in the snow which appear without any apparent cause. These can signal debris in the road or potholes under the snow.
Studs
In real deep snow, studs are not much help. Look back at your track. If you see compacted snow at the bottom of your track then your studs are not touching the ground at all. Usually, you can see small dark holes in the compacted layer if your studs are providing traction (you may have to stop the bike to see these). Nevertheless, in sharp turns, you will feel or hear your studs grinding into whatever is under the snow, provided it is not so deep as to keep your tire suspended above the real surface.
Techniques
You will find that things happen slowly in heavy snow. Falls take time to happen, and you will find that most are avoidable by quick bike handling. Sharp turns that would only exacerbate a fall on the ice are quite viable recovery techniques.
By a “sharp turn” I mean turning the handlebar in large increments and lean angles. You may feel your front wheel slip sideways. Don’t overreact. The snow will supply resistance to this sideways slip, but it takes time to kick in (your tire has to compact a couple of inches of snow as it slips before there is real resistance). Maintain forward motion, and wait for the tire to catch. Sometimes the side slip will simply cease with you still in the saddle. Its okay to dab.
Maintain a sustainable speed.
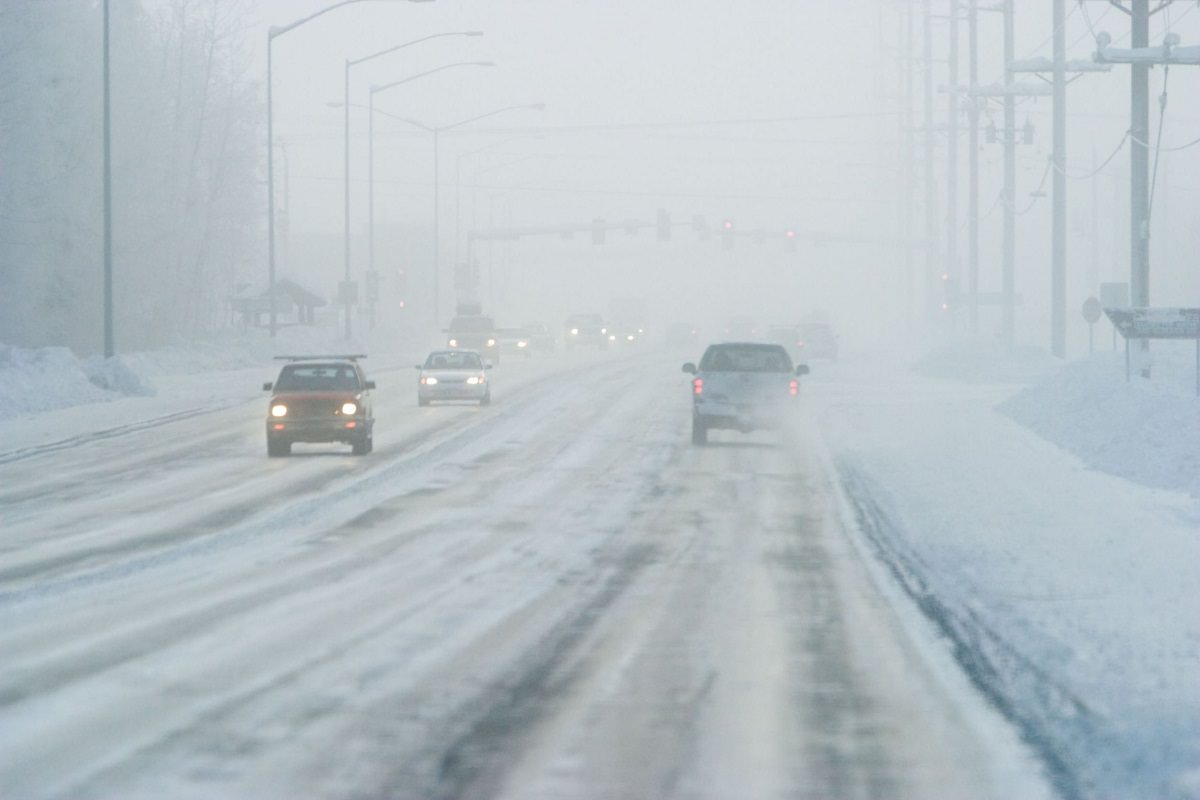
3. Trafficked Snow
Road Snow
Heavy snow that has been traveled upon by automobiles is one of the most difficult surfaces ice bikers have to deal with.
Not only do you have the wheel diversions caused by the ruts, but also the polished smooth surface underneath where cars have spun tires trying to get going.
The best technique is to avoid this stuff, riding in the undisturbed snow at the side of the road. Undisturbed snow is always easier to deal with than trafficked snow.
If your balance is good you can sometimes make progress following the tire track. Also, there is a thin layer of highly compacted snow at the bottom of the track, that tends to squirt out from under your tire throwing you slightly left or right.
If the snow is still white, it has probably received no sand or salt and has been trafficked by fewer than 30 cars.
Chocolate Mousse
After a while, it begins to look like a slightly brown mess, which is called chocolate mousse or brown sugar, or just “Car Snot”.
Chocolate Mousse traverses, as it is one constant series of wheel diversions set on a slippery base layer. Snow once worked to this degree has lost much of its angularity and now provides very little traction. This, combined with the fact that it usually tends to be on top of some slippery ice means that any wheel diversion started by the ruts will be accentuated by the underlying ice. Studs may help, but they get full of this stuff and you end up slipping around.
Techniques
Getting through heavily trafficked snow is a lot of work, and always a nerve-wracking experience, especially if there is automobile traffic nearby.
The falls that seem inevitable can be avoided by continuing to apply power and steering as best you can. Your side slipping front wheel often bites when it hits a slightly more solid ridge, and if you can delay the fall for half a second or so you can recover. Don’t be in a hurry to dab, stay on the pedals and apply power. This is a lot like riding in loose sand.
As you power through, you will have to make large steering corrections to compensate for impending falls. This preserves your balance. You will, however, find yourself going in a direction slightly different than you intended, and this can not always be permitted if motor traffic is in the adjacent lane.
It is possible to power out of the ruts in these Chocolate Mousses, because this material is unconsolidated, mushy, and loose. Unlike hardpack ruts, you can steer right out the side of a rut.
Lower your tire pressure. Hard tires just wallow around in this stuff. If you have more than a city block of the trafficked show to plow through, let the air out till you have visibly bulging contact patches. On typical mountain bikes, you can go as low as 20 PSI. With SnowCat rims you can get down to 10 PSI.
4. Hardpack
After cars have driven over and packed down snow you end up with a hardpack. This is usually still white, but maybe anywhere from a quarter of an inch to 3 or 4 inches thick. It’s not quite as hard as ice, but almost.
If relatively smooth, it presents no special problems, other than being slippery. The other side of that coin is that it usually comes with embedded gravel supplied, most often, by your tax dollars. This embedded gravel makes it possible to ride a hardpack without studs, as it really does supply ample traction.
There are some downsides to hardpack.
- A hard pack can have a smooth glass surface. More often, you end up with a certain degree of rutting, caused by cars or bumps caused by footprints that freeze over.
- Hardpack on road is often bladed off by road maintenance crews making it skating rink smooth. If this gets a little water on it it can be really slippery.
- Hardpack will eventually melt, making for some of the bumpiest riding conditions. Usually, it will break up in chunks due to auto traffic first. Watch these, as they can be very effective at diverting your front wheel.
Hard Single Track
Multi-use trails can become hardpacked and trampled by foot traffic. These are hard to deal with because the footprints can be quite deep. This leads to an incredibly jolting ride. Full suspension bikes really help here. Taking the bumps with as much speed as you can manage sometimes works (especially with studs) as you don’t fall into every hole, you just skim the tops of the bumps.
When hard frozen, there is often enough traction to take these trails at a moderate speed. They become very difficult to ride when thawing causes them to get wet and slippery. Only studded tires will work then.
Just off of the hardpacked area, you may find easier riding, but it may be deeper and crusty. If you are having problems, try the foot-worn portions of the trail.
Ruts
Hardpack on roadways often accumulate ruts. These can be shallow, less than a quarter of an inch, or very deep, I’ve seen them 4 inches deep and polished hard as solid ice.
Longitudinal ruts are very dangerous. They will divert your front wheel, landing you on the roadway.
In longitudinal ruts, steering becomes a 100% concentration job. You have to plan every transition from rut-top to bottom. You have to manage your momentum.
Tire Pressure
For a smooth hard pack, if you have studs, pump them up to the rated pressure. If there is significant gravel embedded in the hard pack even regular tires can be ridden and pumped hard.
For rutted hard packs or footpaths, I recommend reduced tire pressure. This will allow the tires to supply some smoothing to the ruts, and allows the tire to grip the back side of small ridges that the wheel is still climbing the front side. With hard tires, you bounce up and over, and generally have no traction on top of the ridge.
Lower pressure puts more of your tire tread (or studs) in contact with the surface supplying more traction.
It is comfortable to take hard knobby surfaces with less pressure. Riding around on a rutted hardpack will improve your bike handling skills.
Techniques
Cross tire ruts as close to perpendicularly as possible. Do not try to steer out of a deep rut. This risks a wheel diversion. Instead, try jumping the front wheel out or traveling along the rut until there is a good place to steer out. Maintain just enough speed to maneuver. Studded tires help to reduce wheel diversions on a hardpack.
5. Hydration in Winter
A common topic among ice bikers who do longer winter rides in cold weather is how to carry water without it freezing. This also leads to the discussion of how much one has to drink in winter.
Let us cover the latter first because it answers one aspect of the “how to carry” question.
Many winter cyclists don’t carry water. Most commuting situations are under 30 minutes, and well over 95% are under an hour – one way.
Most cyclists don’t need to drink on short rides of 30 minutes or less when the temperature is low and water loss is due to exertion. In summer, with the same level of exertion exacerbated it might be different.
The general consensus among ice bikers is that you generally need less water in winter. This is not universally agreed upon, and perhaps is due to shorter rides in winter. Nevertheless, most winter cyclists report drinking less in cold temperatures.
However, longer rides in winter tax your body in the same way as summer rides, and you need to replenish water. A strenuous afternoon outing would require hydration at any temperature. Even at a moderate pace in mild temperatures, you can lose 3 to 4 liters of water during 2 to 3 hours of exercise.
Carrying water in water bottles can work in winter on short rides, but after 45 minutes in temperatures ten degrees below, you will find your water bottle mostly frozen. You can delay this by filling it with warm or even hot water before you ride.
A common trick, recommended by cross-country skiers such as Pete Hickey is to put the bottle in the cage upside down. This keeps the outlet from freezing till the bitter end, as the ice weighs less and floats to the top leaving the warmer water at the bottom.
However, for a several-hour outing, it’s better to carry the water inside your outermost layer. Water bottles carried that way seldom freeze.
Water Bladder Systems
That’s why water pouches like the Camelbak are popular in winter as well as summer. These pouches fit well under your jacket, and they come in a variety of sizes and options from several companies.
The tube can be routed up under your jacket collar. The remaining problem is keeping the “bite valve” and supply tube from freezing. Many ice bikers recommend blowing air back into the bladder after drinking thereby keeping the line clear of the water. You can tuck the bite valve inside your shirt if it does freeze.
Most bladder systems carry the equivalent of about three large-size water bottles – around 70 ounces – or two liters. That’s enough for two hours of heavy exercise in summer temperatures.
The human body can really only absorb about a liter of water per hour and does a better job of this if water is supplied in small amounts continuously. The bladder system also helps in this regard as the bite valve clips to your collar for quick access and is easy to operate even with lobster claw winter cycling mitts on. You won’t be tempted to delay drinking till you are thirsty – which is too late.
You can find these “systems” in almost any bike store. The name-brand versions seem to cost US$60 to $75. Lesser known brands can be had for under $25 on sale.
Conclusion:
Bike rides in winter are a good source of enjoying and getting that fresh air. Be sure to follow these techniques and you will not have to worry about skidding and falling on your winter ride again.
Also Read: Winter Cycling in Ottawa, Canada – How to Commute All Year Round
