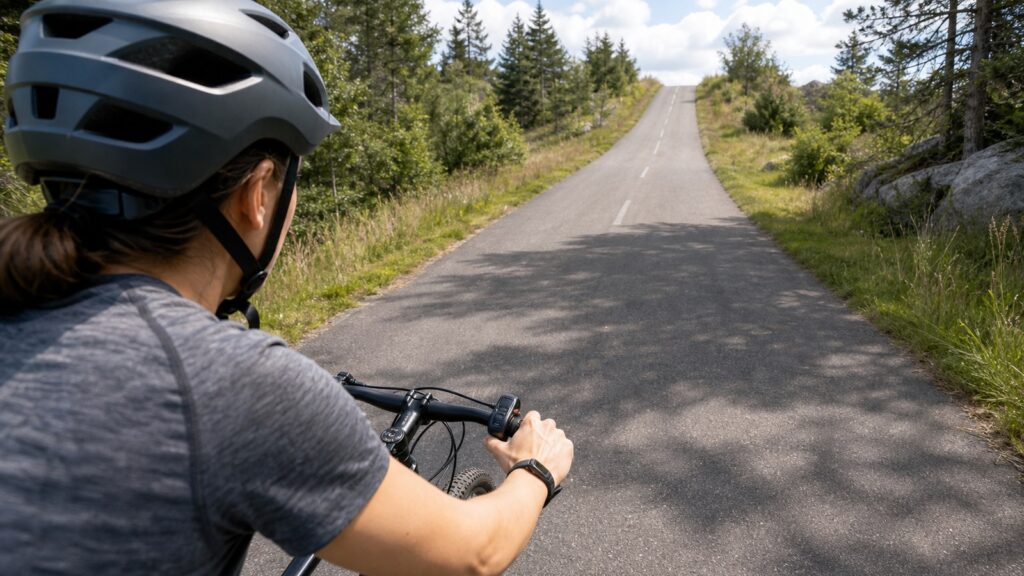
On most bikes, the right-hand shifter moves the chain across the rear cogs in small steps, and the left-hand shifter moves it between the front chainrings in big steps. To make pedaling easier, shift to a bigger cog in back or a smaller chainring in front. Keep the pedals turning with light pressure while you click, and shift before you reach a hill or a stop.
Hub-gear bikes (one shifter, no derailleur) have their own section below, and the last section covers a bike that won’t shift at all.
Which shifter does what?
Left hand, front gears. Right hand, rear gears. That holds for mechanical shifters from Shimano, SRAM and Campagnolo, and for Shimano Di2 in its default layout. SRAM eTap AXS on drop bars is the exception: the left paddle shifts the rear to a bigger cog, the right paddle shifts it to a smaller cog, and pressing both paddles together changes chainrings.
Easy and hard work in opposite directions front and back:
- Easier gear (low gear): smaller chainring in front, bigger cog in back. Climbing, starting from a stop, riding into wind.
- Harder gear (high gear): bigger chainring in front, smaller cog in back. Flat roads with a tailwind, descents.
One way to remember it: in back, big cog means easy. In front, big ring means hard.
Bikes with one chainring (a “1x” drivetrain) have no left shifter; the rear rule stays the same.
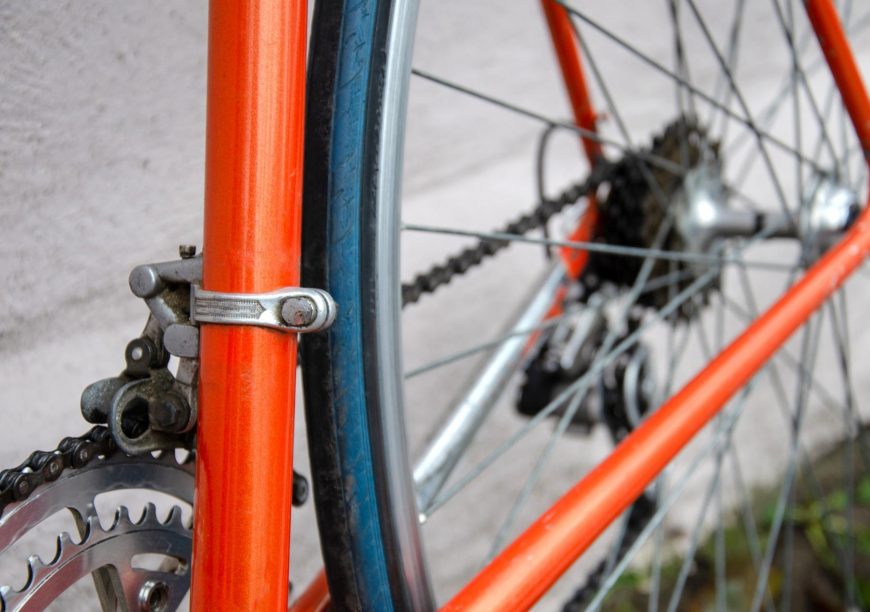
Identify your shifter
“Easier” means a lighter pedal feel. Electronic buttons can be reassigned in the maker’s app, so those rows show the factory layout.
| Shifter type | What it looks like | Right hand: easier / harder | Left hand: easier / harder |
|---|---|---|---|
| Shimano trigger (Rapidfire Plus), flat bars | Two levers under the bar beside each grip, often with a gear window | Rear. Bigger thumb lever (lever A): bigger cog, easier. Smaller release lever (lever B): smaller cog, harder | Front. Release lever (lever B): smaller chainring, easier. Thumb lever (lever A): bigger chainring, harder |
| Other flat-bar triggers, including SRAM | Two paddles under the bar, a big one and a small one | Rear. Bigger paddle: bigger cog, easier. Smaller paddle: smaller cog, harder | Front, if fitted. Check each paddle with the one-click test below |
| Shimano road levers (STI / Dual Control), drop bars | Brake lever that also swings sideways, with a small lever behind it | Rear. Swing the whole brake lever inward: bigger cog, easier. Push the small inner lever: smaller cog, harder | Front. Small inner lever: smaller chainring, easier. Whole brake lever inward: bigger chainring, harder |
| SRAM DoubleTap, drop bars | One paddle behind the brake lever on each side | Rear. Push the paddle further (two clicks): bigger cog, easier. Push it slightly (one click): smaller cog, harder | Front. Short push: smaller chainring, easier. Long push: bigger chainring, harder |
| Campagnolo Ergopower, drop bars | Lever behind the brake lever plus a thumb button on the inside of the hood | Rear. Lever behind the brake: bigger cogs, easier. Thumb button: smaller cogs, harder | Front. Thumb button: smaller chainring, easier. Lever behind the brake: bigger chainring, harder |
| Shimano Di2 (electronic) | Two buttons per side, marked X and Y in the manual | Rear. X: bigger cog, easier. Y: smaller cog, harder | Front. Y: smaller chainring, easier. X: bigger chainring, harder |
| SRAM eTap AXS (electronic, drop bars) | One paddle per side | Left paddle: rear to a bigger cog, easier. Right paddle: rear to a smaller cog, harder. Press both paddles together to change chainrings | |
| Twist shifter (Grip Shift, Revoshift) | A rotating ring on the inside of the grip, with numbers | Rear. Twist back: bigger cog, easier. Twist forward: smaller cog, harder | Front. Twist back: bigger chainring, harder. Twist forward: smaller chainring, easier |
| Internal-gear hub (Nexus, Alfine and similar) | One shifter on the right, a fat rear hub, no derailleur | One shifter does everything. See the hub section below | |
To check any shifter, lift the back wheel (or ask a friend to), turn the cranks by hand and click each lever once. Watch which way the chain moves.

What easy and hard gears mean in numbers
Take a road bike with 50 and 34 tooth chainrings, an 11-speed 11-32 cassette (11-12-13-14-16-18-20-22-25-28-32) and 700×28 tires. These figures are Icebike’s math at a steady 80 pedal turns a minute:
- Easiest gear, 34 front and 32 rear: about 10.9 km/h (6.8 mph), or 28 gear inches.
- Hardest gear, 50 front and 11 rear: about 46.6 km/h (29 mph), or 121 gear inches.
- One click on that cassette changes the gear by 8% to 14%.
- A front shift changes it by about 32% going down to the small ring (easier) and 47% going up to the big ring (harder).
For your own bike, enter your chainrings, cogs and tire in the gear inches calculator or the gear speed calculator, which shows your speed at any cadence.
When to shift
Shift before you need to. A derailleur needs the chain moving and a light load to move it, and on a climb both disappear fast.
| Situation | Shift to | When | Why |
|---|---|---|---|
| Hill ahead | Easier, one or two clicks at a time, or the small chainring for a long climb | Before the slope, while you still roll at speed | Pedal pressure jumps on the slope and the shift may grind or fail |
| Already climbing and slowing | Easier, one click at a time | On the stroke where you ease off the pedals | A shift under full load clunks or skips |
| Stop sign or red light | Easier, two or three clicks | While still rolling toward the stop | A derailleur can’t shift when the cranks don’t turn, so you would restart in a hard gear |
| Top of a hill or downhill | Harder, one click at a time | As your legs start to spin faster than feels steady | Keeps your cadence in a usable range |
| Headwind or soft ground | Easier | As soon as each pedal stroke feels heavy | Same effort, more pedal turns |
| Chain rubs the front derailleur | A different chainring, or a trim click on the left lever | When you hear a steady scraping sound | The chain is at a steep angle (see cross-chaining below) |
How fast should you pedal?
Aim for 70-90 pedal turns per minute as a beginner’s working range. That’s Icebike’s rule of thumb. Bosch puts typical cadence between 60 rpm (relaxed) and 90 rpm, and Trek says most riders find about 90 rpm efficient and comfortable. A 2009 review by Hansen and Smith adds a consistent finding: at low to moderate effort, the cadence riders pick for themselves runs higher and less economical than the energy-optimal one. You don’t need to force 90.
To check without a sensor, count how many times your right foot reaches the bottom of the stroke in 10 seconds and multiply by 6. Twelve to fifteen pushes is 72 to 90 rpm. If you count fewer, shift easier. More, shift harder.
Do you shift while pedaling?
On a derailleur bike, yes: keep pedaling while you click, but ease off the pressure. Shimano’s manuals for its trigger and road levers both say to keep turning the crank while you operate the lever. Trek adds that shifting works best when you pedal lightly, and that heavy pressure makes the change “clunky and abrupt.” Hub gears are more forgiving; see the hub section.
Why a shift skips or grinds under load
When you push hard, the chain is pulled tight against the teeth. The derailleur pushes sideways, but the chain can’t climb onto the next cog until the load drops, then jumps across in one go. You feel a clunk, a skip or a pedal that drops forward. The front derailleur suffers most: Liv’s guide notes that it may grind and fail to drop the chain to the small ring if you shift halfway up a hill with full power on the pedals.
The fix is a half-stroke of light pedaling. Push a little harder just before the shift, ease off as you click, and let the chain settle before the next click.
If the chain slips or jumps in one gear even when you pedal lightly, check the drivetrain. Park Tool lists a chain that keeps slipping under load as a sign of a worn chain, and chainrings that skip under load as a sign of worn rings. Our chain slipping guide walks through the checks.
Front or rear first?
Use the rear shifter for most changes and the front one for big terrain changes. Press one shifter at a time. Shimano’s manuals add that pushing both levers on the same shifter at once won’t shift at all.
Follow a front shift with a rear shift to soften the jump. Icebike’s rule of thumb: when you drop to the small chainring, shift two clicks harder on the rear. Going from 50×18 to 34×18 and then to 34×14 leaves the gear about 13% easier than where you started, a step your legs can match. Going the other way, move to the big ring and then shift one or two clicks easier on the rear.
On a climb, make the front shift at the bottom, while the pedals are still light, then fine-tune with the rear on the way up.
Avoid cross-chaining
Cross-chaining means using the biggest chainring with the biggest rear cogs, or the smallest chainring with the smallest rear cogs. The chain runs at a steep angle, rubs the front derailleur and wears faster. SRAM’s eTap AXS manual says that “to provide an optimal chainline,” the system doesn’t allow the small chainring and small cog combination at all.
Icebike’s rule of thumb on a 2x bike: in the big chainring, skip the two or three biggest cogs; in the small chainring, the two or three smallest.
A little rub can still happen. Park Tool says a front derailleur may brush the chain even on a well-adjusted bike in the big chainring and smallest cog, because the frame flexes when you pedal hard. Shimano road front derailleurs have trim positions for this: a small click on the left lever, short of a full shift, moves the cage a little without changing chainrings.
Skip this section if your bike has one chainring.

Internal-gear hubs: more forgiving shifts
Hub gears change ratio inside the rear hub without moving the chain sideways, so the timing rules relax:
- Shimano says its Nexus Inter-3 hub can shift “anytime, while standing still, pedaling or coasting.” On an Inter-3 you can stop at a light in a hard gear and shift down before you set off.
- Shimano’s dealer manual for the Nexus Inter-8, Inter-7 and Inter-5 hubs says the gears “can be shifted while lightly pedaling.”
For other hubs, follow the manual that came with the bike.
Is gear 1 high or low?
“Low gear” means easy and “high gear” means hard. On Shimano’s 3-speed hub shifter, the number climbs as pedaling gets heavier, so gear 1 is the easiest. Derailleur shifters with number windows count front and rear on their own, so read both. To check yours, ride in a quiet spot, shift one click toward a bigger number and feel whether the pedals got lighter or heavier.
Gears on an e-bike: assist level or gear?
The assist level sets how much the motor adds; the gears set how fast your legs turn. Pick a gear that keeps your cadence up, then raise the assist for a steep hill or a heavy load.
Bosch explains why the gear still matters: at low cadence you push with high pedal force, and the faster you pedal, the less force each stroke needs. On a mid-drive e-bike the motor’s force goes through the chain, so ease off for each shift. SRAM tells riders of e-bikes with its road parts to make one rear shift at a time to protect the components.
Your first ride: a 15-minute practice routine
Use an empty parking lot or a quiet path with a short, gentle slope nearby.
- Before you ride, lift the back wheel, turn the cranks by hand and click each shifter once. Watch which way the chain moves.
- Start in a middle gear: the small chainring (or the middle of three) and a cog near the middle of the cassette.
- Ride at an easy pace. Click the right shifter one click easier. Feel the pedals get lighter and your legs speed up.
- Click one harder, then work through every rear gear one click at a time, with a few pedal strokes between clicks.
- On a 2x or 3x bike, shift the left shifter to the big chainring with light pedal pressure, then back. Notice how much bigger that change feels.
- Practice a stop: roll toward a line, shift two or three clicks easier while still pedaling, stop, then start again.
- Ride toward the slope. Shift easier before it starts, then try one more click partway up, easing off the pedals as you click.
- Listen as you go. A steady scrape from the front means cross-chaining or a need to trim.
What if the bike won’t shift?
Stop forcing the lever; pushing harder can bend the derailleur or throw the chain.
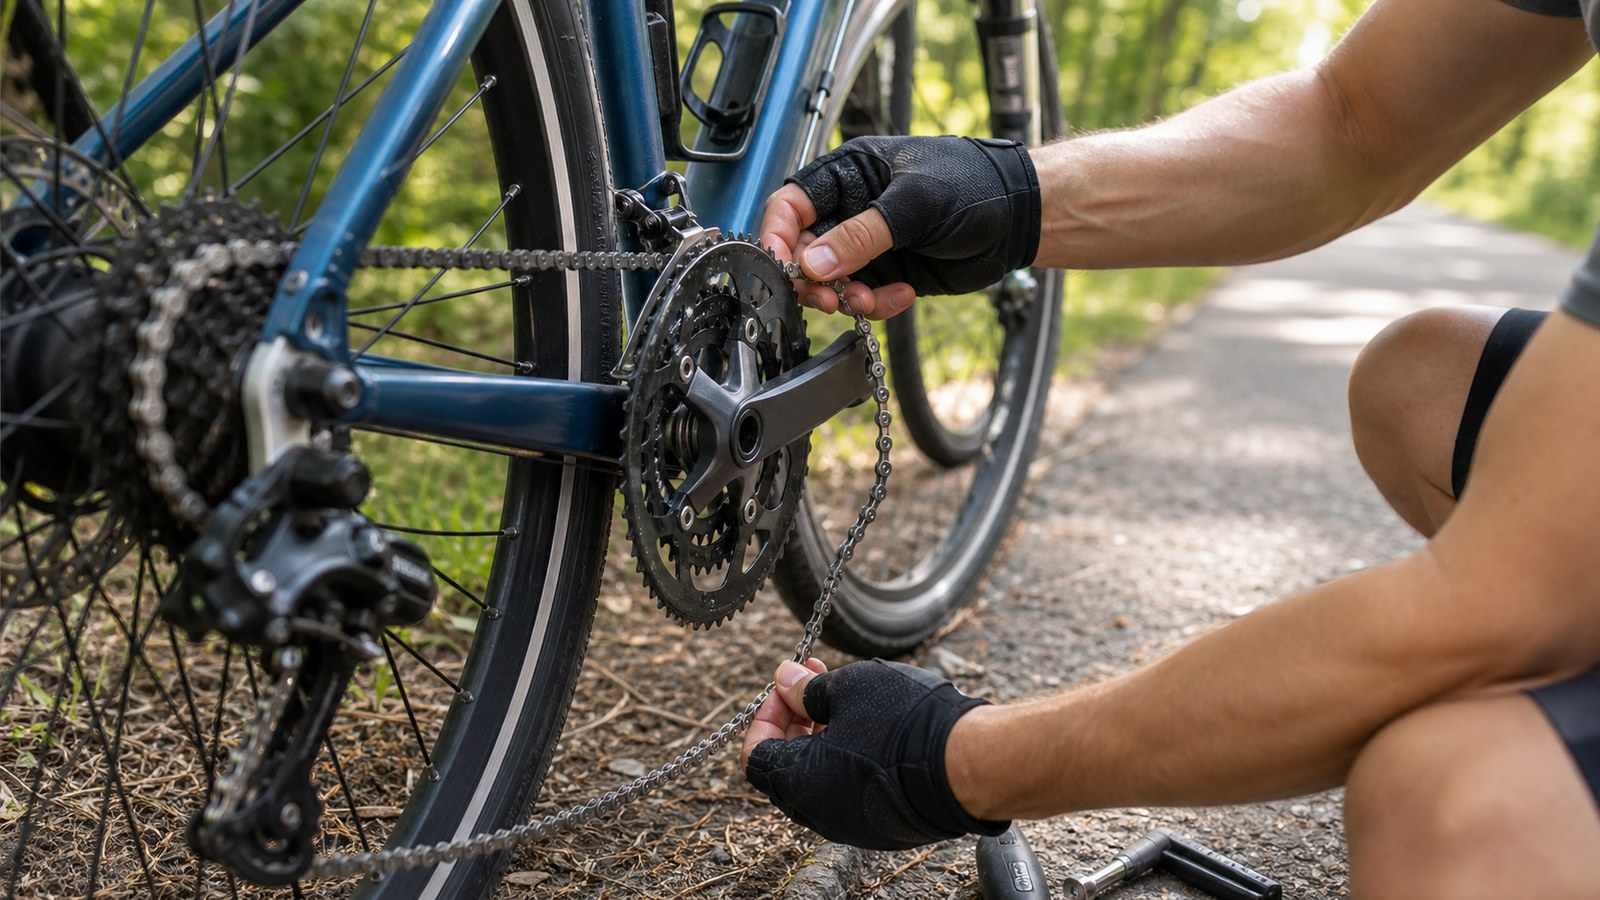
- The chain came off. Follow our steps for putting a chain back on a bike.
- The lever clicks but the chain doesn’t move, or it shifts one gear late. The cable may be stretched, frayed or sticking. Our guide to why your bike won’t shift gears covers cable tension, limit screws and sticky housing.
- Shifting went wrong after a fall on the right side. Park Tool notes that crashing or dropping the bike on that side can bend the derailleur hanger. Look from behind: the hanger should sit parallel to the wheel. If it doesn’t, have it checked before you ride.
- It skips under hard pedaling. Check for a worn chain, cassette or chainrings in the chain slipping guide.
Sources
- Shimano. User’s Manual UM-6WA0A-004, Shifting Lever. Lever A and B to make pedaling heavier or lighter, front and rear; keep turning the crank arm during shifting.
- Shimano. User’s Manual UM-6VX0A-004, Dual Control Lever. Lever A to a larger sprocket or chainring, lever B to a smaller one; do not push levers A and B at the same time.
- Shimano. User’s Manual UM-6VE0C-002, Dual Control Lever (Di2). Shift switch X and Y, default setting.
- Shimano. User’s Manual UM-6P20A-002, Shifting Lever (Internal Geared Hub 3-Speed). Indicator number rises for a heavier gear.
- Shimano. Service Manual SM-IHG-INTER3-003 (Nexus Inter-3), p. 3, and Dealer’s Manual DM-SG0003-08 (Nexus Inter-8, Inter-7, Inter-5), p. 9.
- Shimano. Dealer’s Manual DM-RAFD012-00, Front Derailleur. L-trim and T-trim positions.
- SRAM. Apex 1×12 User Manual (accessed October 15, 2026). DoubleTap: press the paddle slightly for a smaller cog, further for a larger cog.
- SRAM. eTap AXS User Manual (accessed October 15, 2026). Paddle functions, small-small lockout for chainline, shift logic in the AXS app.
- SRAM. Road Mechanical Shifter and Rim Brakes User Manual. One rear shift at a time on e-bikes.
- Campagnolo. Ergopower 11s technical manual, p. 8 (Ultra-Shift upshift from 17T toward 12T) and p. 10 (lever 2 of the left-hand control shifts to the upper chainring), and Chorus Ergopower controls (lever 2 moves the chain up the sprockets; accessed October 15, 2026).
- Trek. How to Shift Bike Gears Smoothly and Efficiently (accessed October 15, 2026). Paddle shifters, light pedaling, about 90 rpm.
- Liv Cycling. How to Shift Gears on a Bike (accessed October 15, 2026). DoubleTap front shifting, grip shift directions, front shifting under heavy load.
- Bosch eBike Systems. Cadence in the context of the drive unit (help center, accessed October 14, 2026). Typical cadence 60-90 rpm; cadence, pedal force and gear choice.
- Park Tool. Front Derailleur Adjustment, Front Derailleur Advanced Troubleshooting, Rear Derailleur Advanced Troubleshooting and When to Replace a Chain on a Bicycle (accessed October 15, 2026).
- Hansen EA, Smith G. Factors affecting cadence choice during submaximal cycling and cadence influence on performance. Int J Sports Physiol Perform. 2009;4(1):3-17.